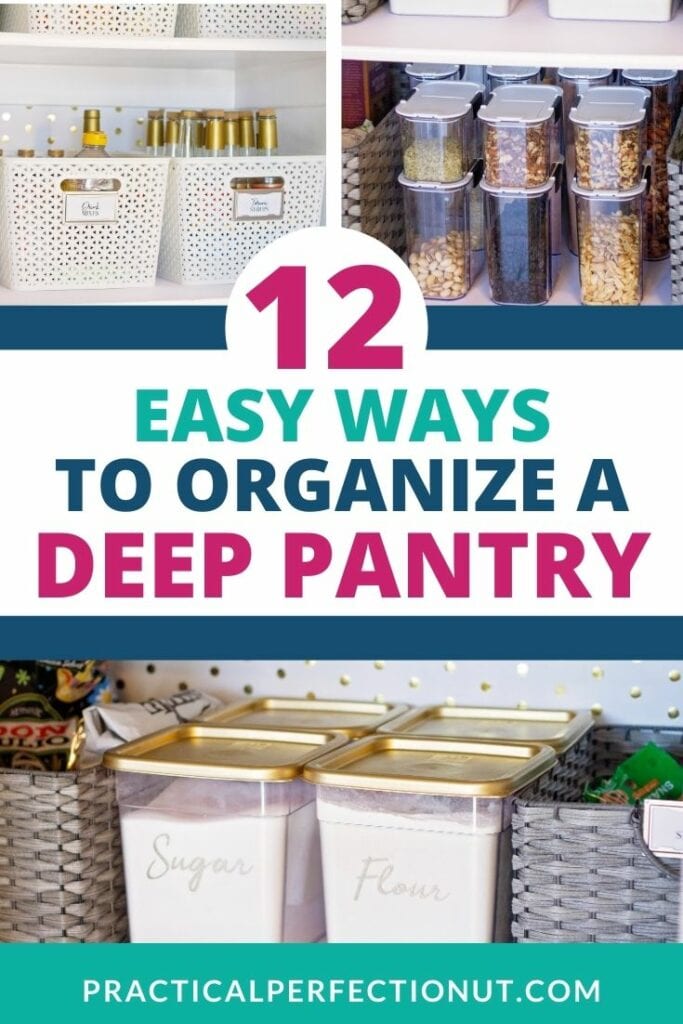
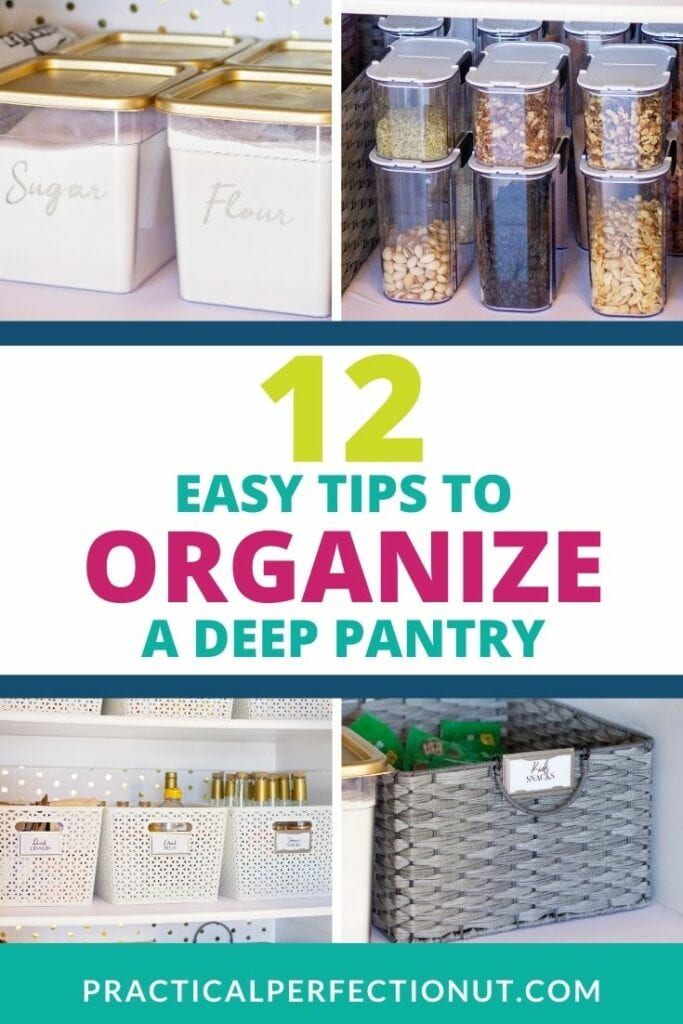
12 Easy Tips to Organize a Deep Pantry
Ah, the pantry… it might be your children’s favorite room in the house, but due to the constantly changing stock and those tiny hands getting into all sorts of snacks and goodies, it’s one of the hardest places to keep organized.
And while having the extra storage space that comes with a deep pantry can be nice, it can also be a curse because food items can easily get lost and expire. So learning how to organize deep pantry storage can be crucial.
Need more ideas? Organize Your Pantry Like a Professional and 15 Foolproof Ways to Store Tupperware and Food Storage Containers
An unorganized pantry can lead to lots of frustration and wasted food. Or, even worse—when you’re looking for a key ingredient for dinner only to realize you’re all out! If you’ve ever felt lost looking for things in your own kitchen storage, it might be time to organize your deep pantry.
Whether you use a walk-in space for your deep pantry or just a cupboard or cabinet, I’ve got some tips to help you utilize whatever space you have!
Before You Begin
It’s a good idea to organize your pantry when it’s fully stocked. I know it’s tempting to start this project when your pantry is looking lean so that you have fewer things to shuffle around, but it’s important to know what items you keep in your pantry on a regular basis so you can be sure to have space for it all going forward.
The First Step to Organizing a Deep Pantry
As usual, the first step is decluttering. I know people don’t often see food as “clutter,” but when it comes to your pantry, it certainly can be!
Go through everything in your pantry (and I mean everything) and get rid of anything expired. If you don’t keep up on the food in your deep pantry, you might be shocked at how many little things have sailed past their due date—so take everything out of your pantry and throw out anything that has expired.
This is also a good time to do a bit of inventory of your items. Is there anything in the deep corners of your deep pantry that you’ve forgotten about? Is there a certain item that no one has been eating? Make a note of it so you can stop buying it. There’s no point if it just goes to waste!
Also, make sure you give the shelves a good wipe down before you start putting your food back in the pantry. The pantry is one area that doesn’t get cleaned as much as it should since the shelves are usually packed full of cans or boxes of food.
Now that you’ve decluttered and cleaned, here are a few tips to help make deep pantry organization a bit easier.
12 Tips for Organizing Your Deep Pantry
1. Categorize what you have
With all of your food out on your countertops or your kitchen table, separate it all into categories. You can make broad categories like snacks, grains, and breakfast foods, or you can make them very specific, like granola bars, pasta, oats, cereals, etc. Just make sure to keep any similar foods together.
2. Designate zones within your pantry
This is why it’s important to have a fully stocked pantry when you’re organizing. You need to know about how much stuff you have on a regular basis within each category.
If you keep a lot of pasta on hand, then that zone will need to be larger. Or, if you usually keep several boxes full of fruit snacks and granola bars, then you’ll want to make a big zone for snacks.
Designating specific zones for each category will help you find things more easily in the future. You’ll know exactly which shelf to go to when you’re looking for a can of beans or bag of rice, and you’ll also be able to keep track of when you’re almost out of something.
Creating zones when organizing a deep pantry is essential so you don’t waste food.
3. Put items you use often somewhere easily accessible
What item in your pantry does your family use on a daily basis? Cereal? Bread? Then stick it in the most accessible spot in your pantry.
If you have a walk-in pantry, then place that zone closest to the door, so you can just reach in and grab it. If you use a cabinet or cupboard for your deep pantry, then pick a shelf you can easily reach.
4. Keep snacks up high if you have young kids
I think most moms learn this tip the hard way. Have you ever had your child casually walk out of the pantry with a little snack they decided to treat themselves to? That’s always fun.
If you have any foods you don’t want your kids to get into by themselves, make sure they are higher up or in a spot their little hands can’t get into easily. Use an upper shelf for any items you don’t want your children getting into.
Likewise, if you have anything you want them to be able to get themselves, put it lower down or on pull out shelves so they don’t need your help to reach it.
5. Put new items at the back
Just like at a grocery store, when you buy more of something, put it behind what you already have. I know that seems like common sense, but it’s all too easy to just chuck your new food at the front of the shelf when you’re trying to put away your groceries.
Even though it might take you a few extra seconds each time you go grocery shopping, make sure you pull forward the items you already have and put your new canned goods and other foods in the back.
This ensures your food won’t go bad or sit unused and forgotten in the back of the pantry. This works especially well if you have a pantry with deep shelves.
6. Organize according to size
Speaking of what to put at the back of your deep shelves, it’s a good idea to organize according to size. You know those long boxes of pasta? Stand those up behind shorter boxes or containers. That way you can easily see every item on the shelf without having to move things around.
This tip works even if you’re organizing by basket. If you’re using a bin or basket for each category, you can still organize your items by size within each basket.
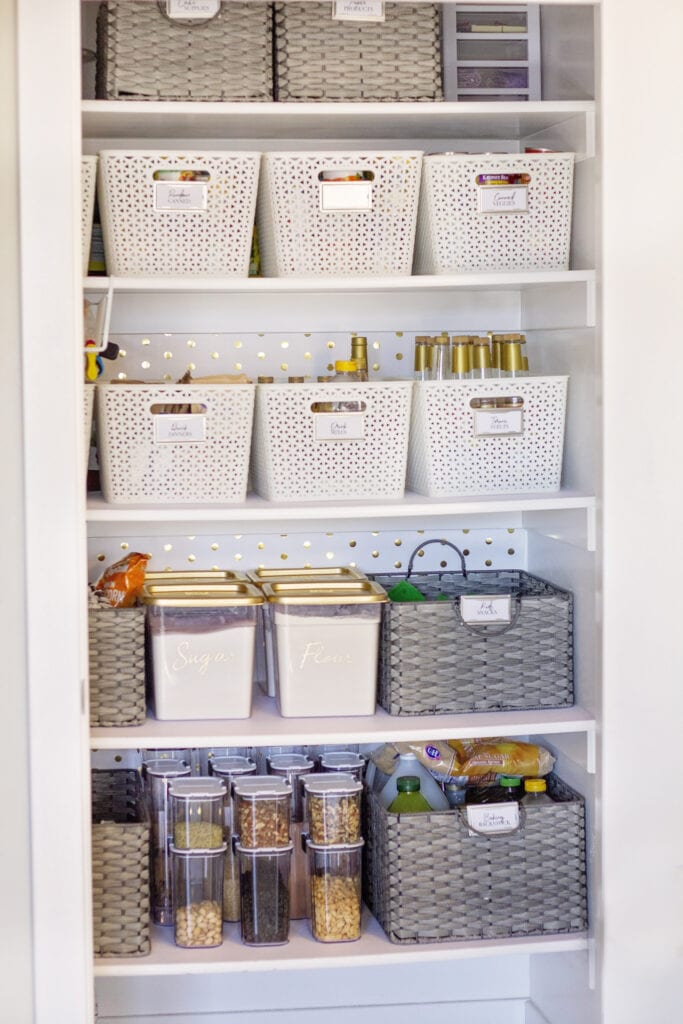
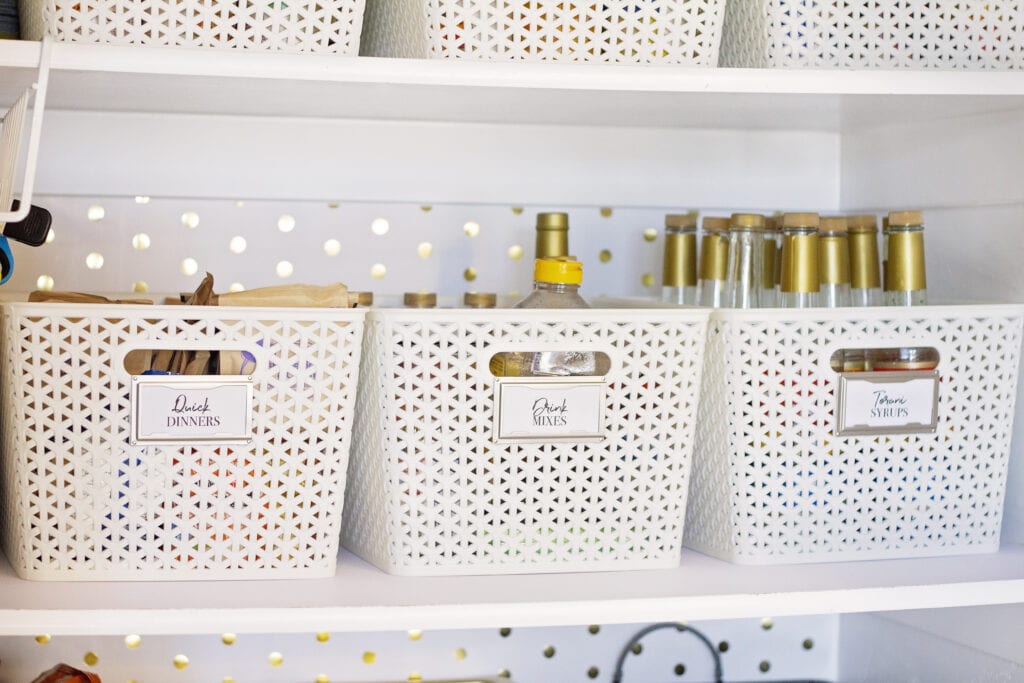
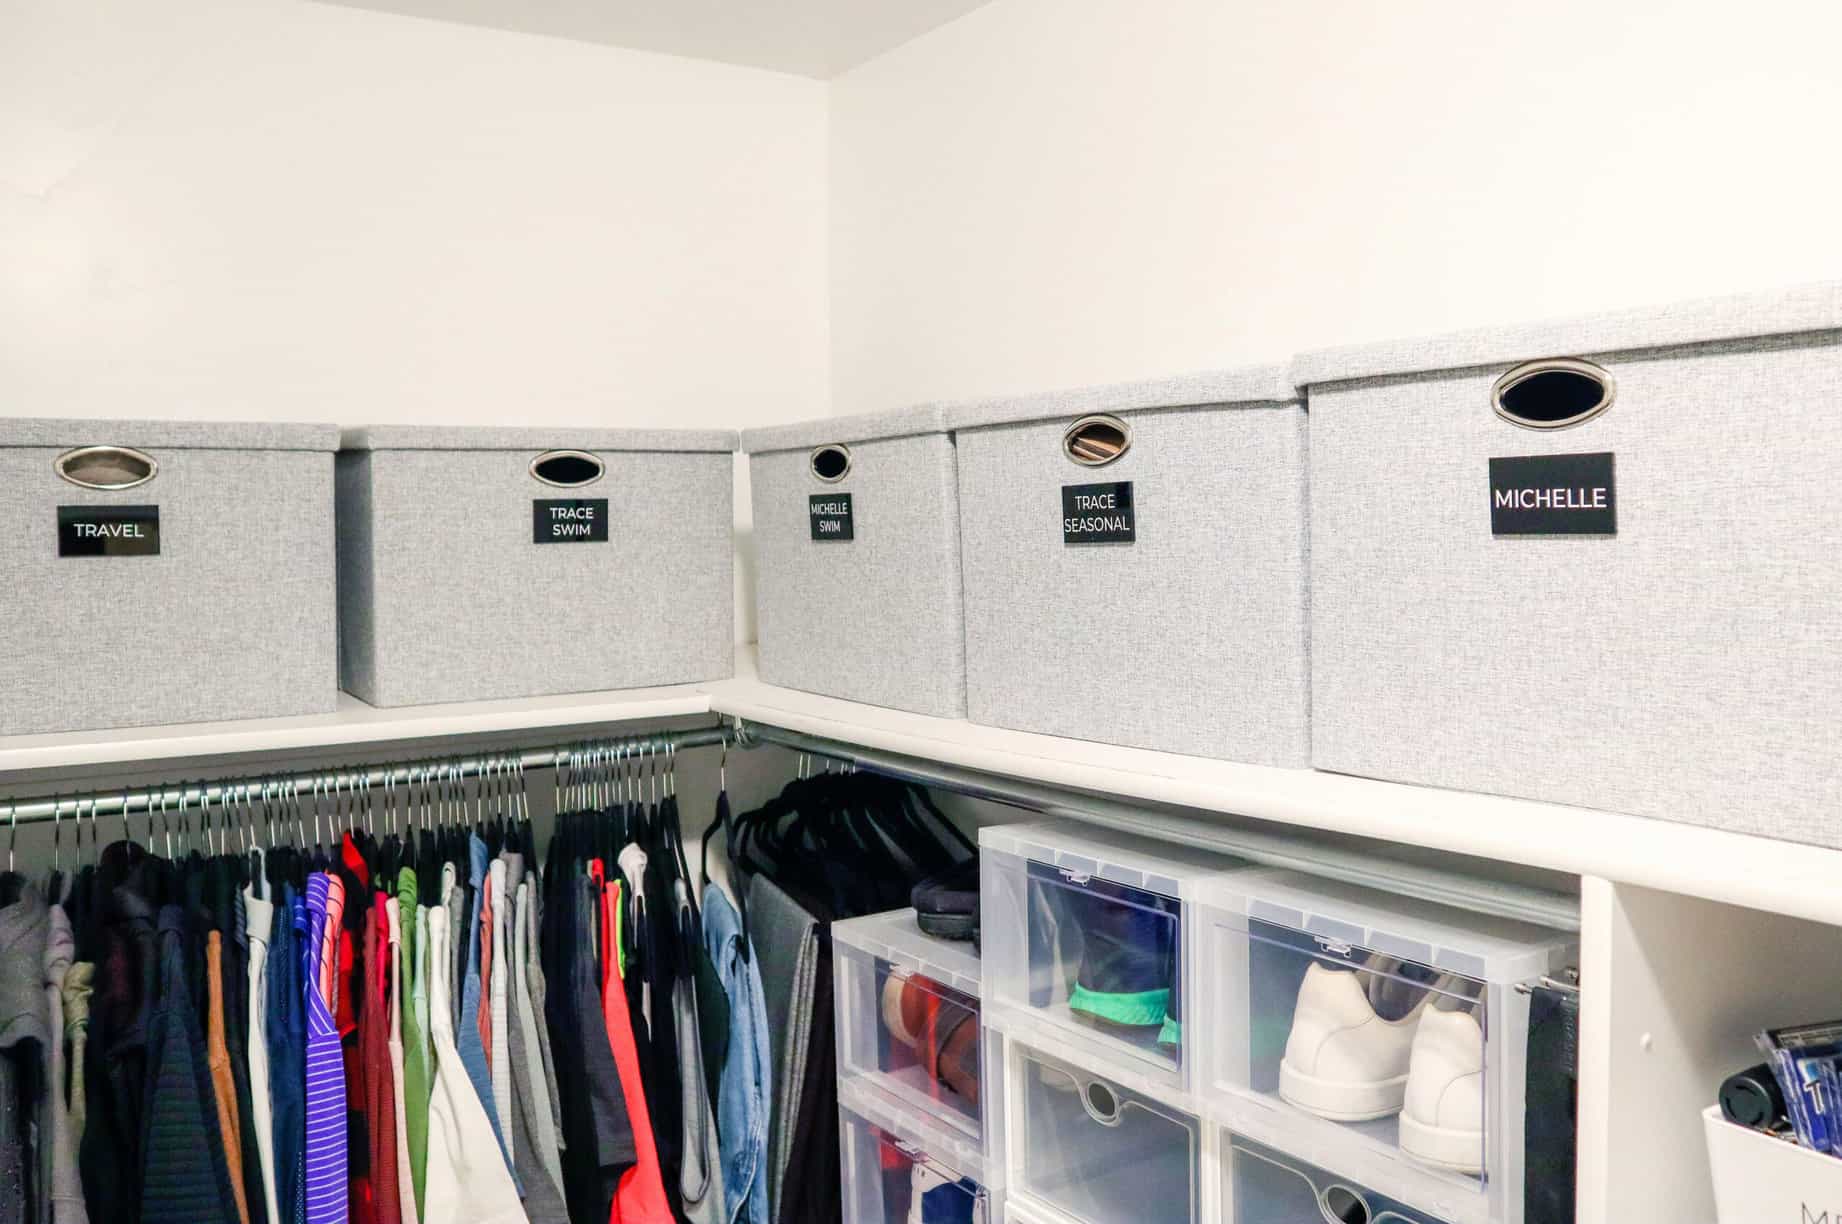
7. Get matching bins or baskets
Matching baskets or containers in a pantry makes everything look really put together and tidy. Bins and baskets are particularly helpful if you want to organize a deep pantry – it allows you to create sections of items and things don’t get buried as easily.
You can plan ahead and figure out what zones and categories you want before organizing day, so you have enough time to buy baskets and have them ready to go, or you can just buy a bunch of different sizes and see what works while you’re organizing. Then return the unused ones or save them for future projects.
If you don’t want to purchase a set of bins or baskets, you can always make your own. I know someone who uses the bottom half of sturdy containers (like protein shake boxes) and covers them in contact paper to organize things like loose bags of seasoning or fruit snacks.
Depending on how large of boxes you can find, it might not work for larger items, but you can at least organize your small stuff this way! It will definitely help keep your pantry organized and help prevent wasted space.
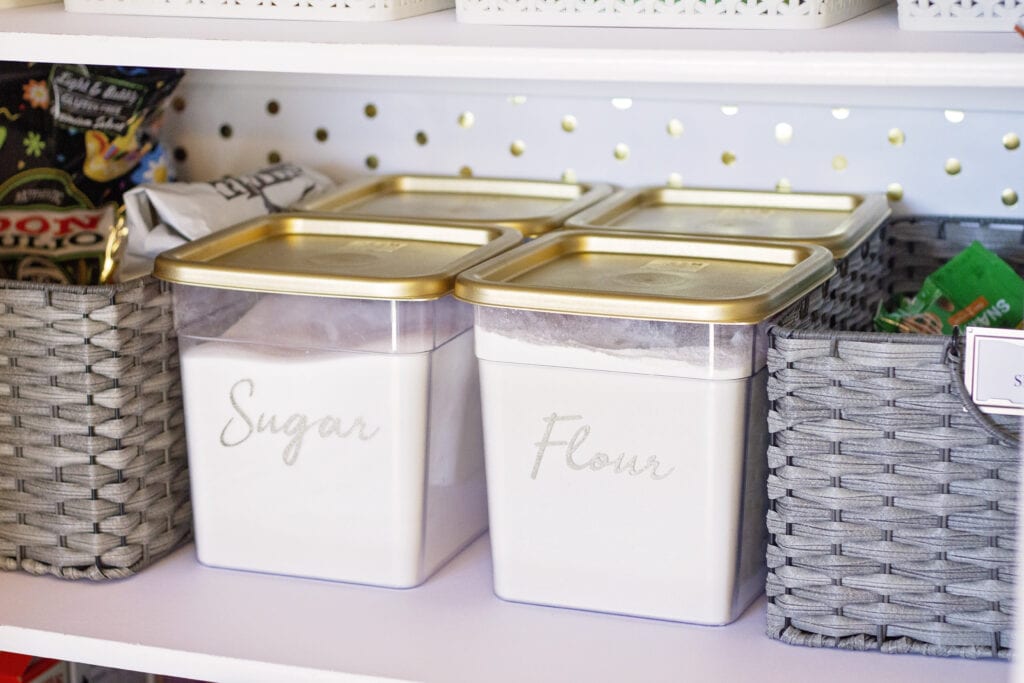
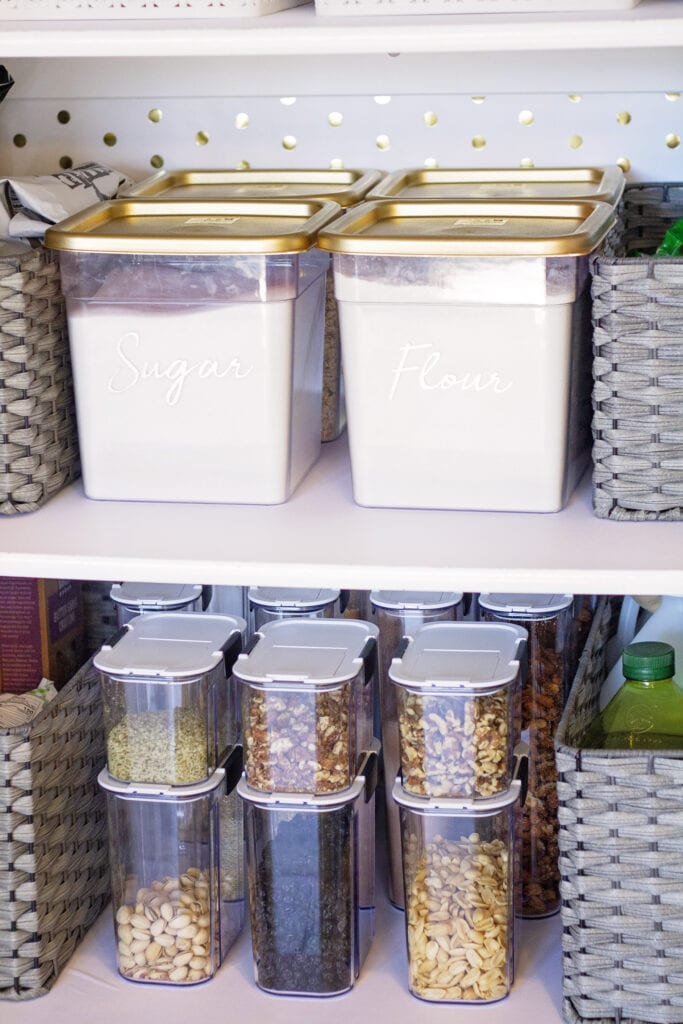
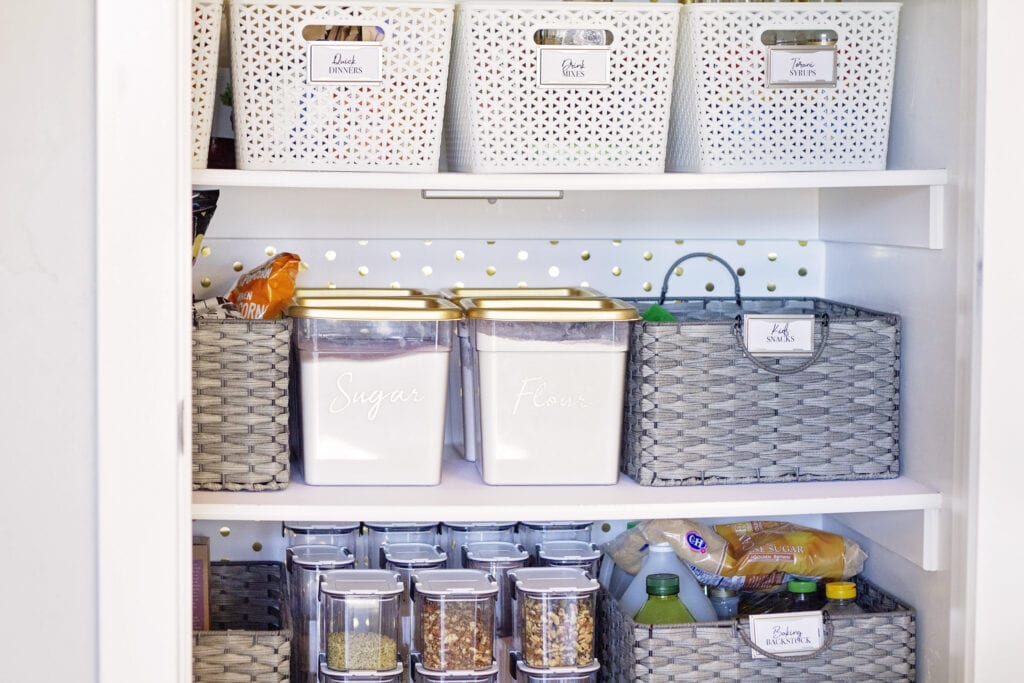
8. Putting baking supplies in clear containers
This isn’t a necessary step, but it’ll help take your pantry to the next level. Get clear containers for your baking supplies like your different sugars and flour and ditch those pesky bags they come in. You should be able to easily find clear bins from a container store.
Those bags always seem to spill flour and brown sugar everywhere when you’re trying to open and close them, plus it’s almost impossible to stack them. If you get big, clear containers, you can stack them nicely, which will keep your pantry organized while saving space.
Plus, you’ll be able to easily see when you’re getting low on any of your baking supplies!
Use these bins for things like flour, sugar, brown sugar, powdered sugar, cocoa powder, oats, and nuts. You can even do this with pasta and cereal if you have room and like having everything super visible.
If you get smaller stacking bins as well, you can use them for baking powder, baking soda, chocolate chips, flax seeds, chia seeds, and other backing ingredients.
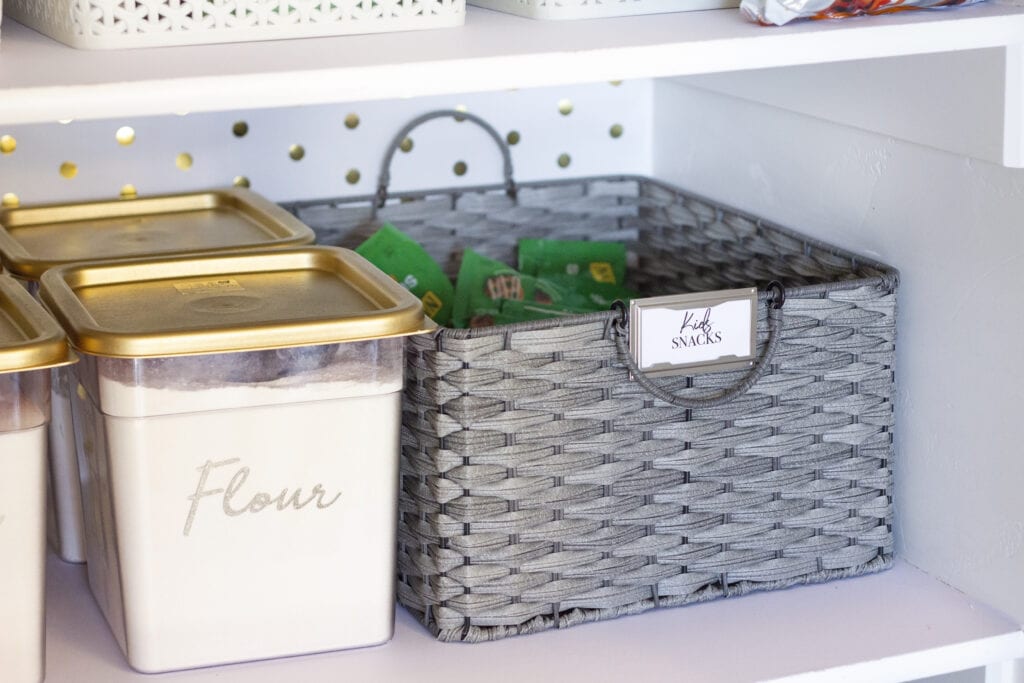
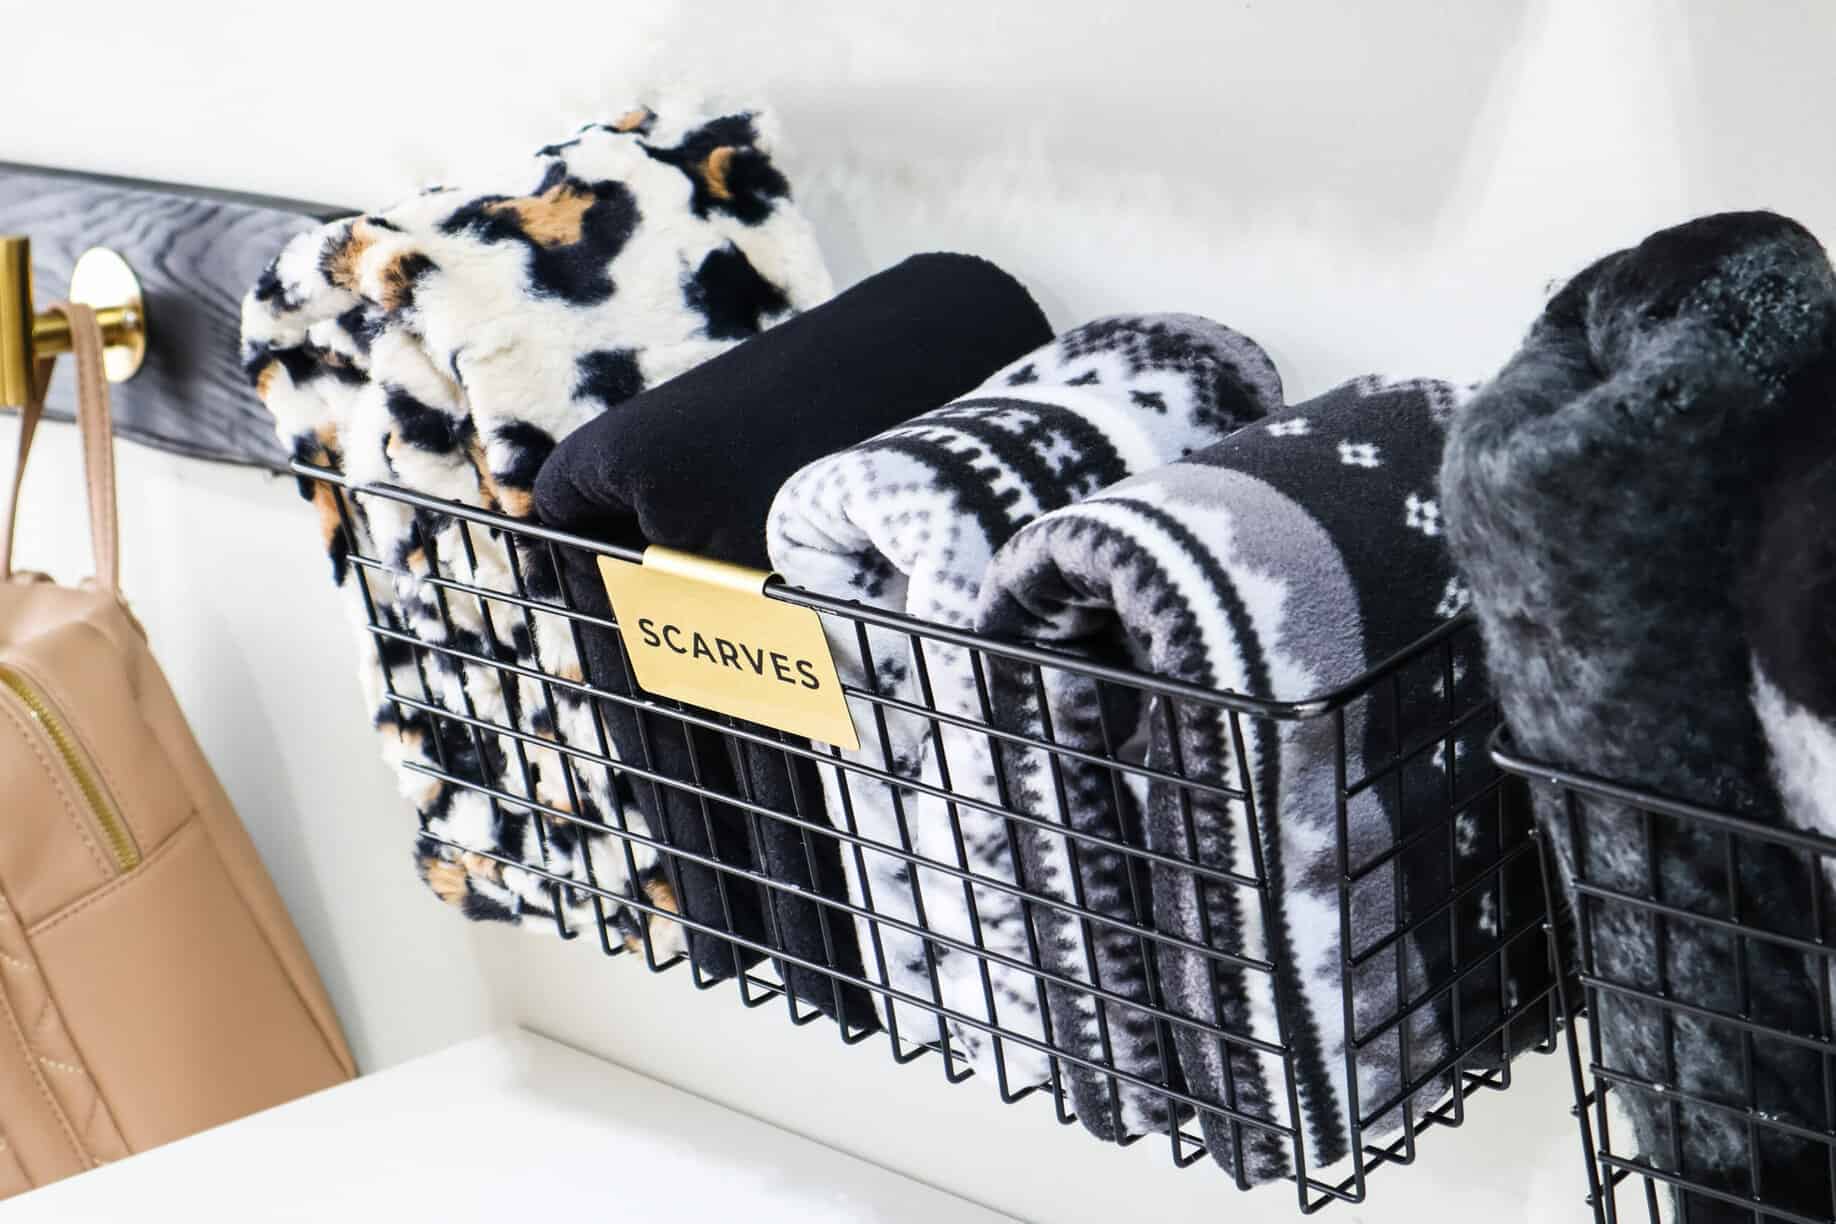
9. Label everything
When I say everything, I mean everything. Obviously, you’ll want to label bins and containers, but label shelves as well. Labeling is one of the best things you can do when it comes to organizing. Not only will it make everything easier to identify when you’re cooking, but it’ll also help you with maintaining your newly organized deep pantry.
When everyone in the house can easily see where everything goes, they’ll be able to put things away in the correct spot when helping to unload groceries!
Printing your own custom labels is super easy, too!
10. Use hanging shelves on the door.
I’m all about using up every bit of space you have, and the back of the door is no exception.
If you use a cupboard for your pantry and have limited space, look into buying hanging shelves or baskets for the door. You can put cans, jars, baking mixes, or even spices in them! Even if you have a separate pantry and need a few extra shelves, you can easily find some over-the-door wire racks online that can give you the space you need.
11. Add drawers on deep shelves
I love adding drawers to shelves. Drawers make it so much easier to keep things organized, and you won’t have to constantly be moving items in the front to get to the ones in the back, because you can just slide the drawer right out and have access to everything.
It’ll also help you save room on your shelves as the drawers will utilize that often-wasted vertical space. I highly recommend getting a small set of wire or basket drawers put in your pantry.
12. Use a lazy-susan in the corner
Getting a small lazy Susan for any awkward corners or high shelves you can barely reach is a gamechanger. You won’t have to pull tons of stuff off the shelf to get to the cans or spices at the back anymore. Lazy susans are particularly helpful when you need to organize a deep pantry.
Just leave enough space for you to be able to quickly spin the lazy susan around and you’re good to go! It keeps your pantry organized and functional.
13. Make a section for backstock
This is a good idea if you have a top shelf or several upper shelves that are difficult to access regularly. Put your extra stock up there, and just bring it down when you need it.
Of course, this won’t apply to everyone and your pantry might not be large enough for a backstock section, but if you tend to buy a bunch of stuff on sale and save it for later—designating an area for all those excess goodies can help you stay organized.
A Few Final Tips
While you’re planning out and organizing your pantry, remember that it needs to be an efficient system that you can maintain. You don’t want to spend hours decluttering, cleaning, and organizing your own pantry when it’s just going to get messy the next time you come home with groceries.
So make sure your deep pantry organization system works for you. Be realistic about the food you usually have and what you use most often.
Put things away properly right when you get back from the store. It might take a bit longer to put away new groceries, but it will be super helpful in the long run when it comes to keeping your deep pantry organized!
Having an organized pantry will make cooking so much easier! Take some time to make your pantry organization work for you and you’ll definitely notice a huge difference.
Shop the Post


Good evening, I was wondering what kind of basket is the one labeled kids snacks? I did not see that anywhere in the article. Thank you for the great ideas.
Unfortunately, I don’t have a link for these because I just bought them at TJ Maxx. I apologize!
Thank you for responding back to my question! Do you happen to know the brand by chance?
I took the tag off, so I don’t I am so sorry!
I was wanting to know where you got the clear flour and sugar containers with the gold lids. Cannot find any anywhere. Love this post! Looks fancy and functional!
Hey Dawn! I bought them at a local restaurant supply store and I spray painted the lids. I will however warn you that the spraypaint breaks down the lids and the lids have since cracked. I wouldn’t hesitate to buy the containers again but I just probably wouldn’t spray paint it again. Hope that helps!
What kind of labels are you using?
I typed the labels out on my computer and printed them at home. The label holders are from Target!