12 Easy Fridge Organization Tips for the Busy Family
I feel like the fridge is one of the most difficult places to keep organized. Think about it! All of the food that goes in and out on a daily basis, the leftovers, the spills, the kids’ snacks, the rotten strawberries, and who knows what that smell is coming from! Let’s not even mention the times when we barely have enough time to shove the groceries into whatever space they fit into – forget about making it beautiful! Here are my favorite tips for easy fridge organization for your own fridge!
Don’t forget to scroll down and sign up to gain access to my FREE Resource Library where you’ll have access to more than 50 pages of free printables!
Is Fridge Organization Worth the Effort?
Is fridge organization really worth all of the hype and the effort? It’s lovely to see those perfectly organized fridges on Pinterest (filled with a rainbow assortment of food you’d never actually use) but you wonder if it worth all of the hype and if it’s actually something that you can maintain! Well, I’m here to tell you that it is worth the hype and that if you set up a good system, it’s actually quite easy to maintain. Here are my favorite reasons of why I keep my fridge organized:
- Less food waste – no lost food at the back of the fridge
- No mystery smells
- It looks beautiful when there is a thought out system
- You save money because you know what you already have and don’t overbuy
- Saves you time
So if you have been putting off organizing your fridge, now’s the time!
Clean Out & Toss Out
Keeping your own fridge clean and organized is impossible to do if you don’t start with a clean slate. So I highly recommend emptying out the entire contents of the fridge. Condiments and all. Doing this will help you visualize the possibilities of organizing and it will also help you get rid of that nasty food that’s been stuck in the back of the fridge for who knows how long.
Wipe out every square inch of your fridge. If you are having trouble getting sticky messes to come off, I really recommend getting a cleaning rag wet in hot water (as hot as you can handle) and it really helps to melt away the sticky mess without too much scrubbing. I also really love these glass cleaning cloths for the glass shelves (and pretty much anything else because I’m obsessed with them!).
The next step is to check the labels of every food item for expired foods. Some foods can still be used well past their ‘expiration date’ because many food companies use this date to their advantage to get you to buy more sooner. So use your best judgment when throwing out food.
Adjust Fridge Shelves
After you get rid of the food you don’t need anymore the next step is to adjust the shelves. I think that this is one item in organizing that often gets missed. If you can think critically about how you will be using your fridge, this will help you make better use of your space.
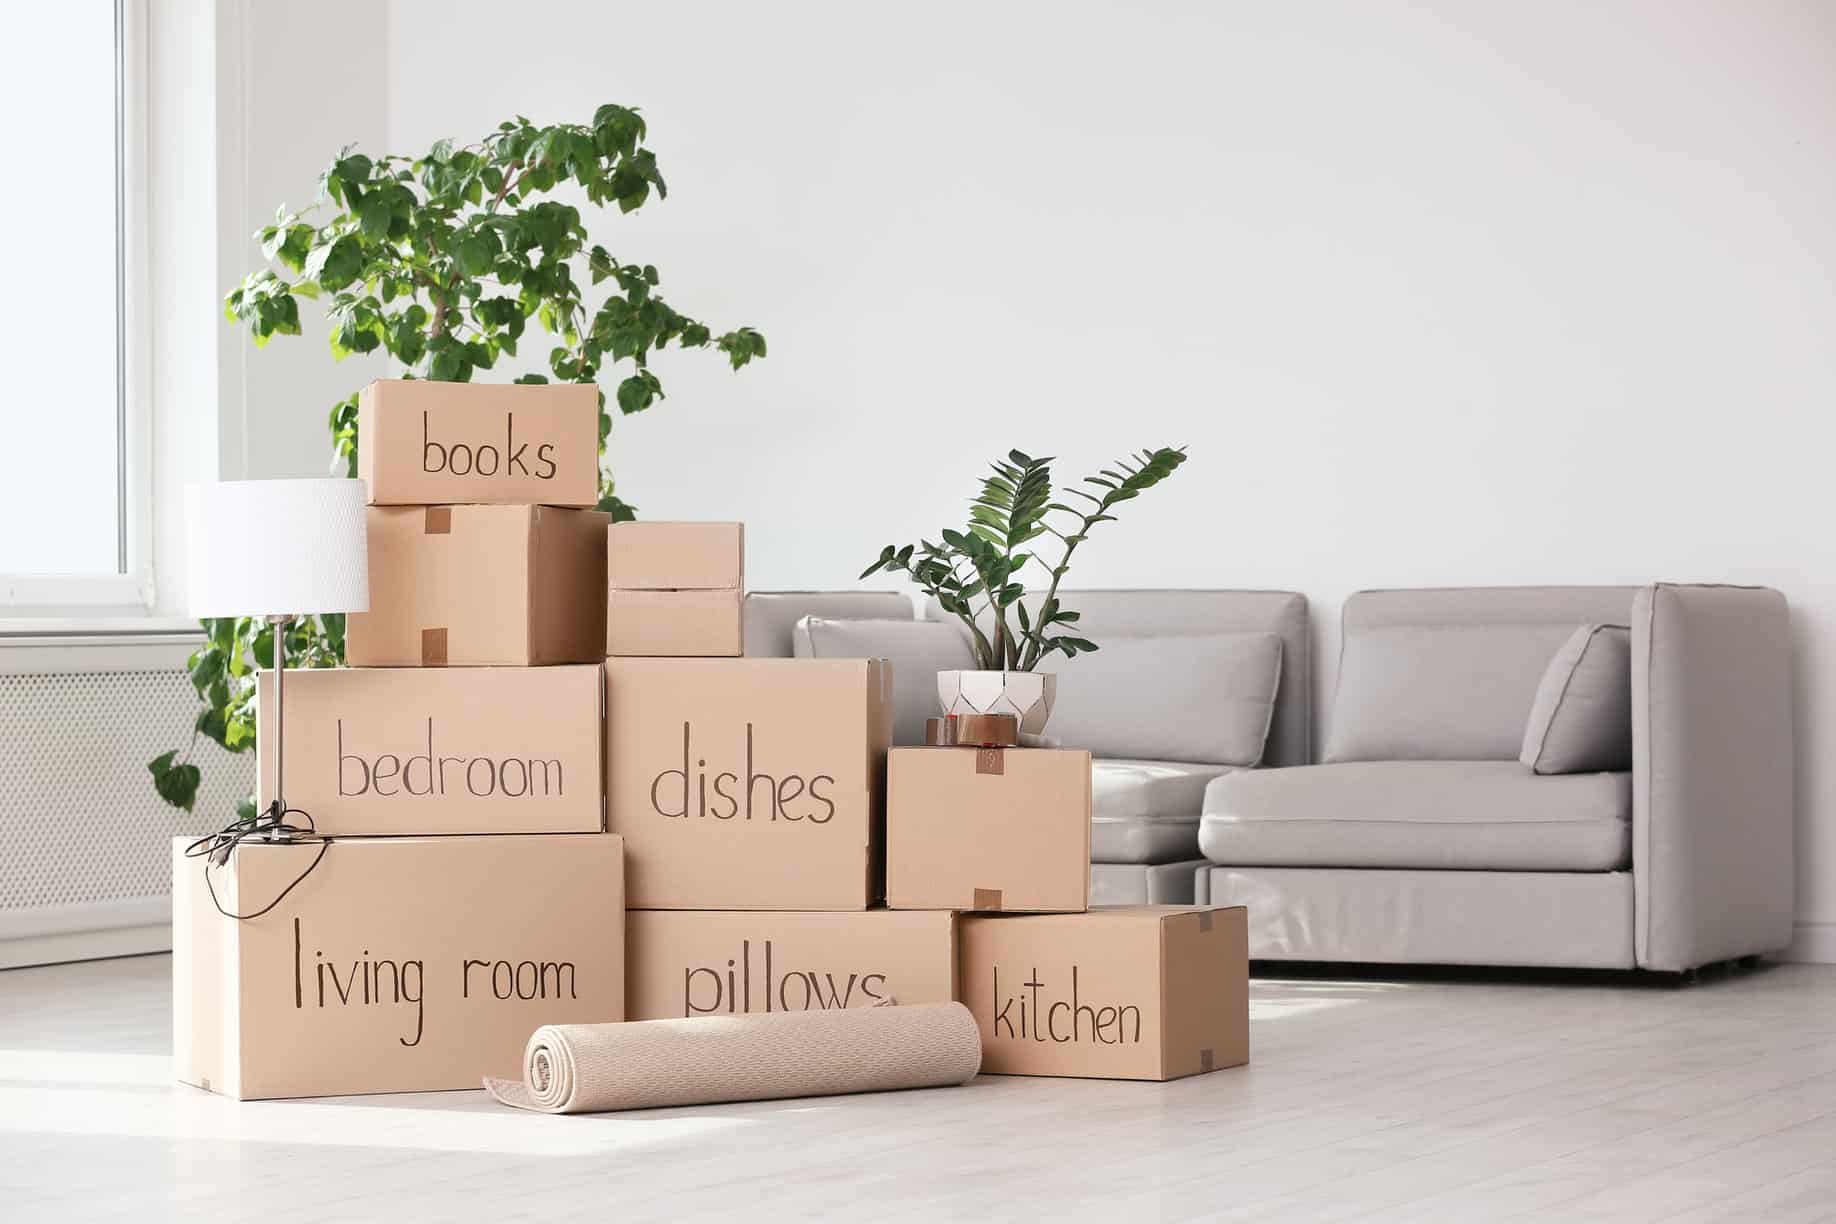
I’d be willing to bet that when you moved into your place, you just started shoving food into the fridge to ‘keep it cold’ without a second thought to the height of your shelves. And it’s probably stayed that way for years! Your fridge shelves may be in exactly the place that you want it to be. But there’s also the possibility that moving some shelves around will help the overall ‘flow’ of the fridge work better. So think it through and give it a try.
How can I Organize Drinks in the Fridge?
Drinks can be tricky to keep organized because no matter how nicely you try to line them up, things always get out of line when someone gets a drink out of the fridge. And if enough people take drinks out of the fridge, you usually end up losing a few drinks at the back of the fridge!
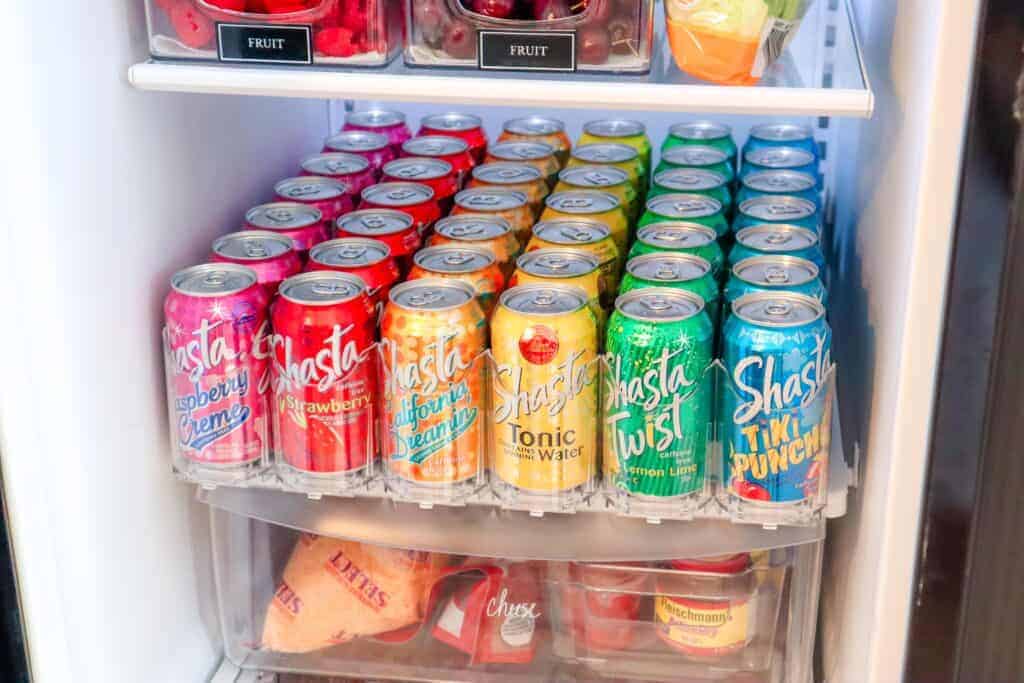
I’ve discovered a life-changing drink organizer that’s been used in every gas station around the country but it’s never occurred to me to use it in my own home until recently! Drinks stay perfectly organized and all remaining cans move forward when a can is taken out.
Great for canned soda, protein drinks, or any other kind of drink that you keep stocked in your fridge! Also, pay attention to the fact that there are 2 different products that have different sizes of drink holders. So take that into consideration when deciding which one to buy.
Where Should You Store What?
Top Shelf
I put things on the top shelf that I don’t want my kids easily acessing, such as eggs. The top shelf is a place where you can store condiments in lazy susans! This gives you easy accessto the items even if they are in the back of the fridge in a hard to reach area. It also helps you to save space and prevents food from going bad. You can use a lazy susan on any self in your fridge!
Crisper Drawers
Typically people store produce in the crisper drawers but I actually love to place a few paper towels in my bottom crisper bin to store my meat. Nothing is worse than bloody meat leaking down all of your shelves onto your other food. But that’s just my preference.
Keep It Smelling Nice
No matter how great you are at cleaning your fridge out (or not great!), fridge smells are inevitable. Especially if you love strawberries! 🍓 It’s a love/hate relationship with those babies.
But I always keep some baking soda in my fridge to help absorb those inevitable fridge odors. It really goes a long way and I really notice a difference! You can check out this baking soda product or this fridge deodorizer.
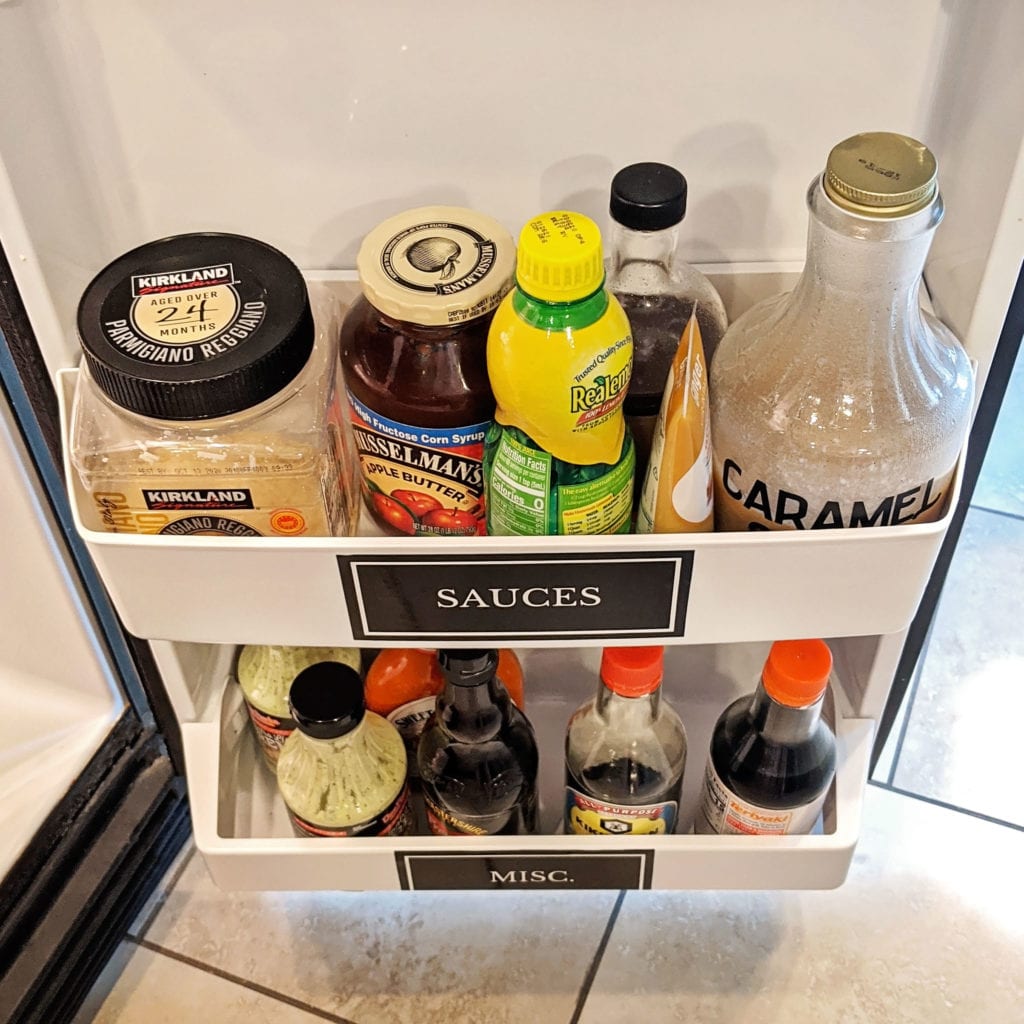
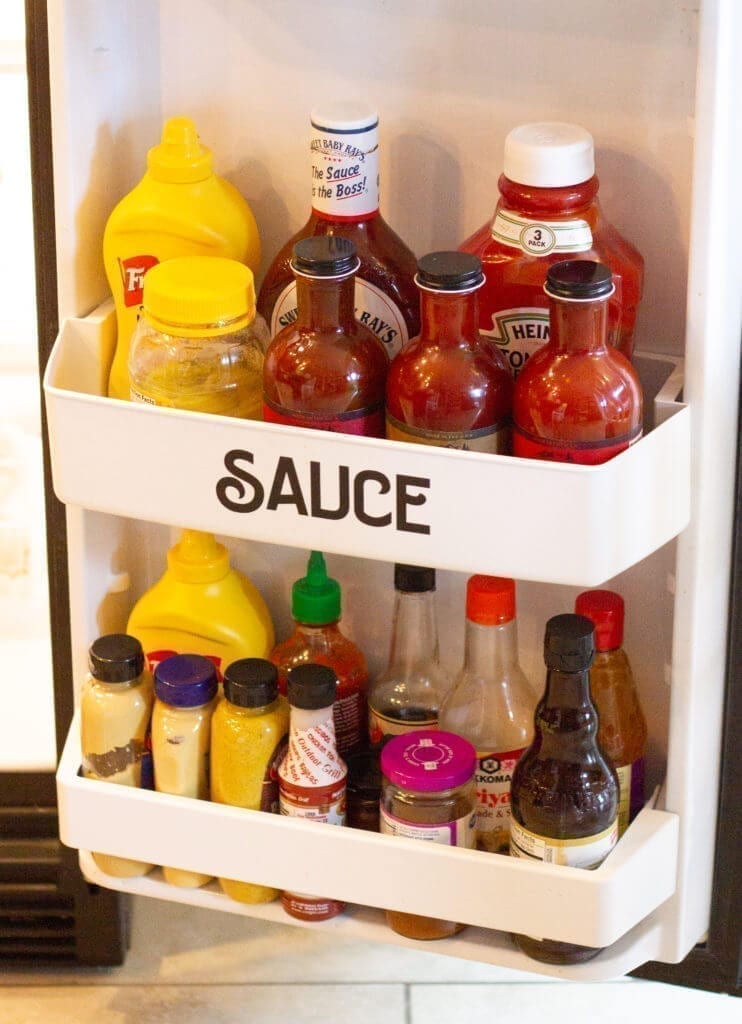
Group Similar Items Together
After you put in your fridge deodorizer, the next step is to group similar items together. So if you have a bunch of condiments, I suggest putting those together. Love salad dressing? Put all of those together as well! Here are some other ideas of how to group things together:
- Cheeses
- Deli Meat
- Kids Snacks (you can also check out my Kids Healthy Snack post)
- Condiments
- Asian Sauces
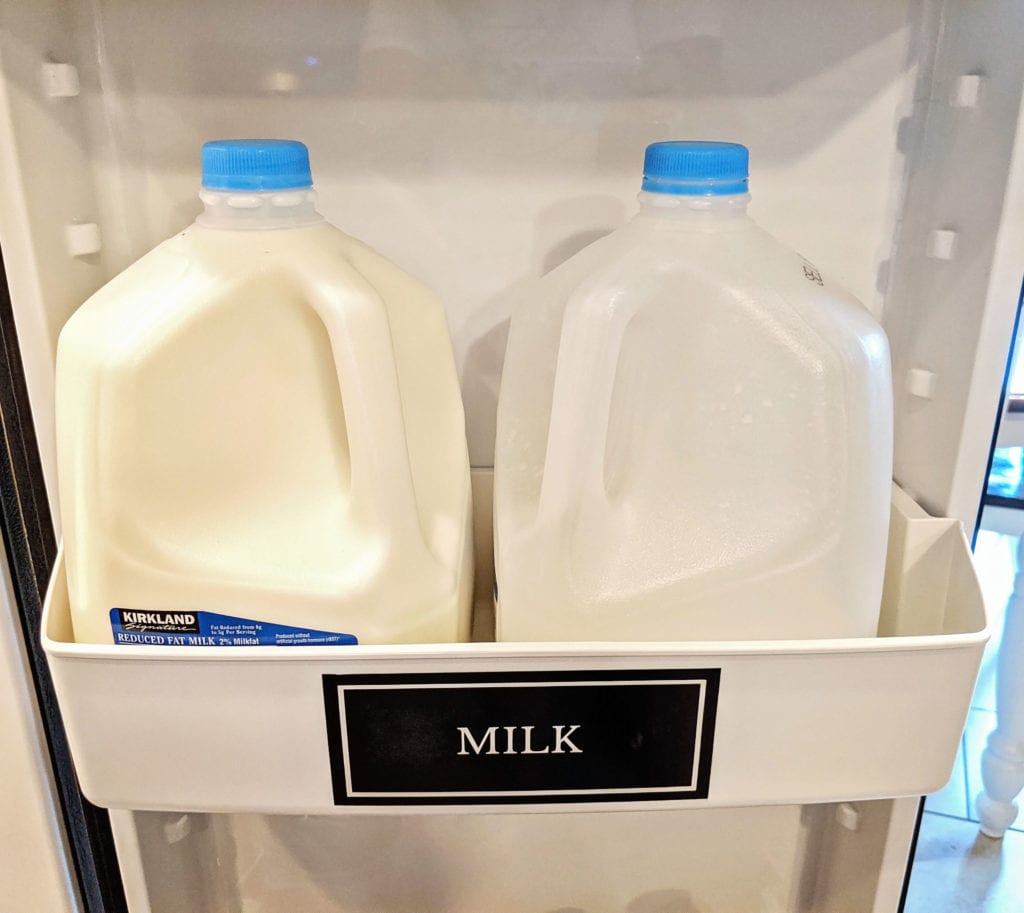
- Milk
- Dairy Products
- Eggs
- Sandwich bin if you make sandwiches a lot (deli meat, cheese, mayo, etc.)
- Kids Lunch Items
- Fruit
- Veggies
- Meat
- Have a ‘leftover’ shelf
- Butter
After you have decided how to group things together, decide where to put those items. If you have a snack station for your kids, make sure to put it where they can reach it or they will literally climb the fridge to get it. Believe me. My kids have done it.
Invest in Good Containers
For years and years, I have used the cheap plastic food storage containers that most people use. And I was continually having to re-buy them because over time they were just disgusting looking. They were stained with spaghetti sauce or had melted plastic parts from the microwave. They never looked clean. And it grossed me out. Sound familiar?
About 6 years ago, I asked my husband if he would buy me some glass food storage containers for Mother’s Day. Because that’s the kind of weird things that we do as adults. Anyway. Here I am 6+ years later, and I STILL have those glass storage containers and they still look incredible. The lids have small cracks in them but the glass looks as beautiful as the day that I got them.

I also invested in some glass meal prep containers for my husband to take to work with him and they have been just as great. They look brand new and we’ve had them for about a year now. I would never go back to plastic food storage containers! So much more eco-friendly, they look nicer, stay cleaner, they save money over the long term, and they are safer!
These are the glass food storage containers that I have but if I were to buy them again, I would get these rectangle ones instead of the round ones. Round containers can really be a waste of valuable storage space.

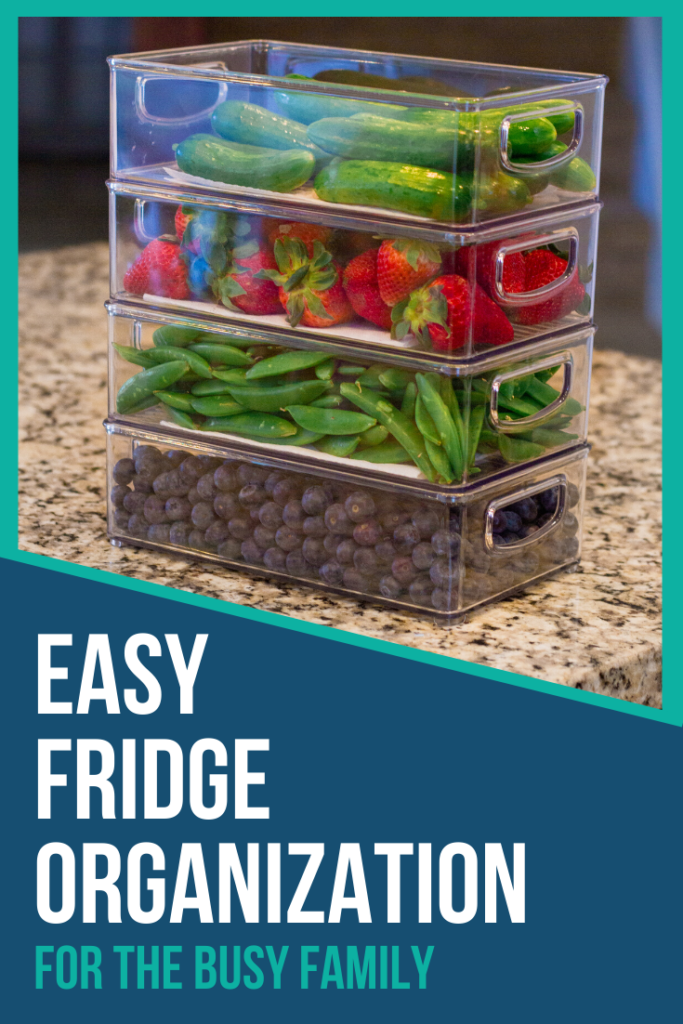
Use Vertical Space
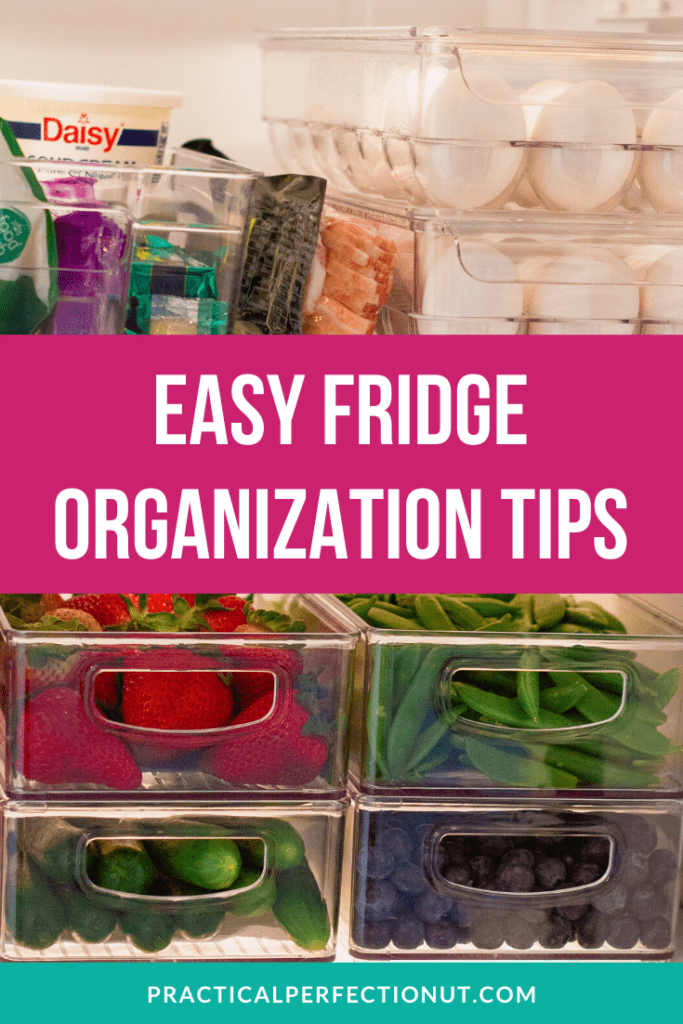
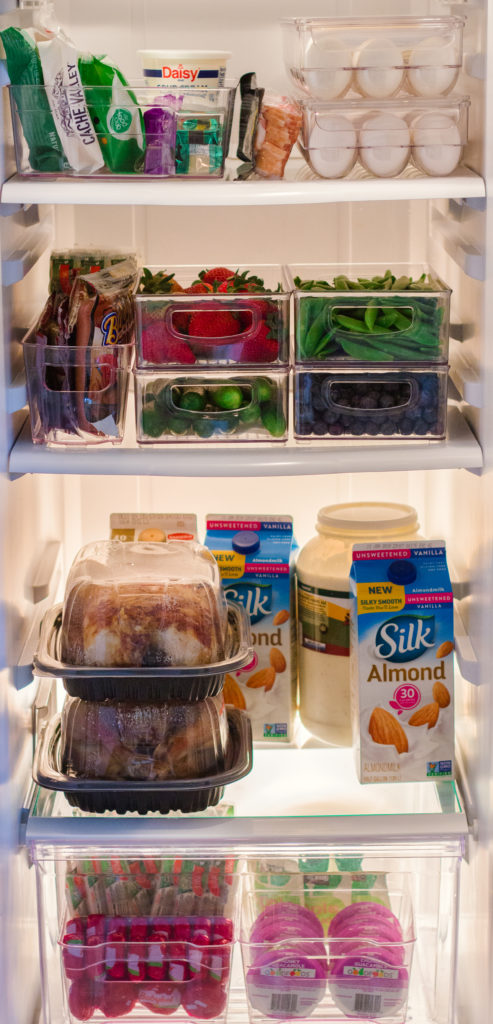
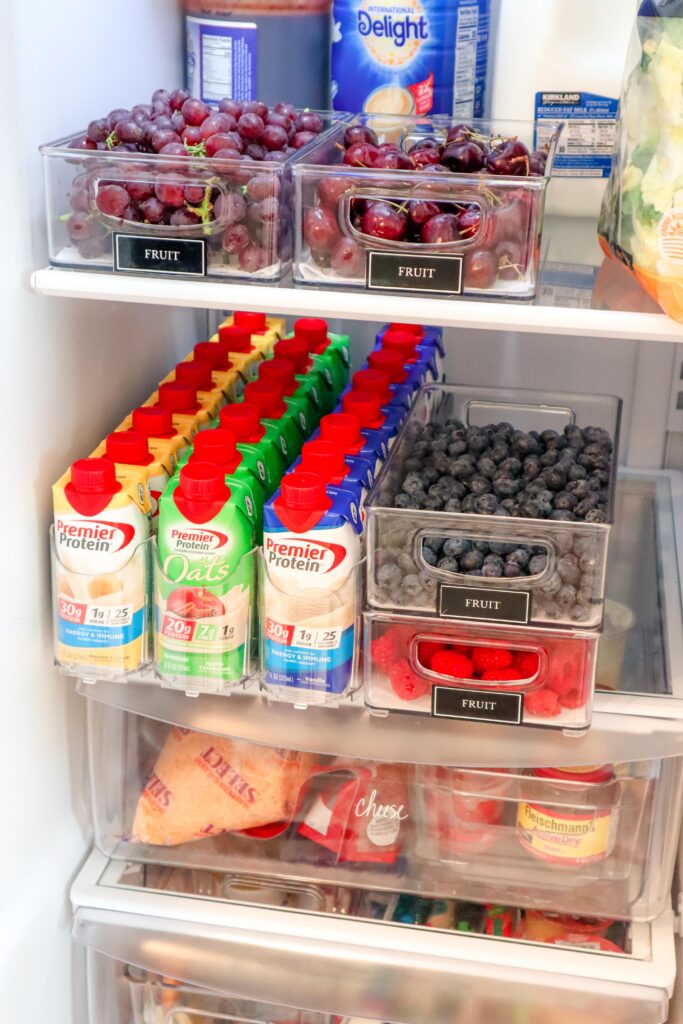
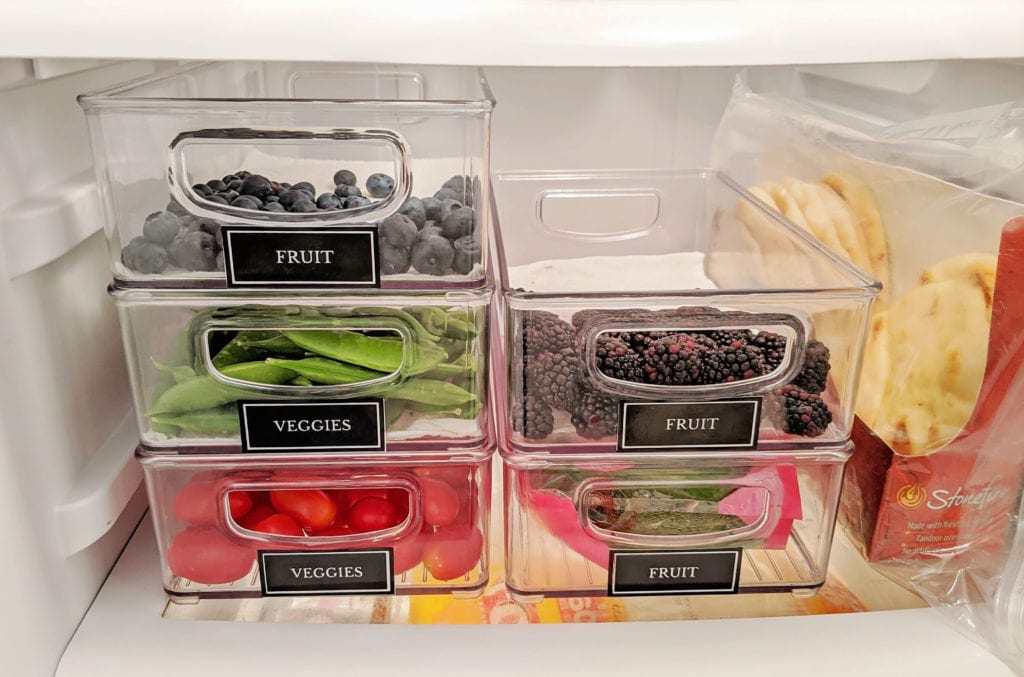
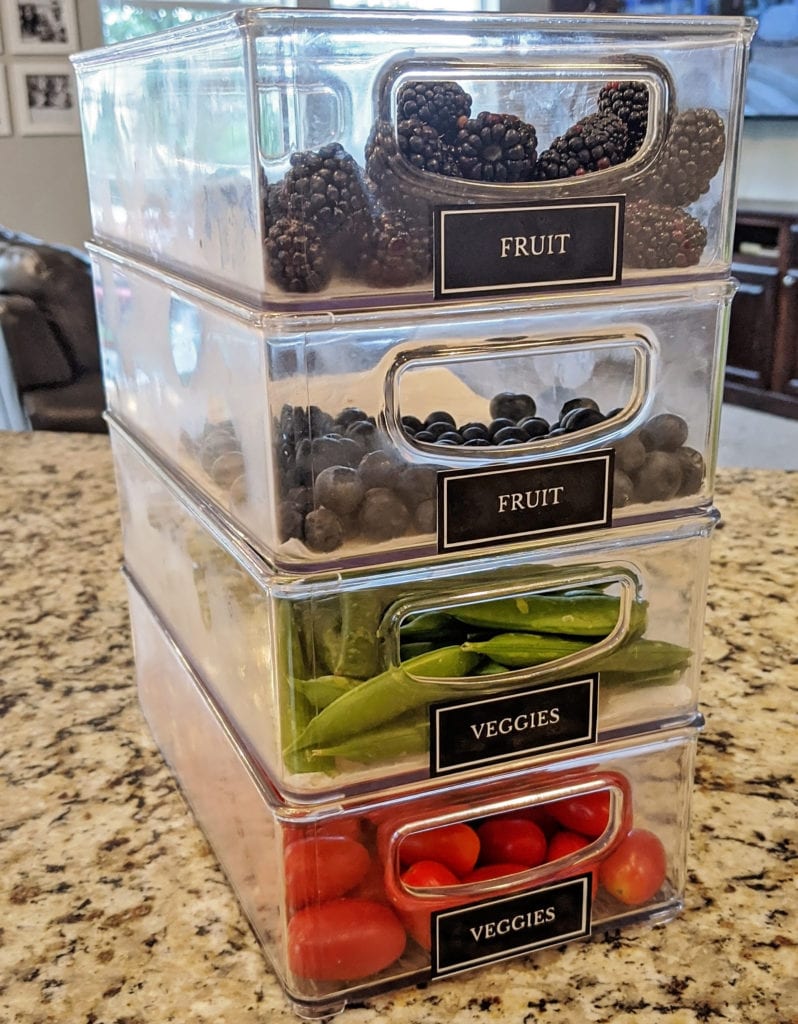
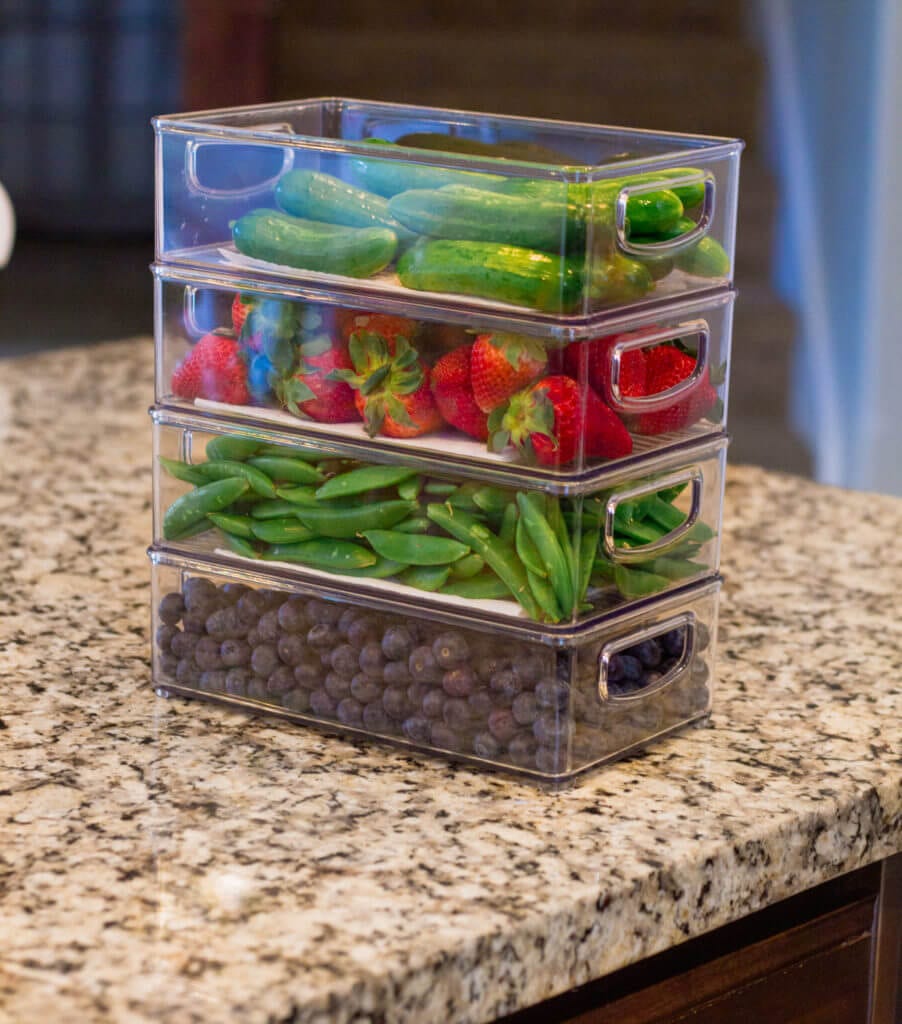
This is one of my very favorite tips that most people don’t think about. But it’s one of the most valuable tips that I’ve learned! Often times there is so much wasted space in our fridge (or anywhere, really!) because we don’t take advantage of the vertical space. A few years ago, I discovered these stackable fridge bins and it’s totally changed the game for me. I wash the berries, place paper towels at the bottom of the bins and they stay fresh longer.
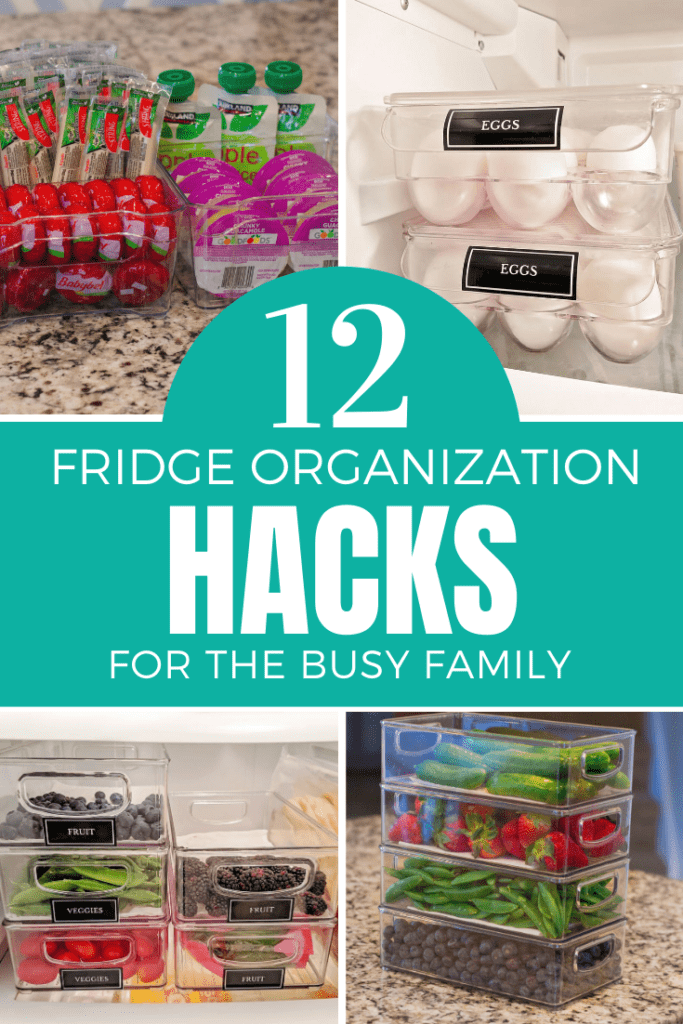
When I get home from the store, I take a few extra minutes to empty out a bunch of the fruits and veggies that normally come in clear plastic containers (think strawberries) and I dump them into my clear stackable bins. This makes my fridge look so much more organized and it helps me to take advantage of that dead space. I also have 2 clear acrylic egg bins (in place of the regular egg containers) because it helps me to see how many eggs I actually have left. We also do hardboiled eggs fairly often so I usually have one for each.

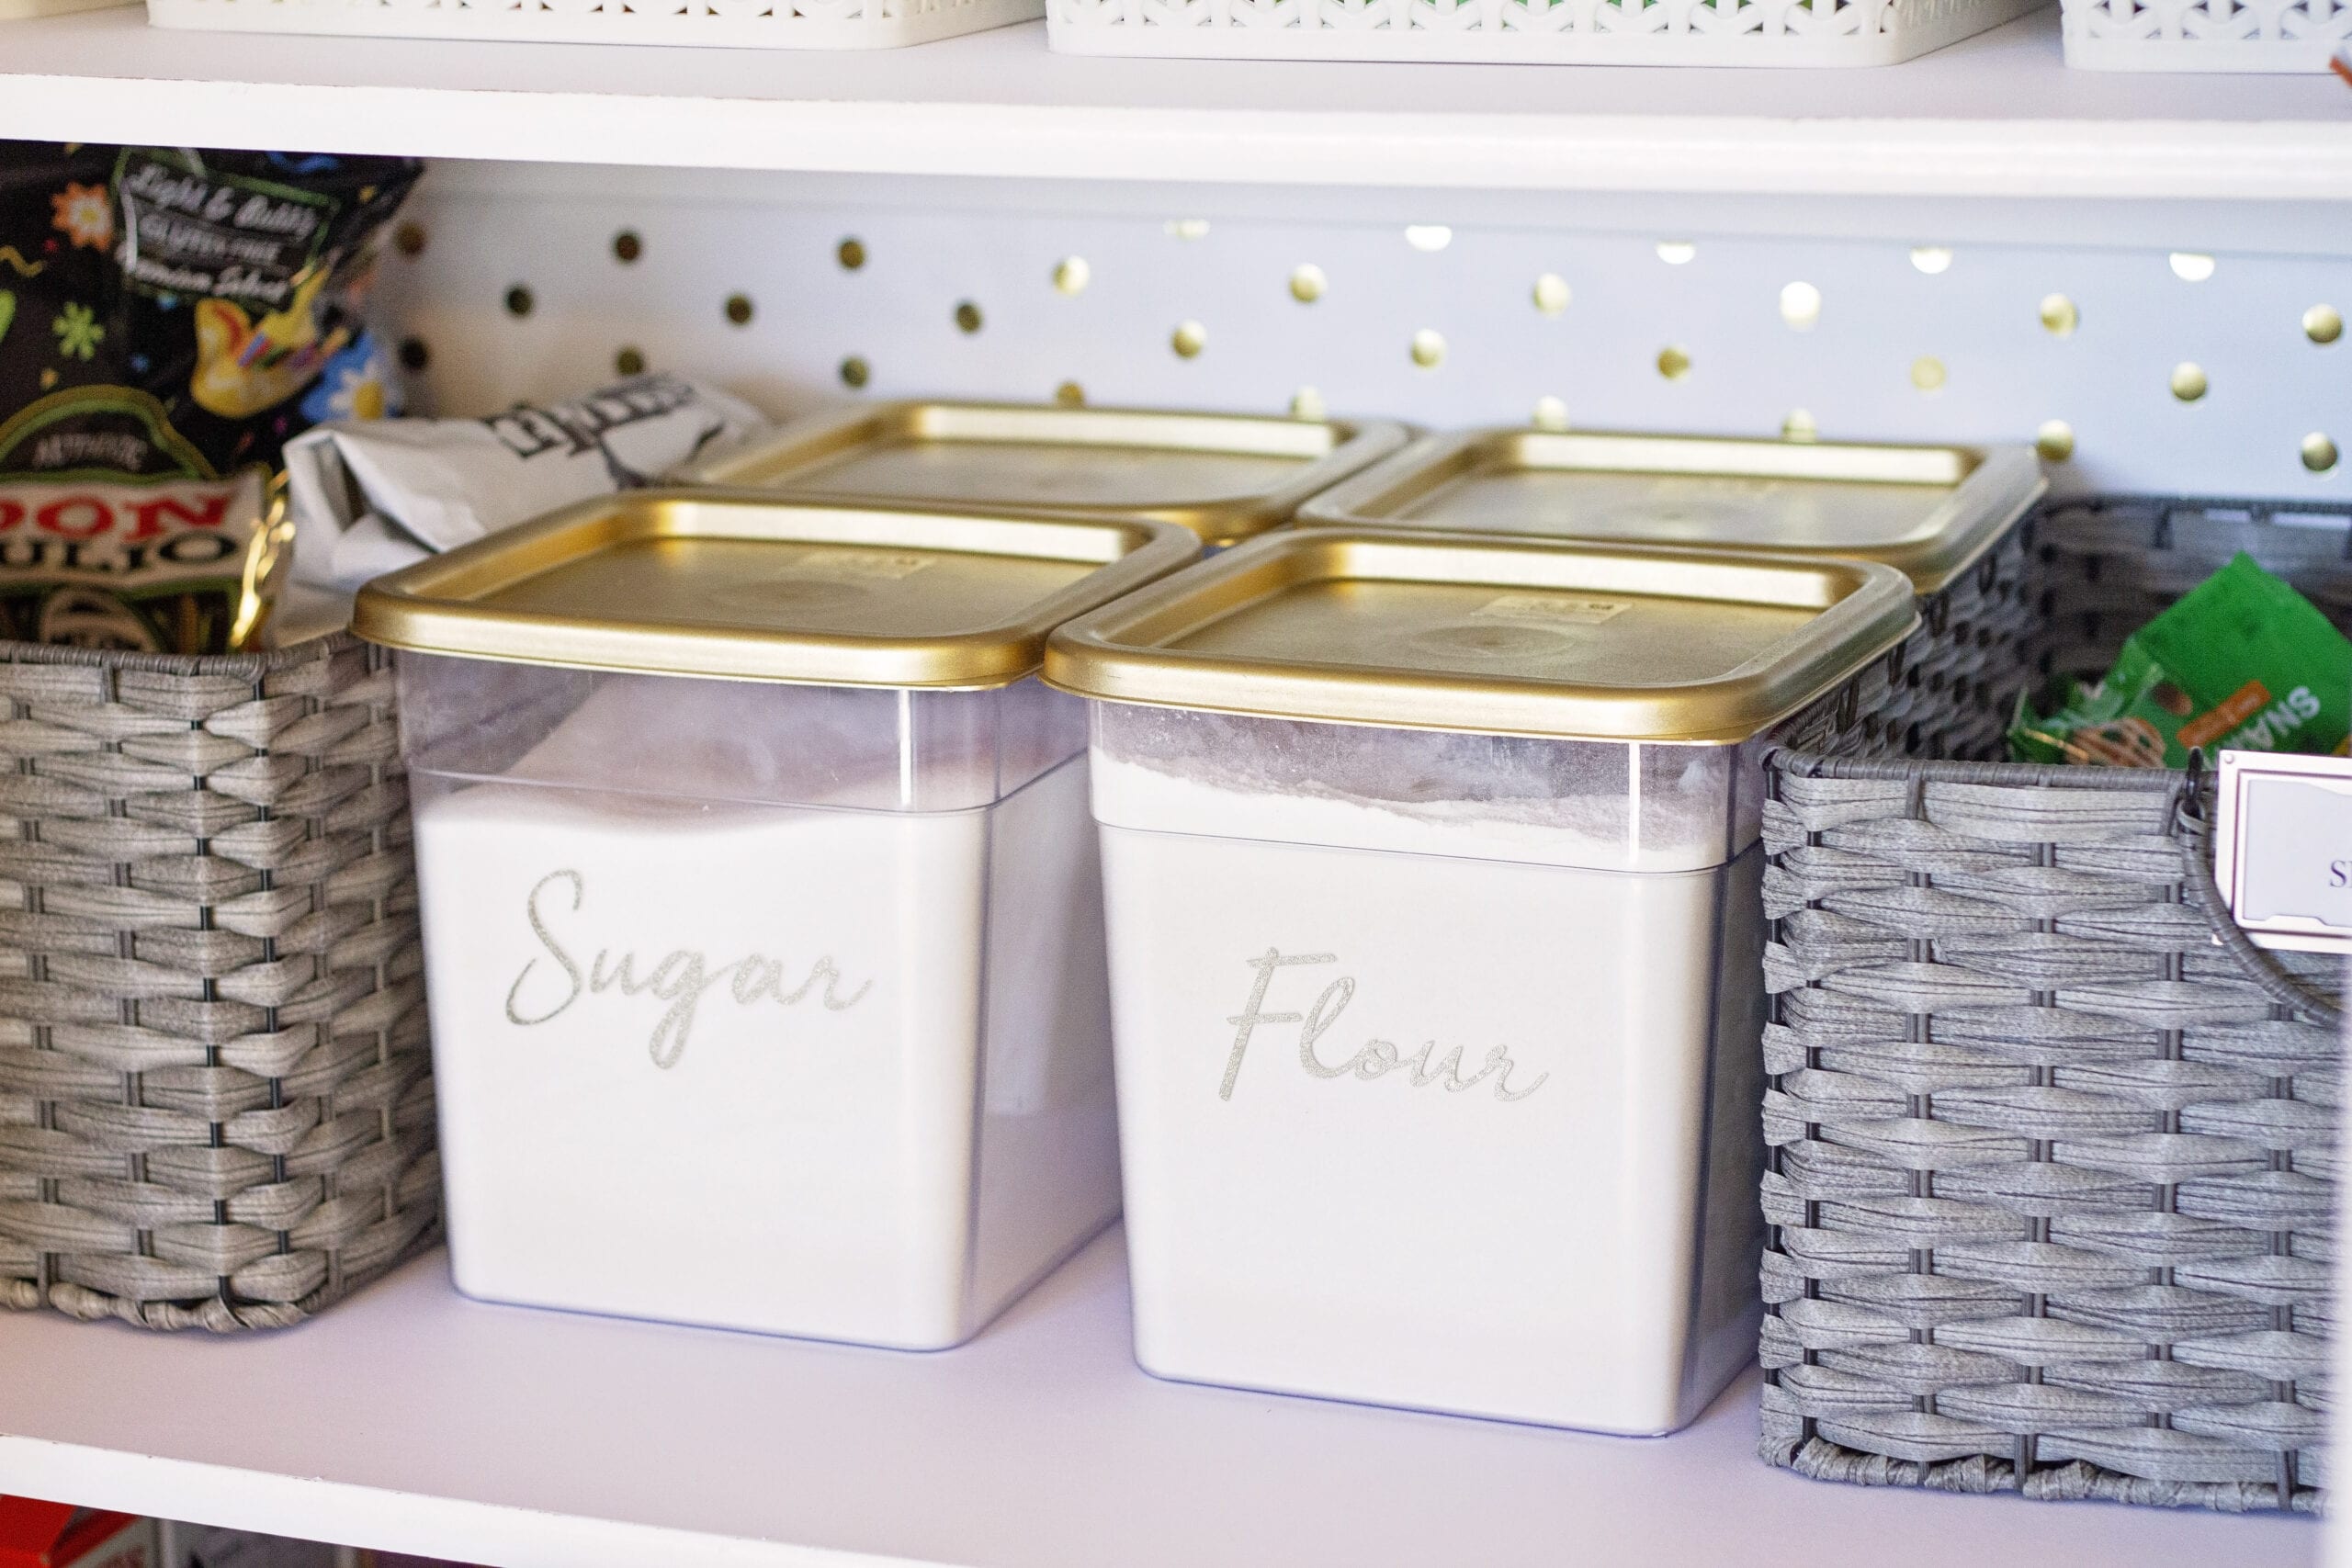
Label Your Containers
This next step isn’t super necessary but it’s my favorite. I have labeled my fridge with many different fonts and such throughout the years and sometimes not at all. But I have determined that, while not totally necessary, it just adds a nice finishing touch to the fridge that I love.
You can use pre-made labels from Amazon or you can do what I did and cut out custom labels using your cutting machine such as a Silhouette or a Cricut. Another easy option is to purchase chalkboard labels and you can write whatever you want on the labels with a chalkboard marker.
Another added benefit to labeling the fridge is that everyone in your family starts to recognize that there are certain places for certain items…and believe it or not, they may actually start to put thing away in the right places. Even if you have young kids, labeling things can help to train them to put things back where they go.
Clean Out the Fridge Weekly!
My #1 tip is by no means a new concept but this simple habit change has dramatically changed the way my fridge looks on a weekly basis. But you do have to realize that this habit change, when applied on a regular basis, must be consistent in order for you to have a beautifully organized fridge.
Yep! You read that right – weekly. By cleaning out the fridge weekly I have been able to accomplish several things:
- Less food waste! When I put the new food I bought from the store in front of the old food, I would forget about the old food and it didn’t get eaten and was eventually thrown away because it went bad.
- It isn’t disgustingly gross! Because it is cleaned out regularly, it doesn’t gross me out anymore to clean it.
- It is so much faster! Cleaning out the fridge used to take me at least 30 minutes. Now that I am in the habit of cleaning it every week, it only takes about 10 minutes!
- My fridge rarely, if ever, stinks! Because there aren’t any mystery leftovers that have been molding in the back of the fridge for weeks, my fridge rarely has a smell. Unless, of course, if I have strawberries in there (but I found a solution for that).
Tips to Cleaning out your Fridge
So here are some tips that I have to help you clean out your fridge on a more consistent basis and make it much less painful to do so.
- I always try to clean out my fridge the day before going to the store. This makes putting the groceries away so much easier because you have more room in your fridge and you don’t accidentally push stuff to the back.
- Store things in clear bins with like items together so you can keep track of food items better, such as cheese, lunch meat, fruits or veggies. Plus, it makes it beautiful!
- This is an age-old trick but putting a small container filled with baking soda in the back of the fridge does wonders for stinky smells! I bought some strawberries the other day and within hours of bringing them home my fridge was super stinky! I put some baking soda in the back of the fridge and by that night the smell was GONE!
- Before you go to the grocery store, take an inventory of what you already have so you don’t overspend as you are creating your grocery list. Go one step further and plan next week’s meals around the things you already have.
- I will probably do an entire post on this one day because it is my favorite thing, but I use my Google Calendar to set a reminder for me to clean the fridge out every Tuesday (Wednesday is my Grocery Shopping day). If I didn’t have this I am sure I wouldn’t be nearly as diligent about that chore.
So there you have it. What do you think? Is this something that you are willing to try? I challenge you to try it for 1 month and see how incredible it feels to open up a neatly organized, smell-free fridge! Small habits make the biggest difference in our lives, so why not start with this one? Set a weekly reminder on your phone and just do it!
Looking for more ways to keep your kitchen organized? Check out my post about an Organized Healthy Snack Station in the Fridge!