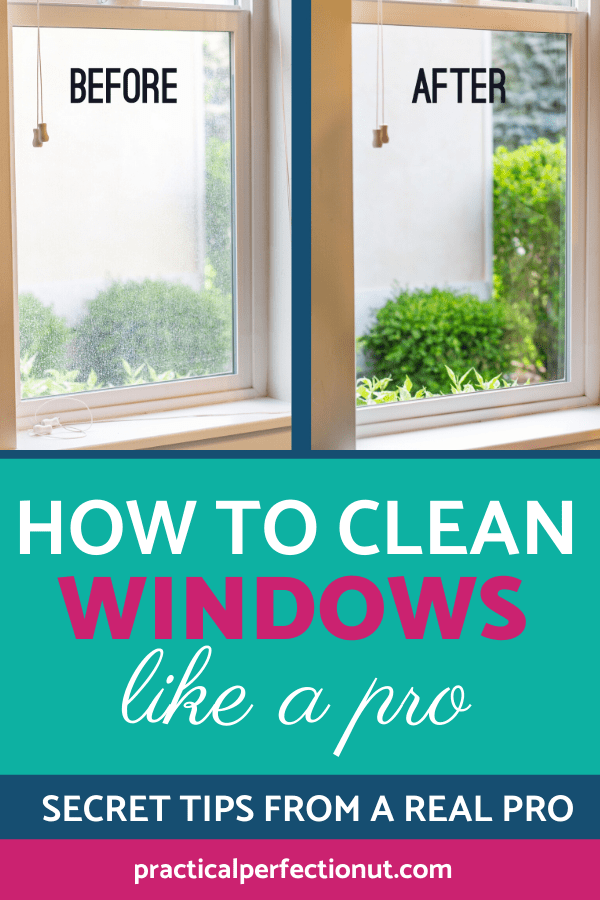
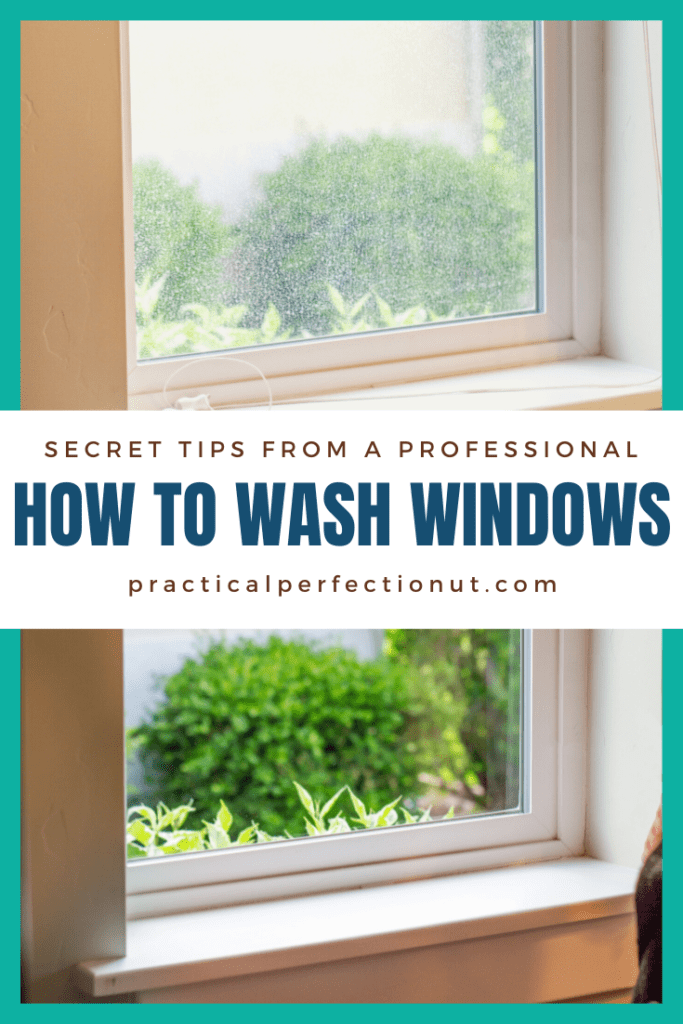
How to Clean Windows Like a Pro
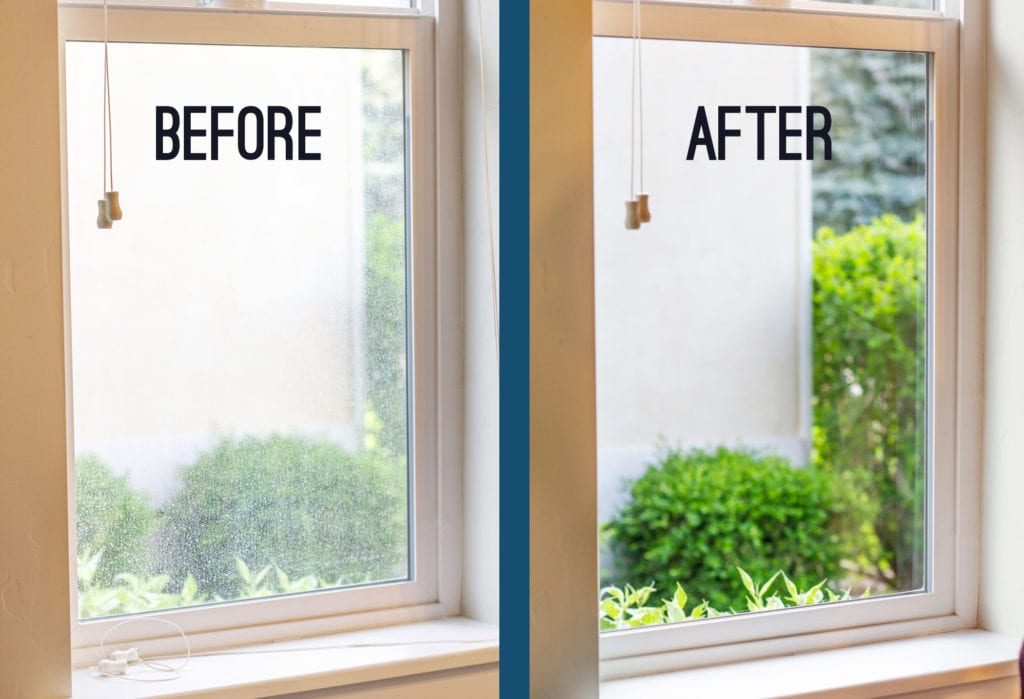
Are you tired of looking out dirty windows but can’t afford to pay a professional hundreds of dollars to clean them for you? My husband used to have a professional window cleaning company and he’s here to share with you his best tips! Here are the 5 steps to help teach you how to clean windows like a real professional!
Looking for more cleaning hacks? Check out this post: Cleaning your Wedding Ring Like a Professional…At Home! or 6 Ways to Make Cleaning Fun!

Use The Right Tools
In order to make sure that your windows come out sparkling clean, you will need to prep yourself with the right tools. I cannot stress enough how critical it is that you have the right tools. Paper towels and Windex will not do! If you want crystal clear windows, it’s important to choose the right tools.
It may seem like a lot of money upfront to wash windows but if you’ve ever paid to have your windows washed before, you know how expensive it gets! Hundreds of dollars! So investing in quality equipment will save you thousands of dollars over the lifetime of the equipment.
Recommended Window Cleaning Essentials
- Blue Dawn Dish Soap
- Apple Cider Vinegar
- Window Cleaning Bucket
- Window Cleaning Mop
- Window Cleaning Squeegee
- Ettore Holster (this is SUPER handy to keep your tools right at your side)
- Ettore Tool Belt
- Microfiber Glass Detailing Towels
- Old Bath Towels
- Window Scraper
- Extension Pole (especially helpful if you have second-story windows)
- Or you can just purchase a starter kit to make it easier here or here
First of all, let’s talk about the cleaning solution. Nothing fancy here, all you need is a bucket filled with one to two gallons of water and some dish soap. I’m pretty particular about the type of dish soap that I use, but most of them will work just about as well. I use blue dawn dish soap. I pour about two tablespoons of soap in for each gallon that I of water that I put in.
You will want to get a mop or towel to swish the water around and create lots of bubbles. You will want to have regular bath towels as your catch towels, and if you have microfiber towels, those are great for drying off any water that is left.
One of the best ways to ensure your windows come out looking perfect is to get a razor that is designed for window cleaning. The razor you shave with will not do! These razors are specifically designed to ensure that all hard water deposits and other materials that have accumulated on the window will be scraped off without scratching the window itself. This is an extremely important step that you can’t skip. You don’t realize how much build up of hard water, pollution and other contaminants get on your windows and this is the key to getting a professional finish.
You will also want to use a few towels that you can use to wipe up any water left behind on the windows after you squeegee, which we will get to later.
If you have really hard mineral deposits on your window, it may be good for you to dump a tablespoon or two of apple cider vinegar or white vinegar into your solution. The vinegar breaks down the hard water deposits faster than without it then it does without it, so if the scraper itself isn’t able to get it off then you will want to add some apple cider vinegar to your solution and then try again.
So for LESS THAN $100 you can clean your windows yourself for YEARS TO COME. If you’ve even paid to have them done before, you know that this will save you thousands of dollars!
Shop Window Cleaning Supplies:
How To Clean Windows
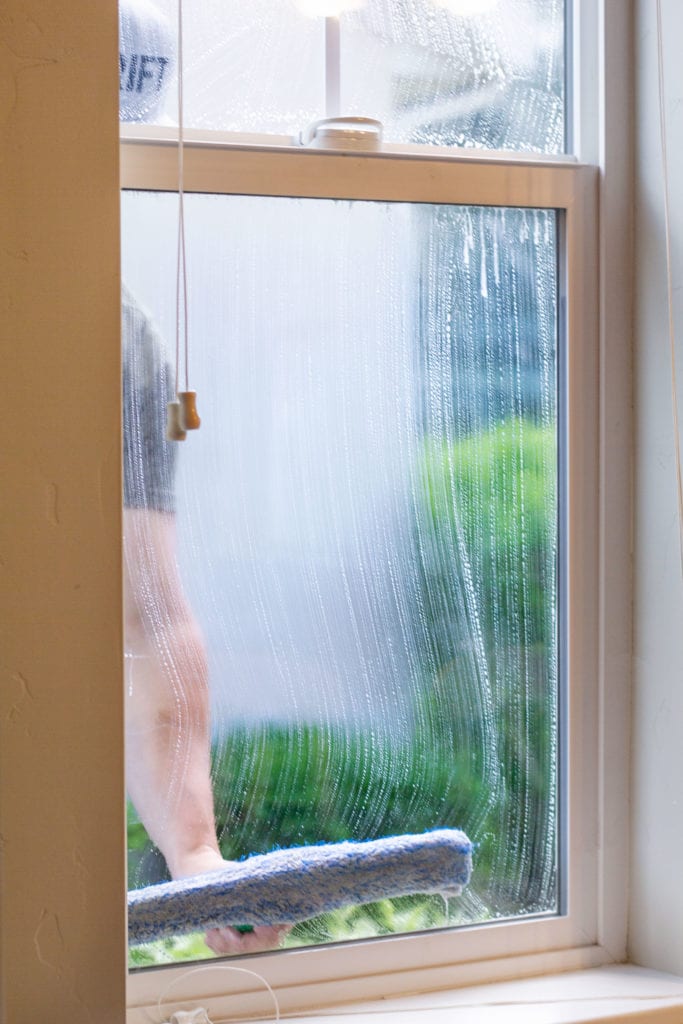
Now let’s go through the steps of cleaning a window! If you are on the exterior of the window, there is no need to put a towel down in the window seal, but if you are on the interior of a window then you will want to put a towel at the bottom of the window so that it can catch any excess water that comes off as you wash. Start by mopping the window with soapy water, either using an actual mop head, or a towel, or other cleaning devices like a sponge.
Scrape the Window
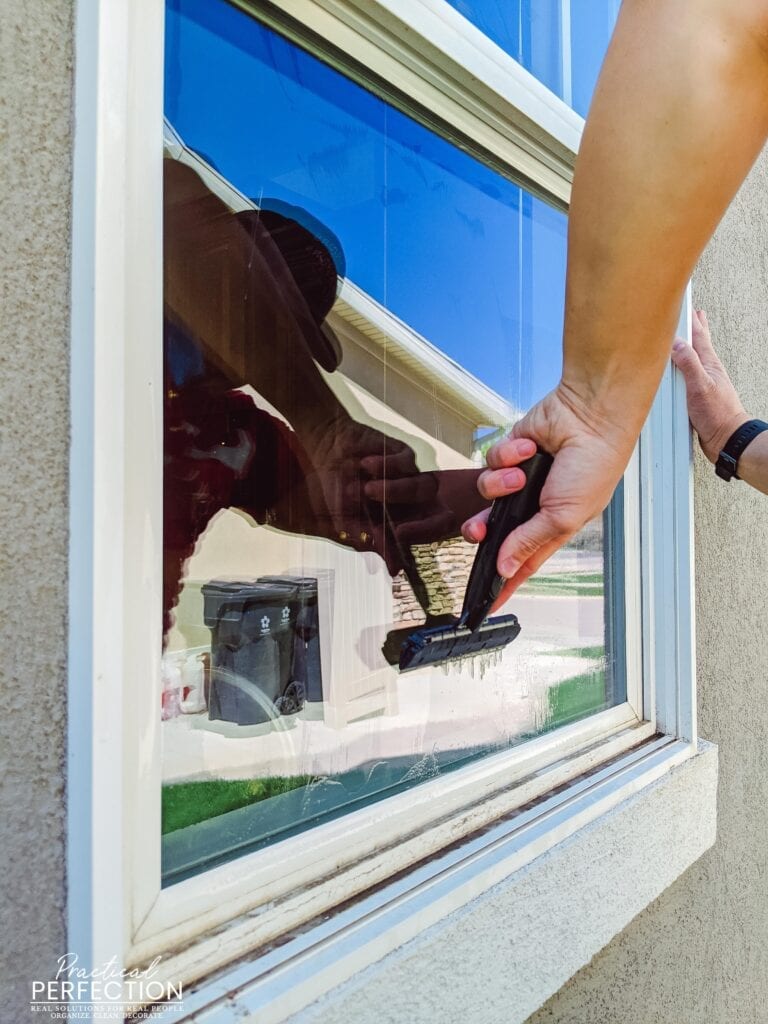
The second step CANNOT be skipped! Once you have gotten the entire window started to get bubbles on it, you will want to get the razor and scrape the window at a 45 degree angle, scraping off any dirt or hard water deposits. Please make sure to note that if you are doing interior windows, and they are tinted windows, the tinting will come off if you scrape them with a razor in the wrong way, so you may want to completely avoid using a razor on interior windows if they are tinted.
This probably goes without saying, but if you have two windows, one right above the other, start with a one on top, so that you do not drip onto one that you’ve already cleaned. Sounds pretty stupid, but you’d be surprised how often people clean the bottom window, then they try to clean a window that is above it and drip down onto a window that’s already been cleaned.
Loving this post? Save it for later and Pin it to Pinterest!
Take-Two
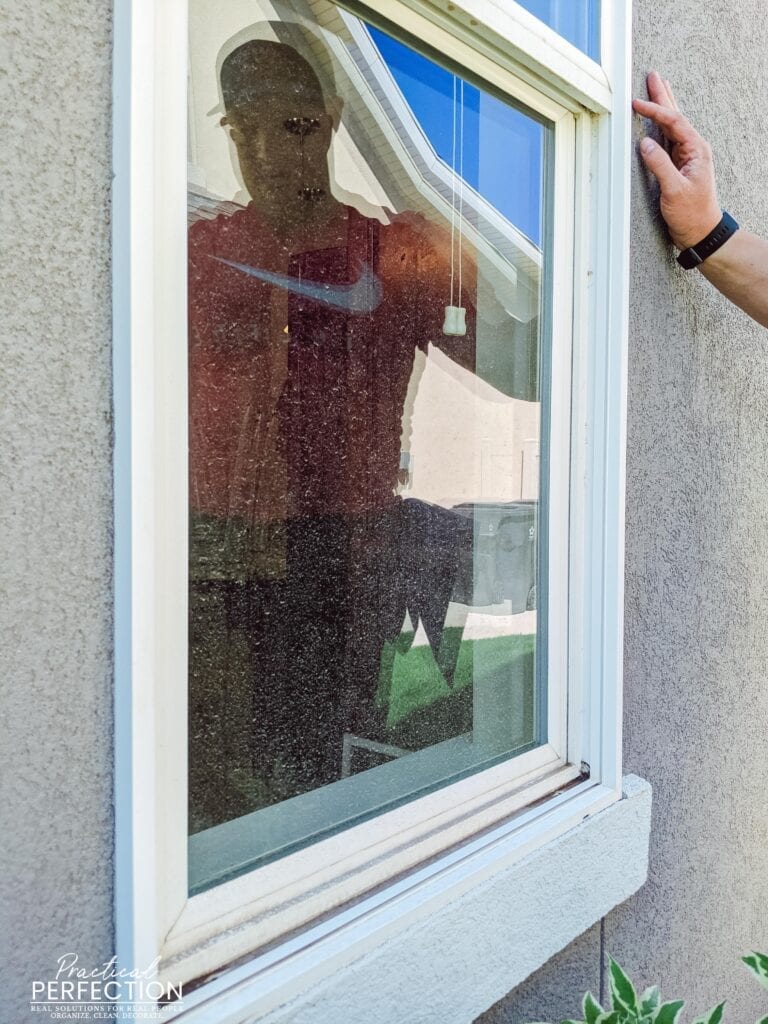
The third step is to do steps 1 and 2 again. You’d be surprised at how dirty your windows can still be after only one pass with the cleaning solution and the scraper. If you have years of hard water deposits it will likely take several rounds of scraping before all of the deposits come off.
Squeegee that Sucker!
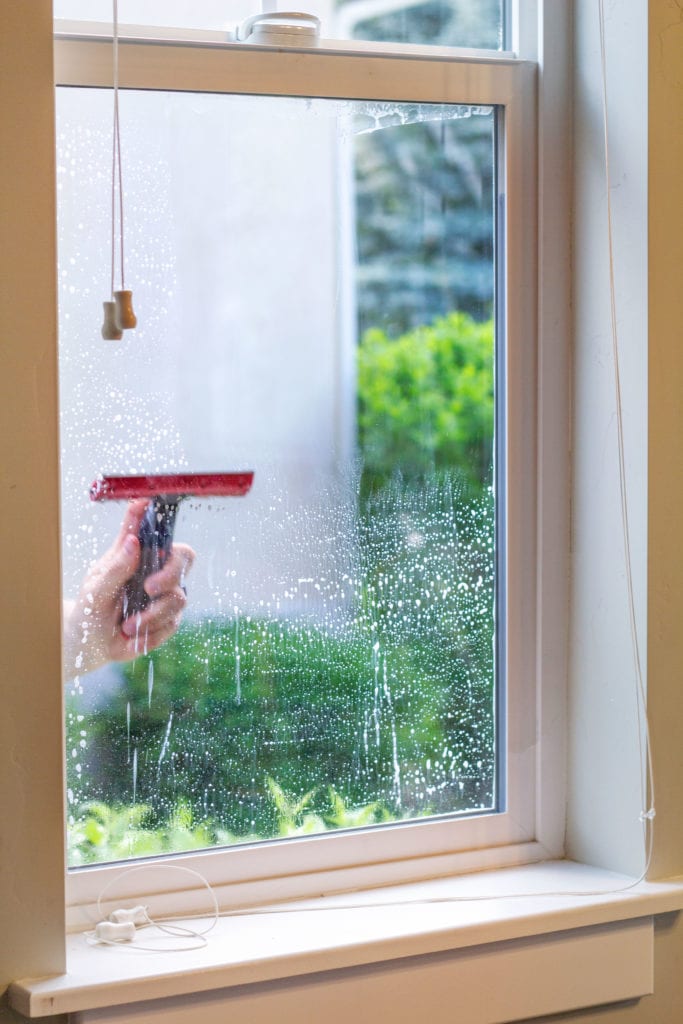
After using the razor at a 45° angle and getting off any excess dirt or buildup on the surface, wet the window again with the solution. Then take a squeegee and start in the corner opposite of the hand that you are using. If you are left-handed, start in the top right corner if you are right-handed, start in the top left corner. Your squeegee should be vertical and you will use a motion to wipe the glass that ensures constant contact with the glass.
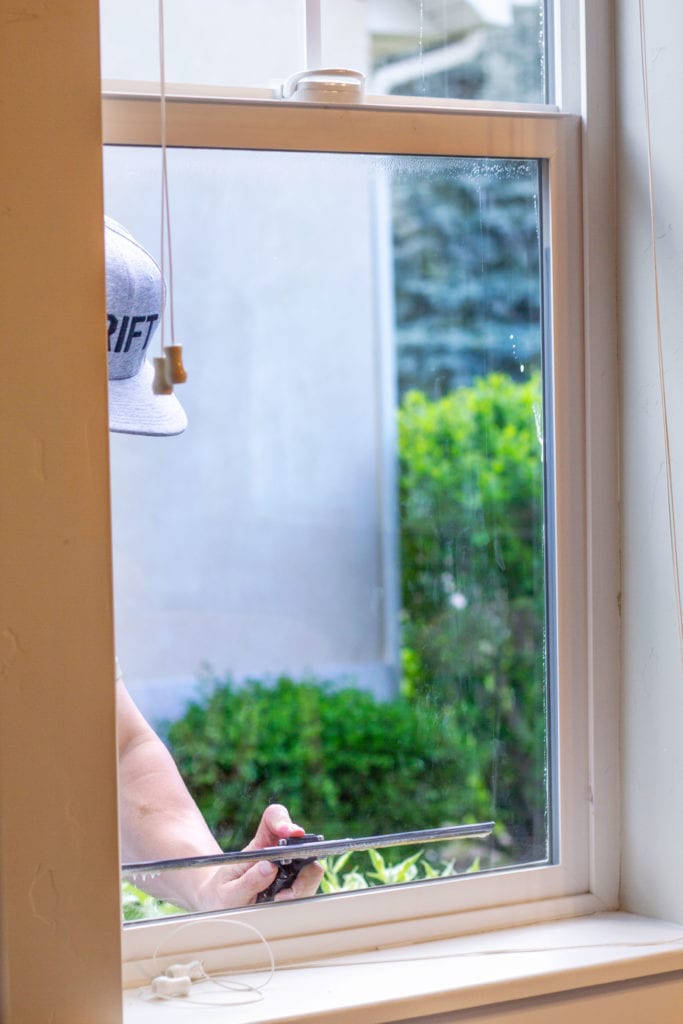
Trust me, if one of the edges of your squeegee comes off the glass, you’re going to need to wipe the window with your dry towel, which adds time to the cleaning process. It’s best to keep the squeegee in constant contact with the window at all times.
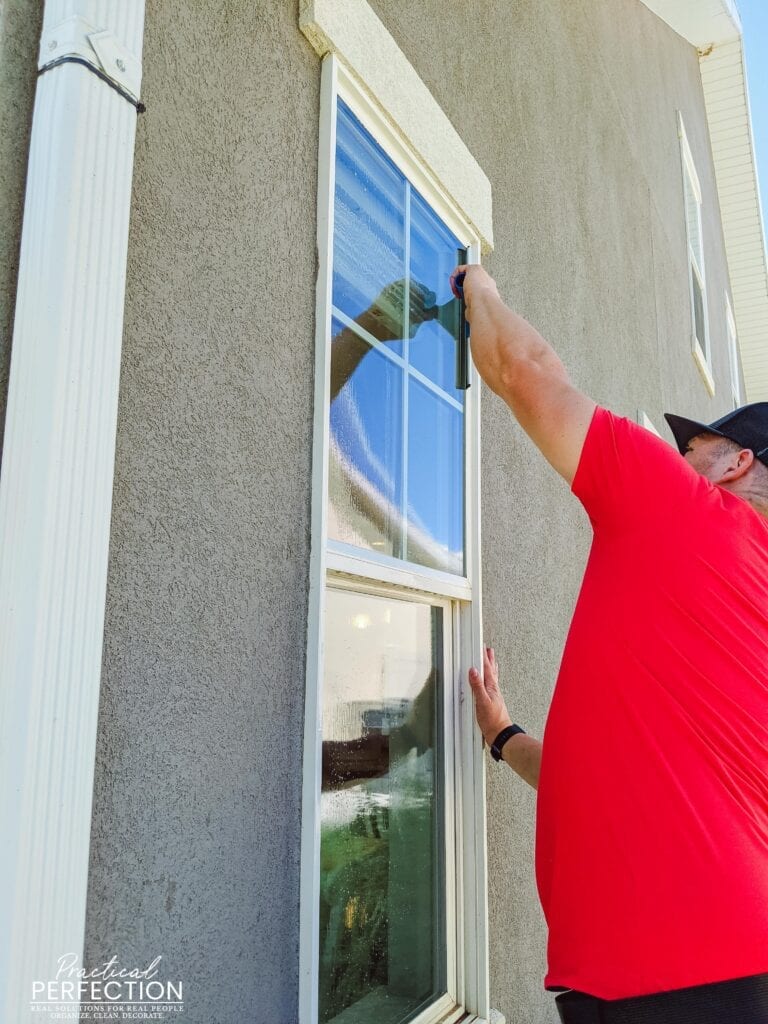
Get the Edges
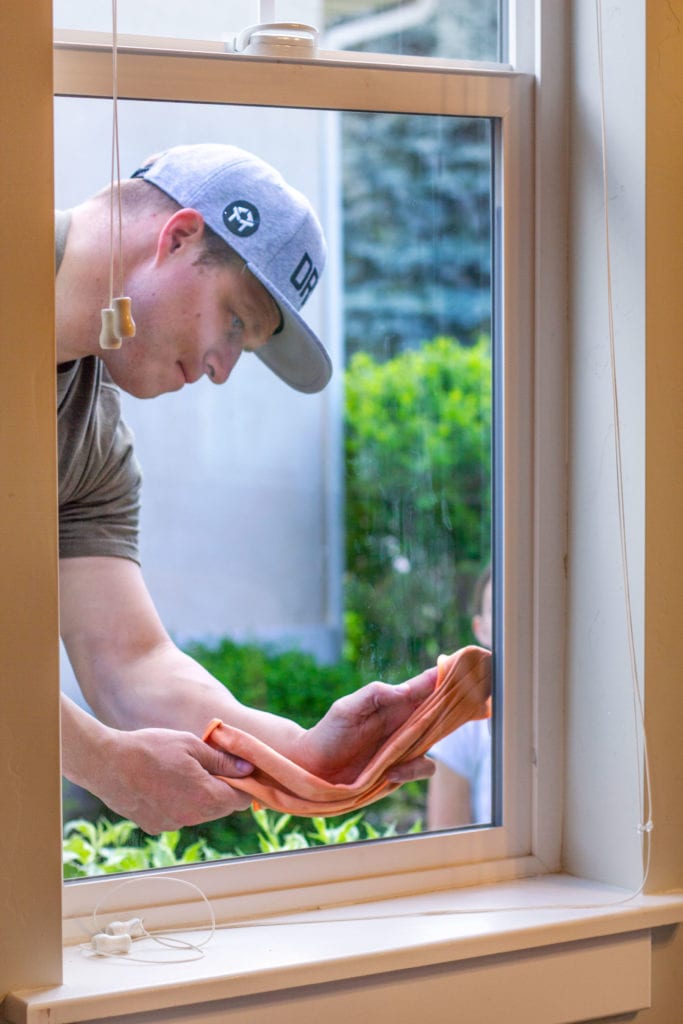
After squeegeeing the water off of the window take your dry towel and dry off the edges around the window then take a step back at a different angle and see if there are any places where there is water still on the window. Squeegees don’t usually get the edges of the windows very well so you need to remember to wipe off the excess water or it will leave a water line all around your window.
Make sure to use a dry part of the towel to wipe these off so that it will not leave other marks on the window.
Do’s and Don’ts of Window Cleaning: Tips from an acutal professional
Window cleaning can be a tough task, but not if you know the do’s and don’ts! Read on to find out what tools you should use, what window cleaners are best, and how to keep your windows clean between cleanings. Simple hacks that will make your windows shine, and how to keep them clean between cleanings.
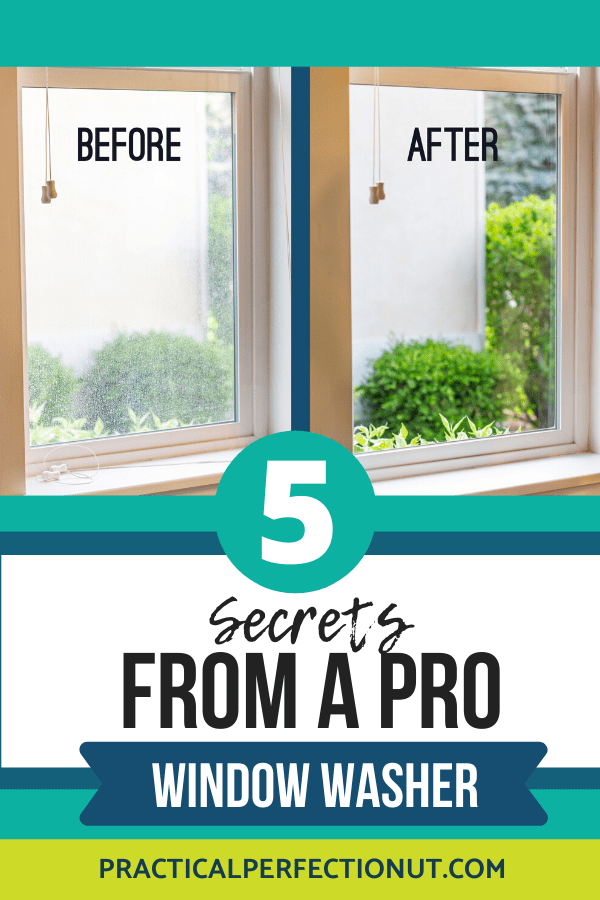
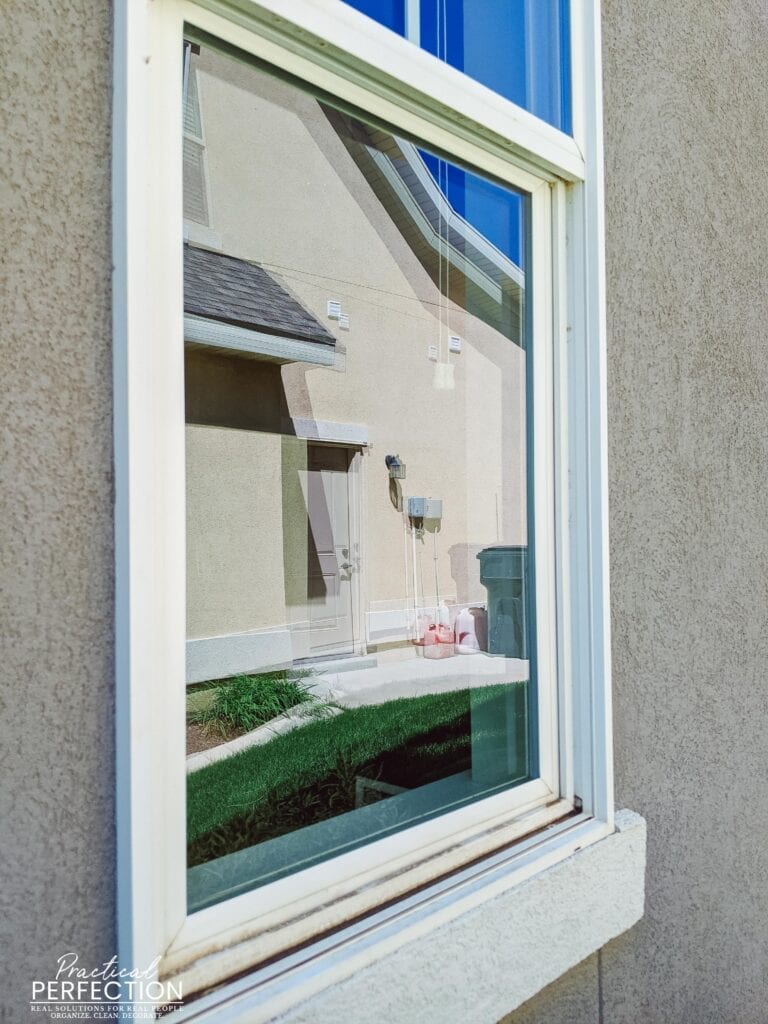
Window after cleaning
Things to DO when cleaning windows:
–DO use distilled water whenever possible. Tap water can contain minerals which can make the windows dirtier faster. This is not mission critical, but can make a difference.
–DO take a step back and look at the window from a different angle. Often this helps you see places you may have missed while cleaning. You can quickly whipe away the soiled area by using a small, dry part of your microfiber towel.
–DO clean your windows in the Spring if possible. The harsh sun rays of the Summer months can make the water/detergent mixture evaporate much faster, causing streaks and making window cleaning much more difficult.
-If you’re not able to use a “rainbow” method for squeegeeing the window because of the complexity of the motion, then DO squeegee windows in horizontal strokes, from top to bottom. You may also want to consider wiping the squeegee blade dry between strokes to avoid leaving unnecessary streaks.
Things NOT to do when cleaning windows:
– Don’t use ammonia or other harsh chemicals which may cause irreversible damage. As mentioned earlier in this article Blue Dawn dish soap is my personal favorite cleaning detergent. And you can add a couple of tablespoons of vinegar to the mix to really attack hard water stains.
–DON’T use a razor to scrape interior windows. Often windows have tinting on the interior, and the razor will cut right through them, costing you a lot of money, time, and stress. Trust me, it’s SO not worth it! If you need to scrub hard on an interior window, simply use a bristled brush or toothbrush on the hard-to-clean areas.
–Despite what “hacks” you may have heard of on Pinterest, please spare yourself and DON’T clean your windows using newspapers instead of microfiber towels. Yes, you read that right…newspapers. Newspapers are not good for your windows because they can scratch your windows, as well as leaving ink marks on the windows…defeating the purpose of cleaning them!
Things that will help you keep your windows looking great between cleanings:
–Keep screens closed during the summer months! This helps prevent dirt build-up and makes them easier to wash down with soap & water at the end of every season.
I hope that you have learned some valuable tips that will help you clean your windows like the professionals do! Now you can save yourself hundreds of dollars every single year by learning how to wash windows on your own!





Very Informative post. Thanks for sharing your knowledge with us.
commercial window washing services
You made an interesting point that when looking to have our windows cleaned, it is best that we choose the right solution. It makes sense as in doing so, our windows will be properly cleaned. Since my wife said she would like to clean the windows this weekend, I will encourage her to be mindful of the cleaning agent she uses.