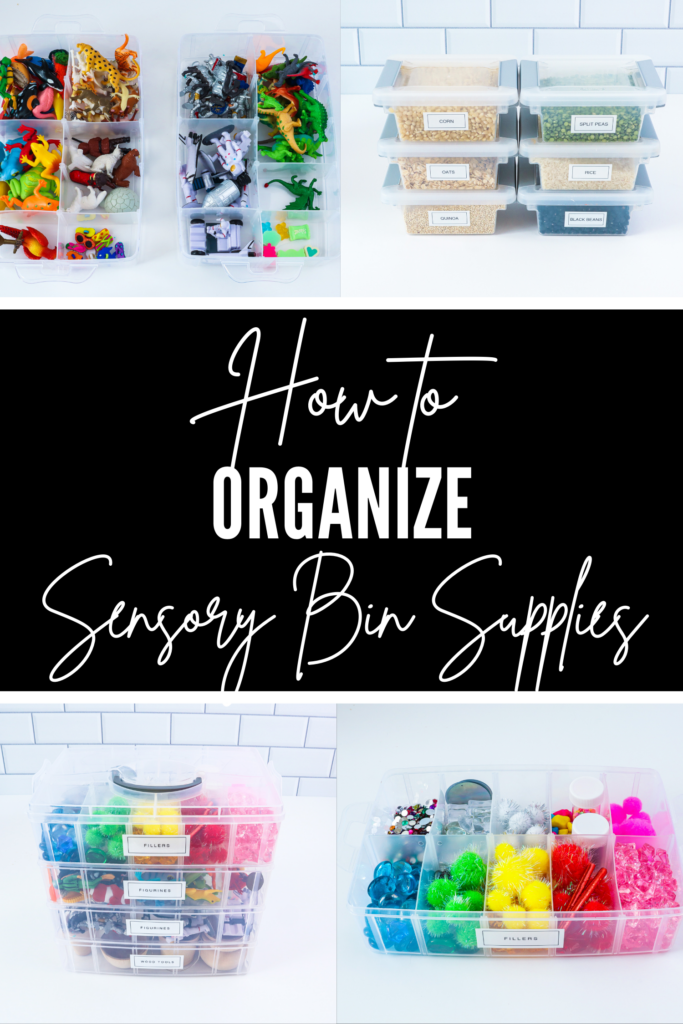
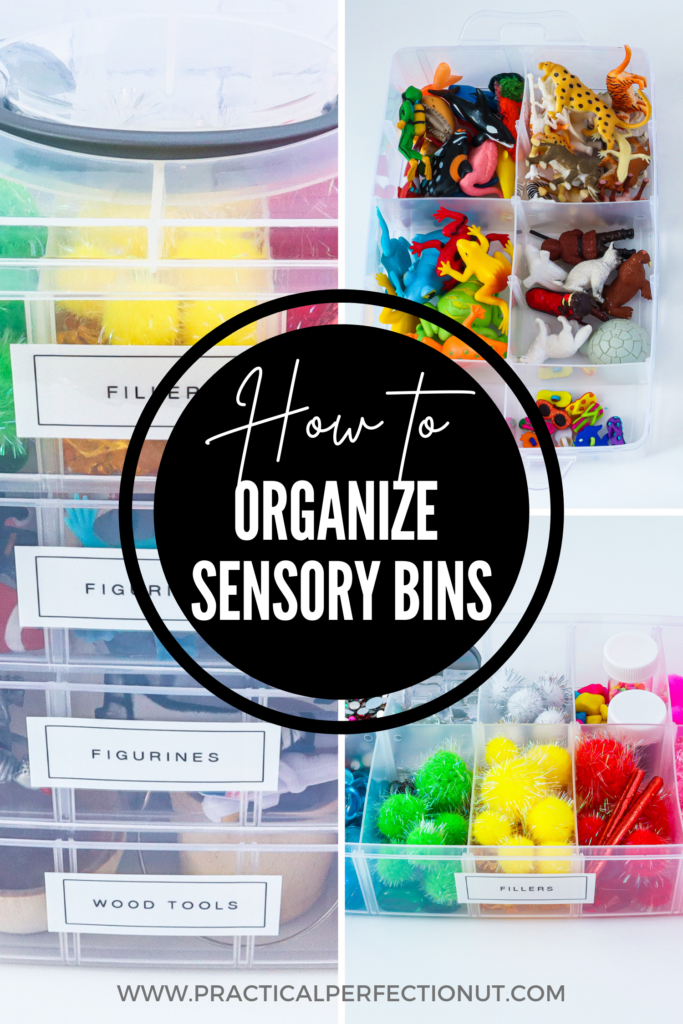
How to Organize Sensory Bin Materials for Maximum Fun: Tips and Tricks
Sensory bins are all the rage with kids right now and for good reason! They provide hours of fun and educational play. But as any mom knows, sensory bin supplies can quickly become overwhelming. There are so many different items that can be used in a sensory bin, and it’s hard to keep track of everything. That’s why we’re here to help! In this post, we will discuss how to organize your sensory bin supplies so that you can maximize the fun for your little one.
What ages are sensory bins for?
Sensory bins can be enjoyed by kids of all ages. However, the type and complexity of the sensory bin will vary depending on the age group. For toddlers, simple sensory bins with a few basic items are best.
As kids get older, they will become more creative and want to include more complex items in their bins. Ultimately, it’s up to you! You can get creative and implement the sensory activities that you think your kids will like the most. Just be cautious to buy materials that are age-appropriate.
Some moms worry that their kids are getting too old for sensory bins. But, there is no such thing! Kids of all ages can enjoy sensory bins. If you think your kids are getting too old for traditional sensory bins, try to get creative and come up with new ways to use the same materials.
Kids love sensory bins because it is a fun sensory activity that gets them off the couch, helps stimulate their imagination, and sometimes even makes a bit of a mess. And what kid doesn’t like to make a mess?
What materials do you need for a sensory bin?
Sensory bin materials have a wide range but it’s best to start and think first about your base material. This is the main item to think about when considering sensory play because this is the main component of your bin that allows your kids to be creative and improve their fine motor skills. Here are a few base material ideas to get you started:
- Rice
- Colored Rice
- Beans
- Pasta Noodles
- Fish Tank Pebbles
- Split Peas
- Black Beans
- Kinetic Sand
- Water Beads
- Gems
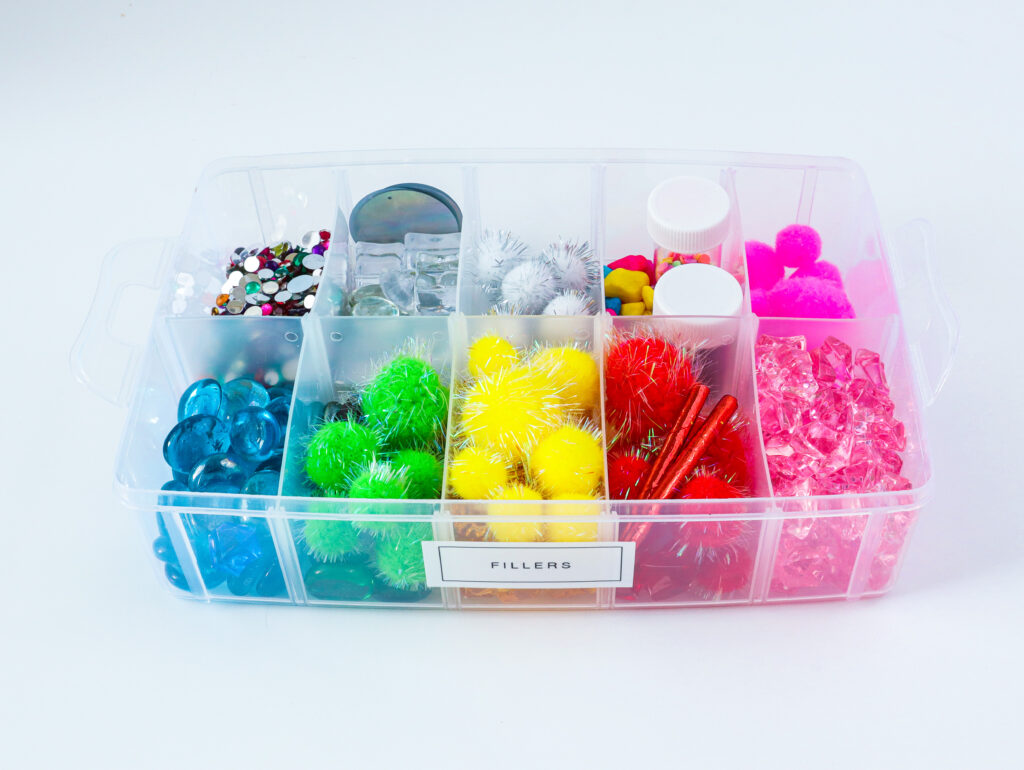
SENSORY BIN FILLERS

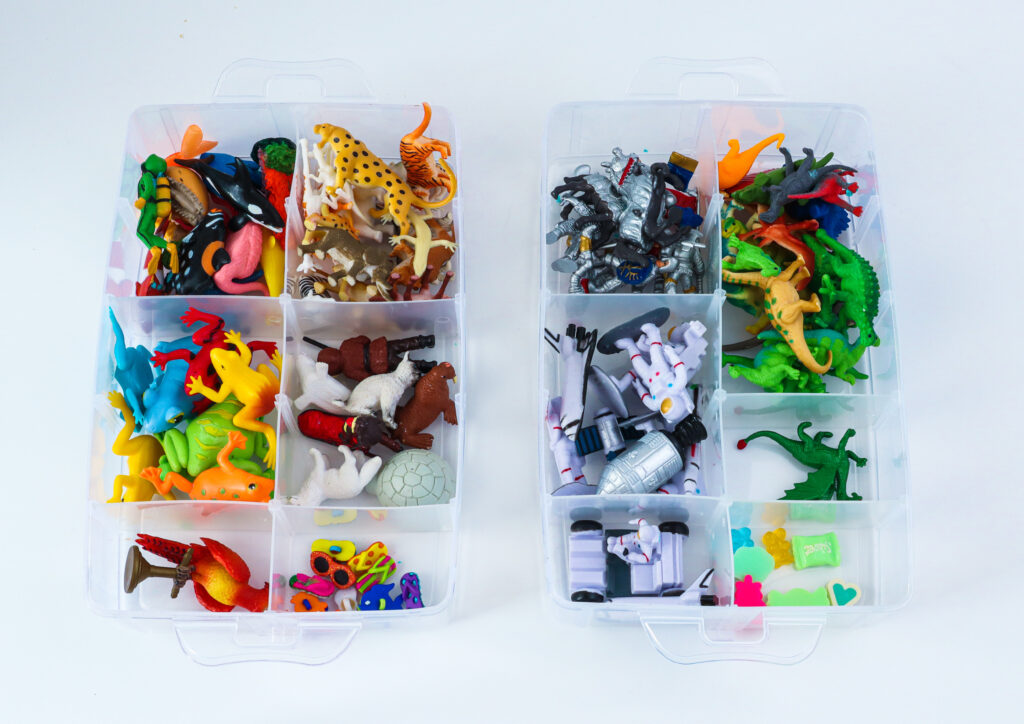
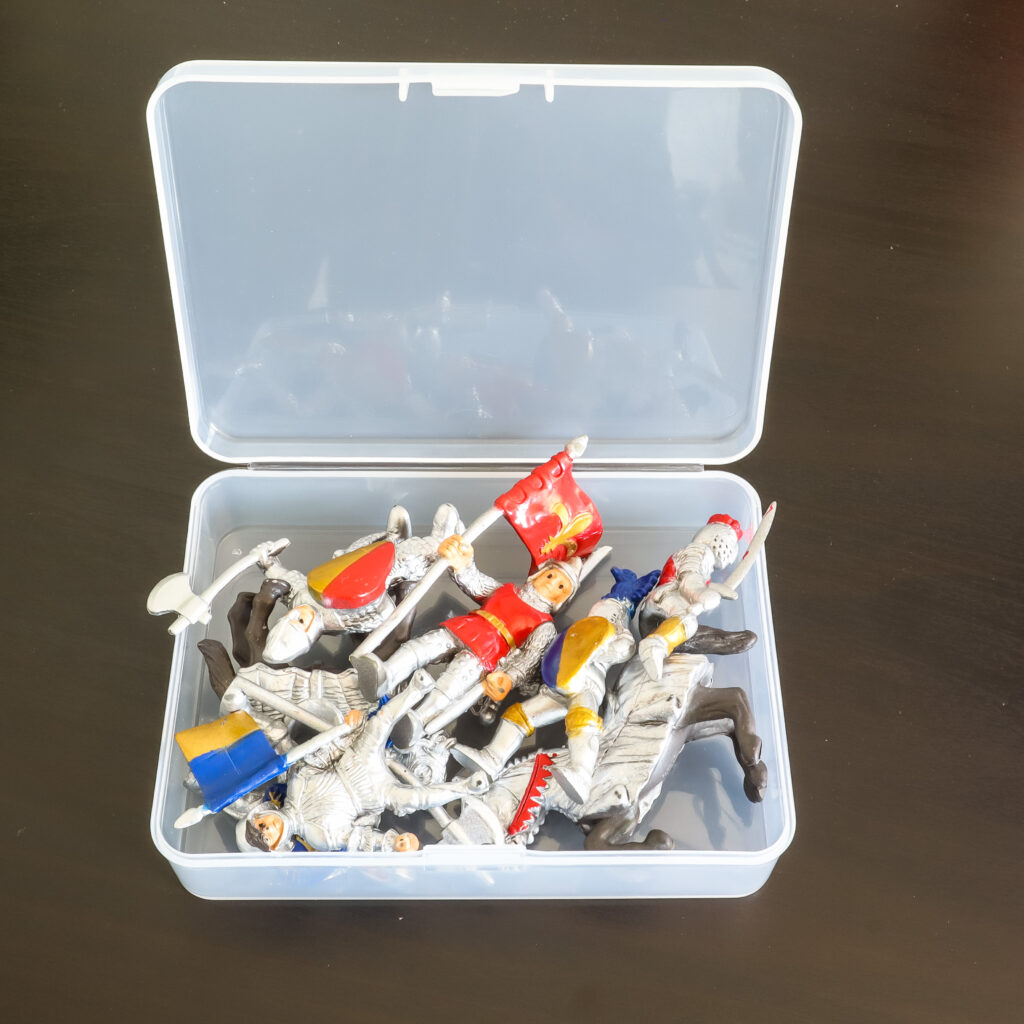
Next, you need to consider the toys. You can buy toys from the dollar store or you can buy figurines in different themes from Amazon. This is the funniest part for me and my kids! I love to decide what types of figurines we’re going to use and then base our theme around the toy.

SENSORY BIN TOYS
How do you organize and store sensory bin materials?
There are a few different ways that you can store your sensory bin supplies. But you need to take into consideration
- Type of Material
- Theme
- Color
- Age
- Tools
- Natural versus Colored
Organize by Type of Material
You will likely have several types of materials in your sensory bins. Here are some tips for organizing by type:
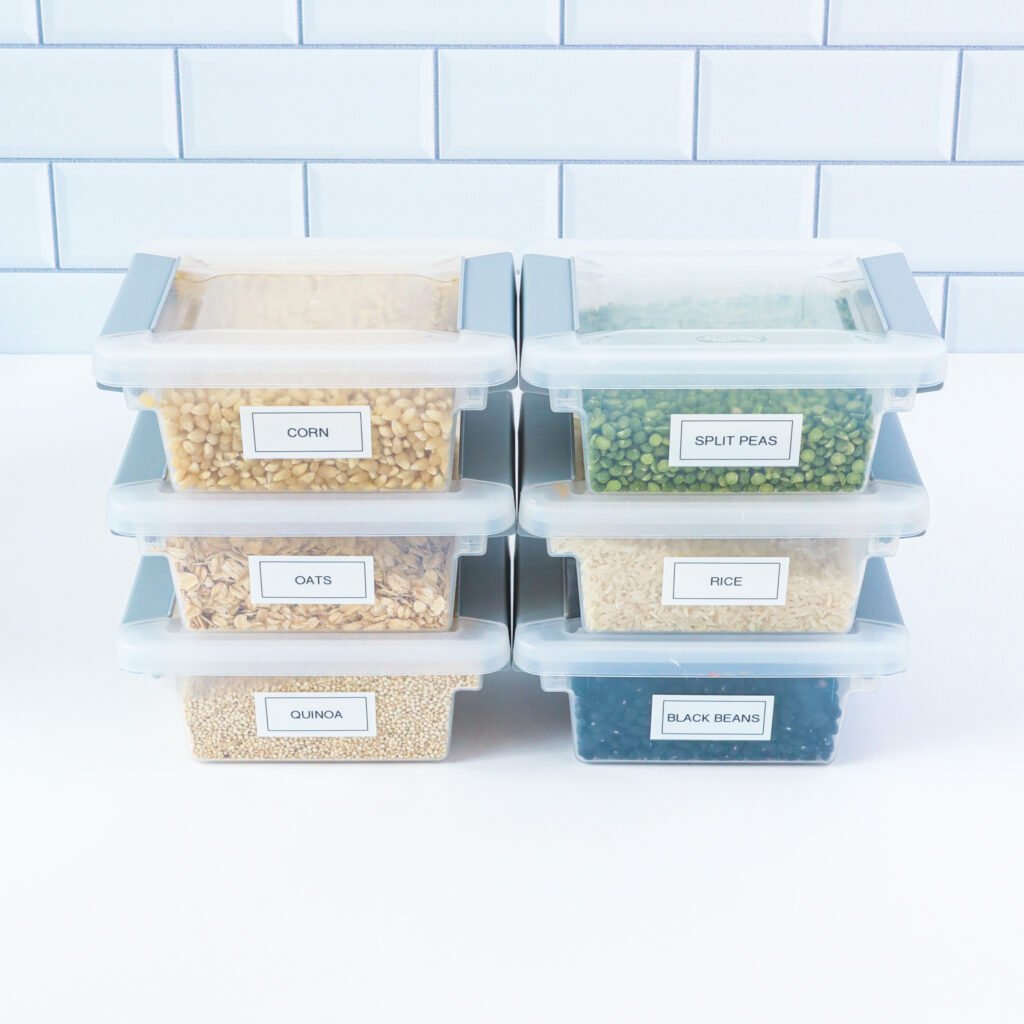
Use small bins to sort like items together. This makes it easy to grab what you need without having to dump out the entire bin. For example, you can store all of the rice together, all of the beans together, or all of the pasta together.
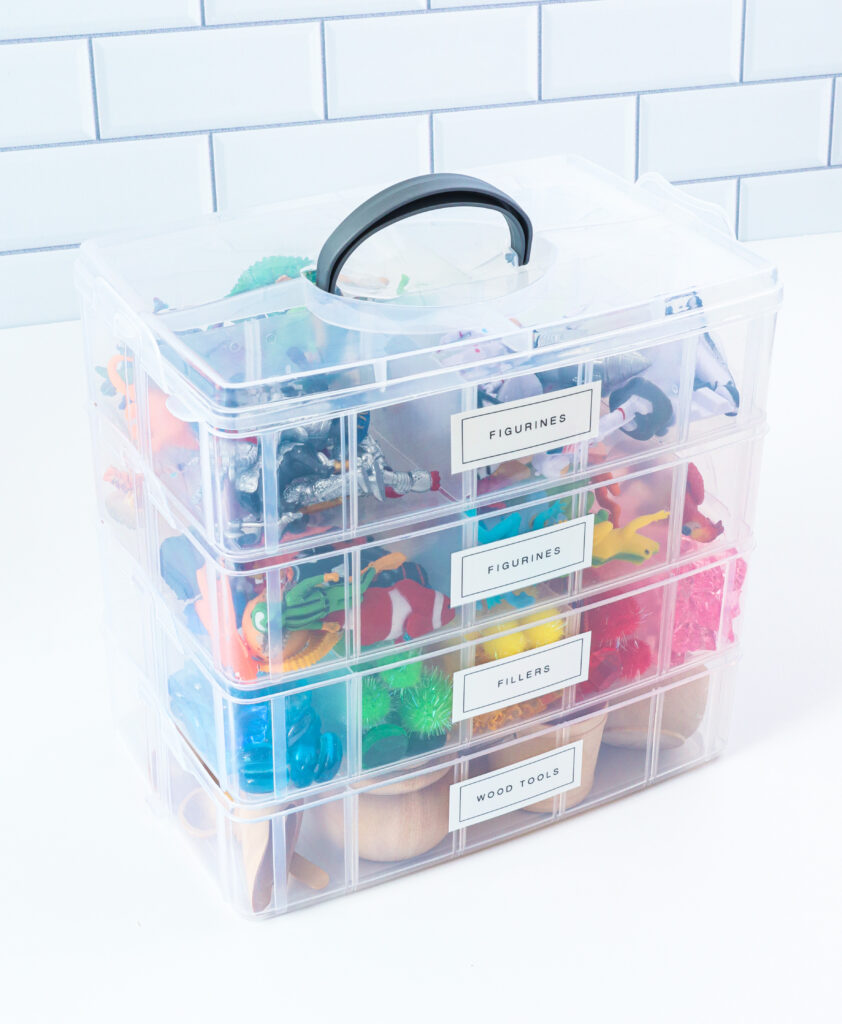
You can also organize items in a bin within a bin for extra organization. One thing to consider is how much space you have to dedicate to sensory bin materials and how much your kids like sensory bins. If your children love to play with sensory materials, don’t be afraid to make this a big part of their play.
SENSORY BIN FIGURINES
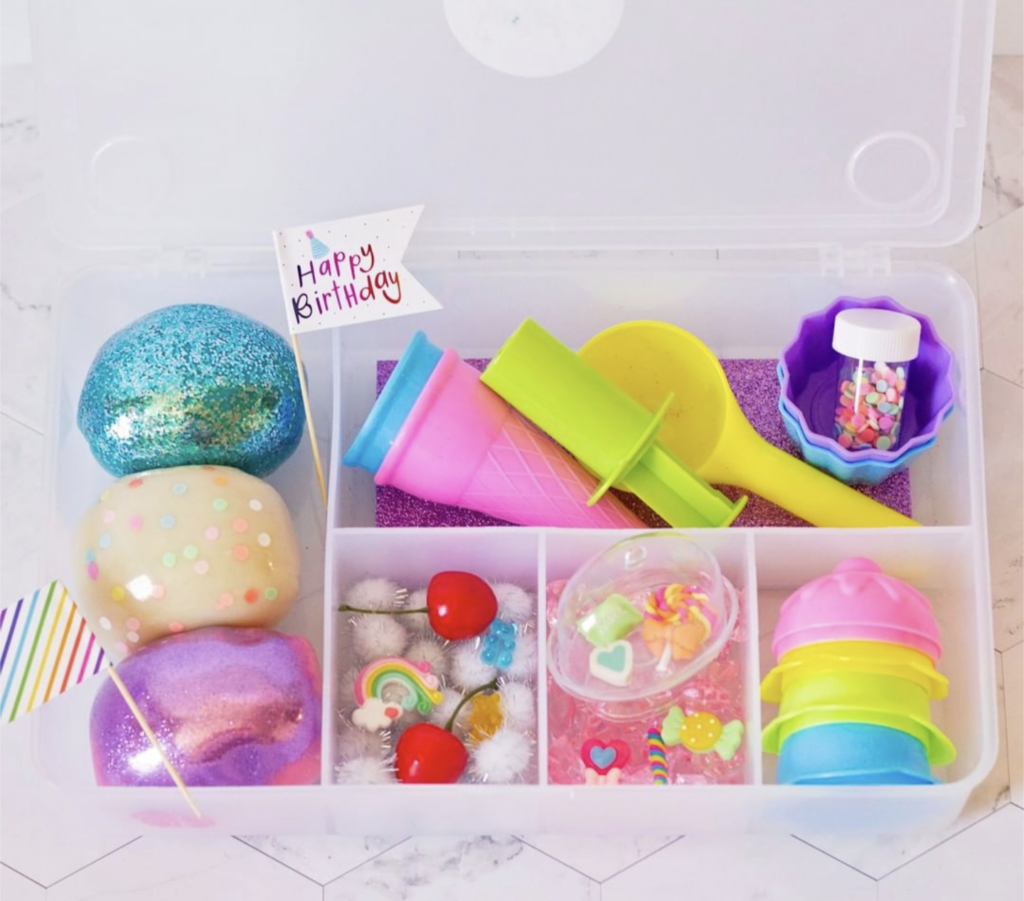
Organize by Theme
Another way to organize your sensory bin supplies is by theme. This can be really fun for kids and it can also help you to come up with new ideas for bins. Take their likes into consideration to ensure that their sensory bin play is a hit!
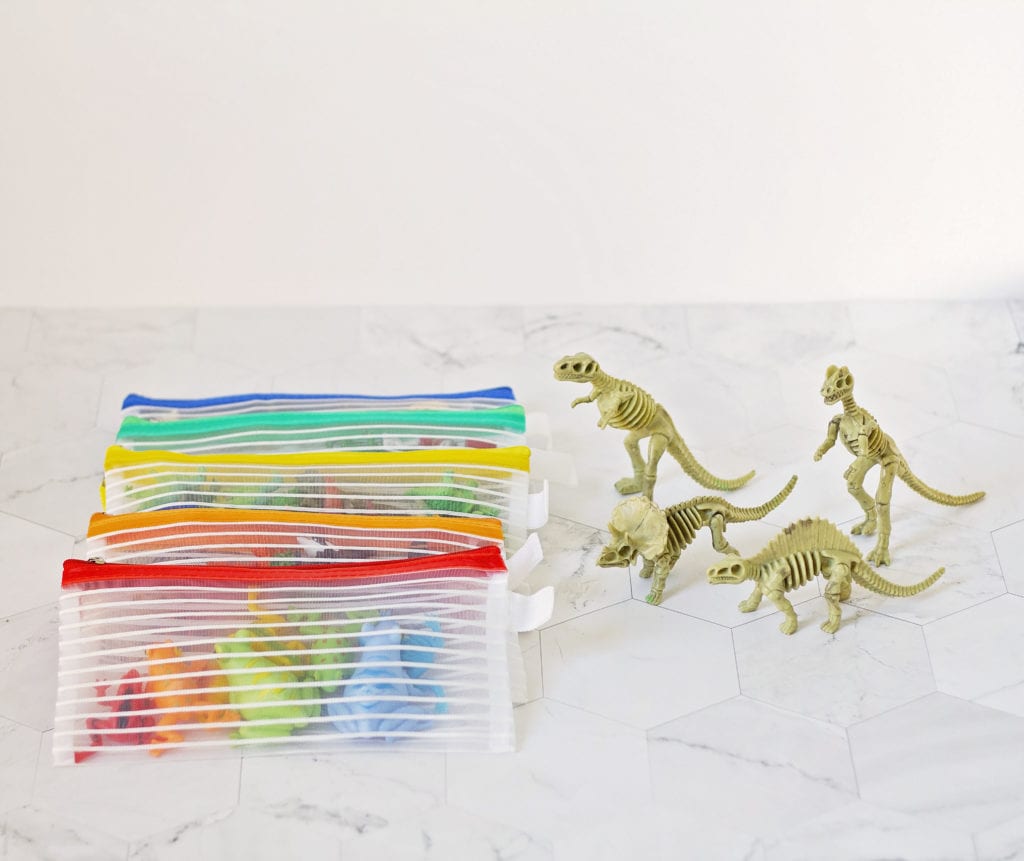
Another way to organize your sensory bin supplies is by theme. This is especially helpful if you want to be able to grab a bunch of different things that go together without having to search through everything. For example, if you had a water-themed sensory bin that your child loves to play with, simply pull out the water sensory bag and dump it in a large storage bin and it’s ready to go!
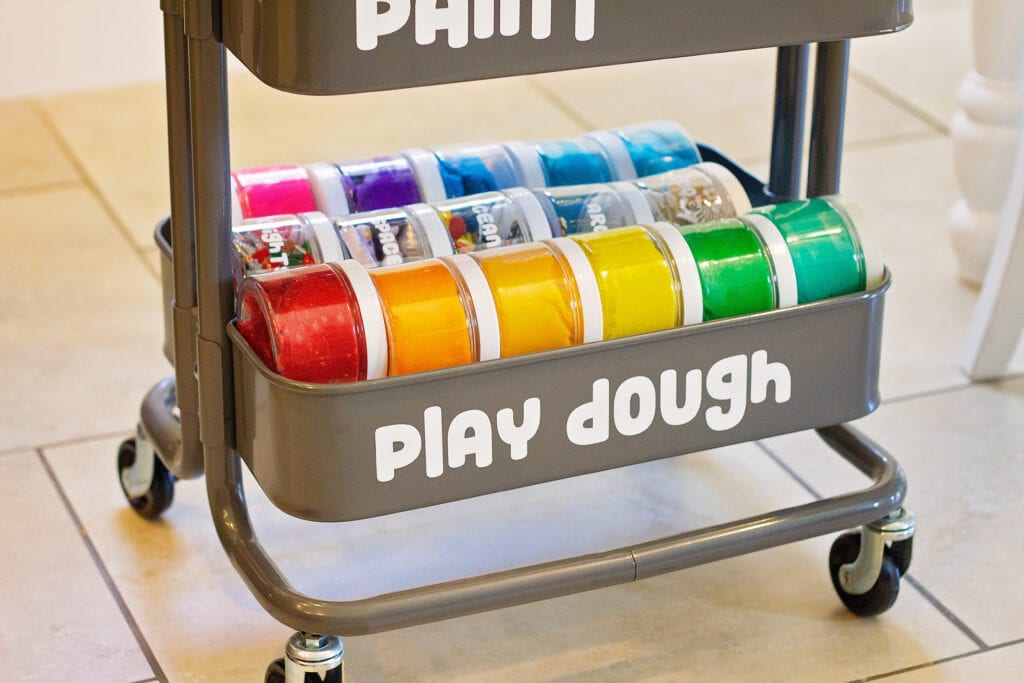
Or you can even buy a divided container and organize everything in there! My kids LOVE playdough kits and I just love the variety of kits from Simply Knead and Young Wild and Friedman.
Some popular themes are:
- Outdoors: Grass, dirt, rocks, leaves, sticks, plastic insects
- Water World: Water beads, plastic ocean figurines
- Space: Black rice, space figurines, pom-poms, and star shapes
- Farms: Split peas, farm animals, a small fence
- Unicorn: plastic unicorn, brightly colored rice, glitter pom balls, gems
- Cars: black beans, wooden boards, fake trees
You can store themed sensory bin supplies in a bin or you can even just put it in a gallon zip-top bag! Then you can put those small bins inside a larger storage container to keep everything safe from little hands that might try to get into the supplies when you don’t want them to. Storing them by theme is the most popular way. And keeping it all in a box really helps to keep down the clutter.
SHOP THEMED BINS
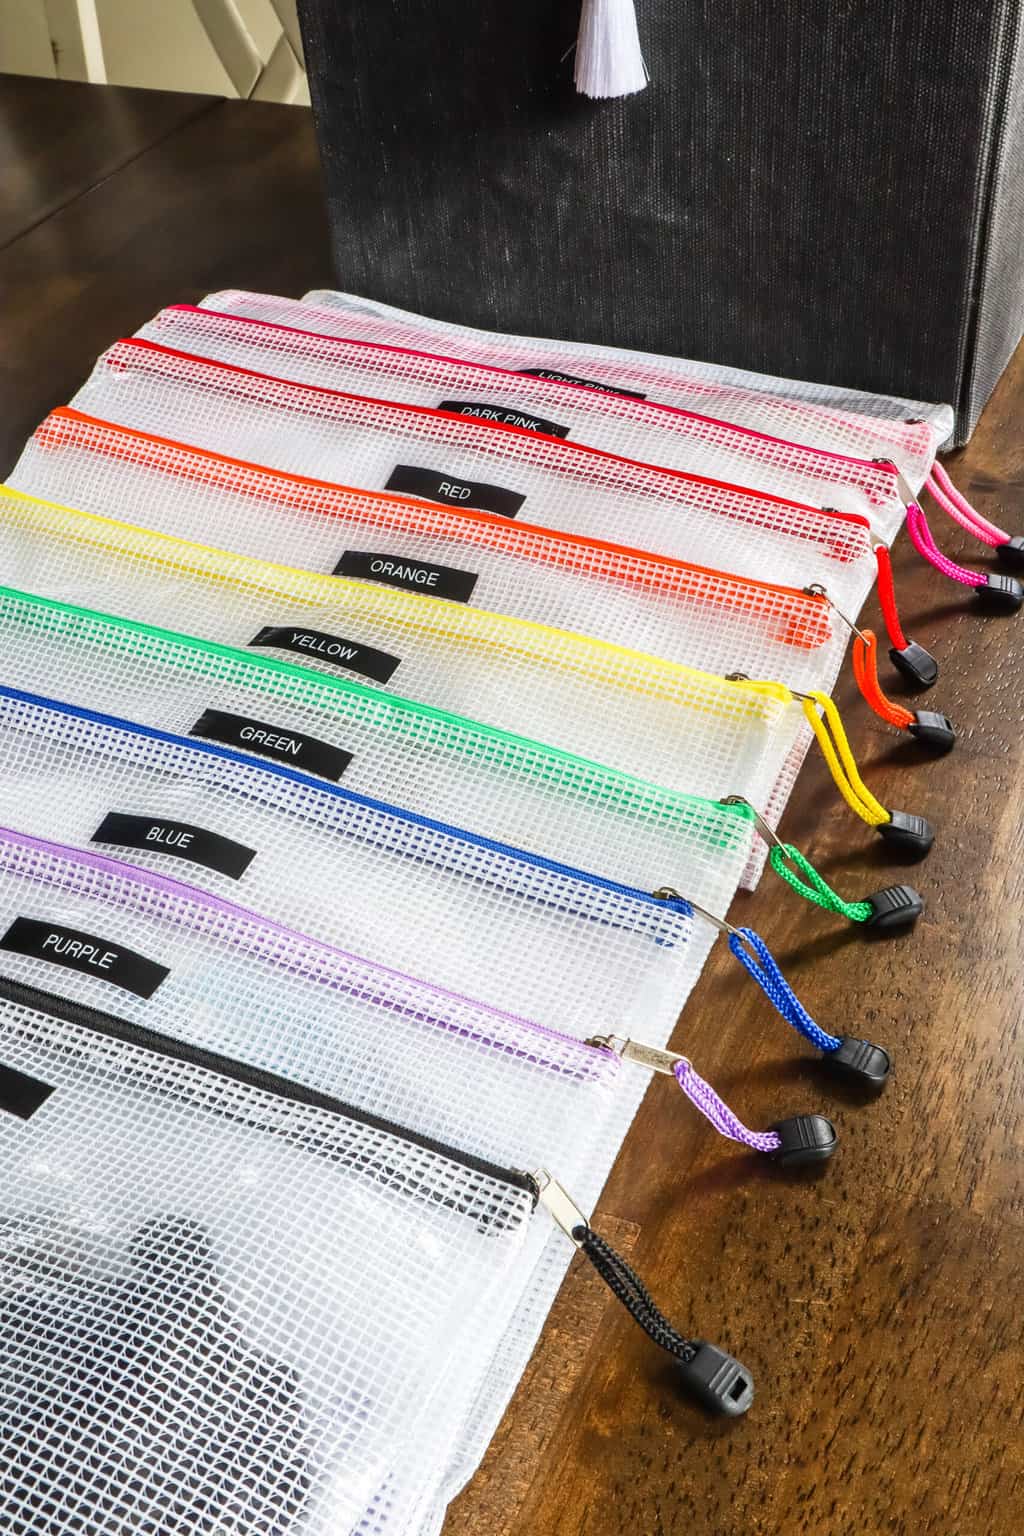
Organize by Color
One way you can organize your sensory bin supplies is by color. This is especially helpful if you have a lot of one type of supply, like pom poms. You can put all of the pom poms that are one color into one bag or container and then do the same for all the other colors. This will help you to quickly grab what you need when you are setting up a sensory bin. Plus, it looks really pretty when it is all organized by color!
Organize by Age
Another way to organize your sensory bin supplies is by age. If you have a lot of different types of sensory bin fillers, you might want to consider keeping the supplies that are appropriate for your older child in one place and the supplies that are appropriate for little ones in another place. This will save you time when you are setting up a sensory bin because you will know exactly where to find everything.

Organize Sensory Bin Tools
In addition to organizing your sensory bin fillers, you will also want to organize the tools that you use for your sensory bins. This might include scoops, tongs, and measuring cups. You can keep these tools in a separate container or you can store them with the corresponding sensory bin filler. For example, if you have a lot of different types of beans, you might want to keep all of the scooping tools together in one place.
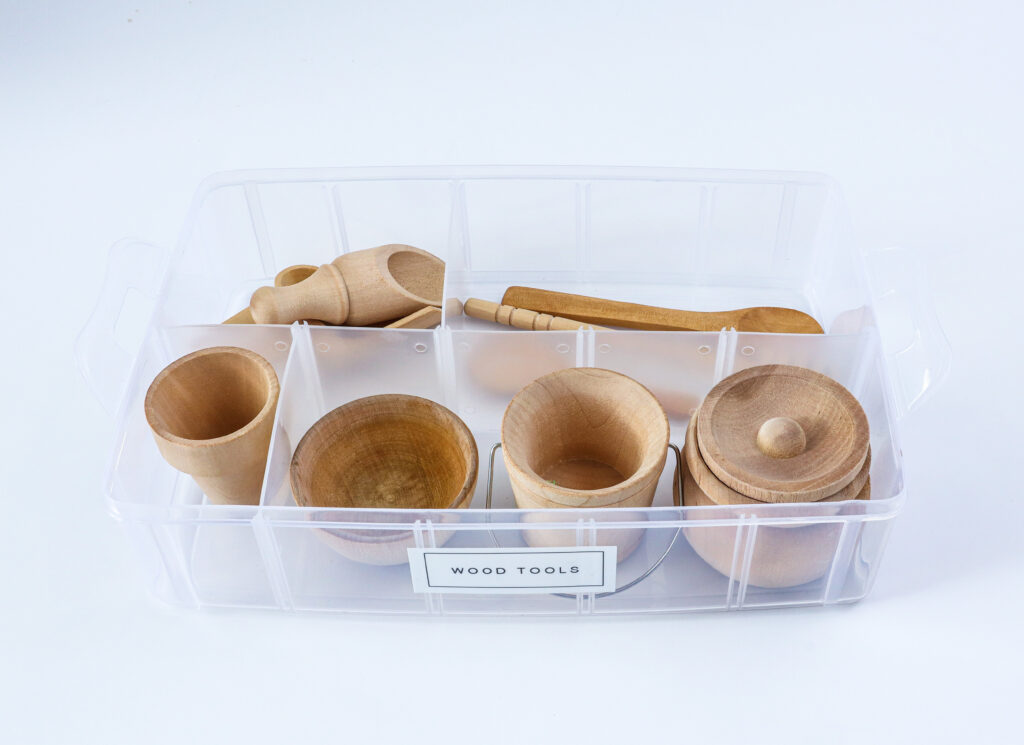
You can use tools the help kids create different scenes with their toys. You can even throw in some tools that are extras from your kitchen such as ladles, plastic spoons, or even measuring cups. Kids love to scoop, dig and transfer.
SHOP SENSORY BIN TOOLS
Natural versus Colored Rice
If you have a toddler, you might want to keep your rice in a divided container. This will help with the inevitable spills and it also allows you to have different colors of rice without them getting mixed together. Sometimes it’s fun to play with colored base materials and sometimes you just want to keep it simple and use more natural ingredients.
You can use clear containers or even colored plastic ware to store your sensory bin fillers. If you are using natural materials, consider keeping them in zip-top bags. This will help contain any mess and it also makes for quick and easy cleanup.
Sensory bins are a great way to encourage your toddler to explore their senses. But they can also be a lot of work! By taking the time to organize your sensory bin supplies, you can make set up and clean up a breeze! The best part is that it usually ends up being a family activity where everyone wants to join in. It helps improve social skills, have something fun they can do while you get a few things done, and makes childhood fun!
What are the best containers to organize sensory bin supplies?
There are a few different ways that you can store your sensory bin supplies. You can keep them in original packaging, divided containers, snap containers, or pouches. If you plan on using the same materials for multiple sensory bins, it might be helpful to invest in some divided containers.
This way, you can easily grab what you need without having to sort through everything. Snap containers are also great because they seal shut and keep everything fresh. Pouches are a good option if you want to be able to see all of the contents at a glance. Whichever storage method you choose, make sure that it works for you and helps you stay organized!
Types of containers:
SHOP Storage Containers
Where to store your sensory bin materials?
Every home is different but you can store your supplies in many different places. Here are a few great tips for where you can store your supplies so they are within your reach but they aren’t constantly in your way. How often you use them will also determine how accessible you should make them.
- Playroom Closet
- Closet close to the kitchen
- Fill a specific drawer will all of your stuff
- In your toddlers closet (on the top shelf)
- Near an art station
- Under a bed
- In a game closet
Organizing your sensory bin supplies is a great way to save time and money. By getting everything organized, you will be able to quickly find what you need and won’t waste money on duplicates. Plus, it looks really pretty when everything is organized!
Organizing your sensory bin supplies doesn’t have to be complicated or time-consuming. By using a few simple tips and tricks, you can get everything organized in no time! What are your favorite ways to organize your sensory bin supplies? Share them with us in the comments below!