Top Tips for Letting Go of Clutter for a Neat Organized Desktop
Do you have a million photos and documents cluttering up your desktop? If your desktop is a mess of photos, folders, and files, it can be hard to find anything. Whether you feel like there’s too much clutter or everything is jam-packed into one folder, it’s important to learn the steps for an organized desktop so that you can easily access the documents you need.
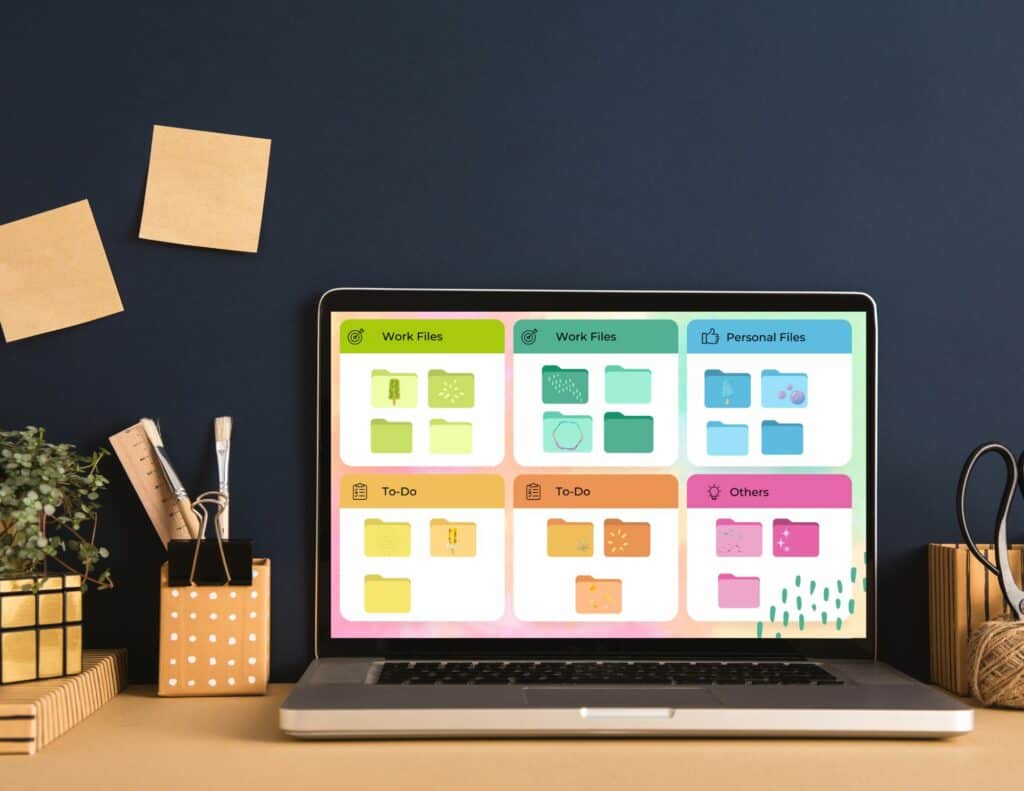
In this blog post, we’ll show you how to organize your desktop so you can enjoy a neat computer environment without sacrificing any of the functionality. You can definitely achieve the perfect balance between tidying up your desktop and making sure everything is in organized folders that are quick and easy to navigate.
How to Organize Your Desktop
Your computer desktop screen might be difficult to navigate. You might have too many files, separate folders, or program icons cluttering up your desktop. All your desktop icons can make it hard to find a specific file you’re looking for.
Or you might have the opposite problem! If you like a perfectly clean desktop, you may have gotten into the habit of storing files in one big folder. But that can make it just as hard to navigate!
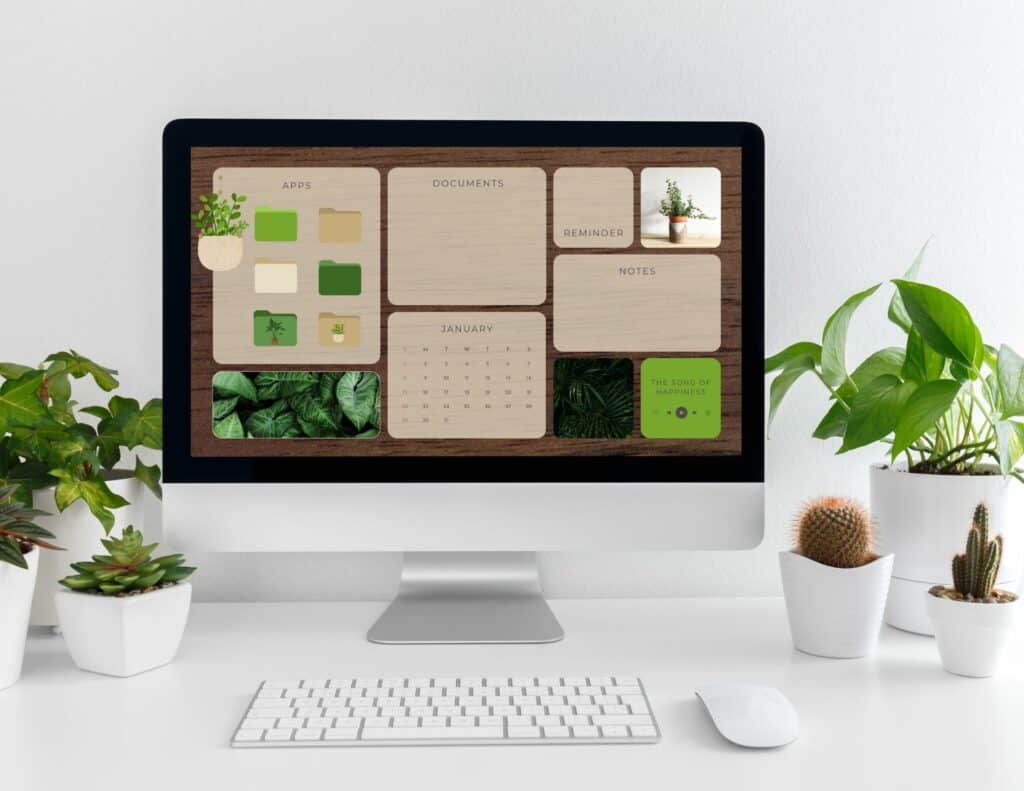
For a truly organized desktop, you need to find the right filing system where your documents are sorted into the proper folders but your desktop isn’t cluttered. If your desktop isn’t organized, it makes it hard to quickly find the file you need!
So here are our best tips to help you organize your computer desktop.
SHOP DESKTOP ORGANIZERS
Step One: Declutter!
Like any good organization project, the first step in organizing your desktop icons and files is to declutter your workspace! When decluttering your desktop, you should start by getting rid of any unnecessary files or programs.
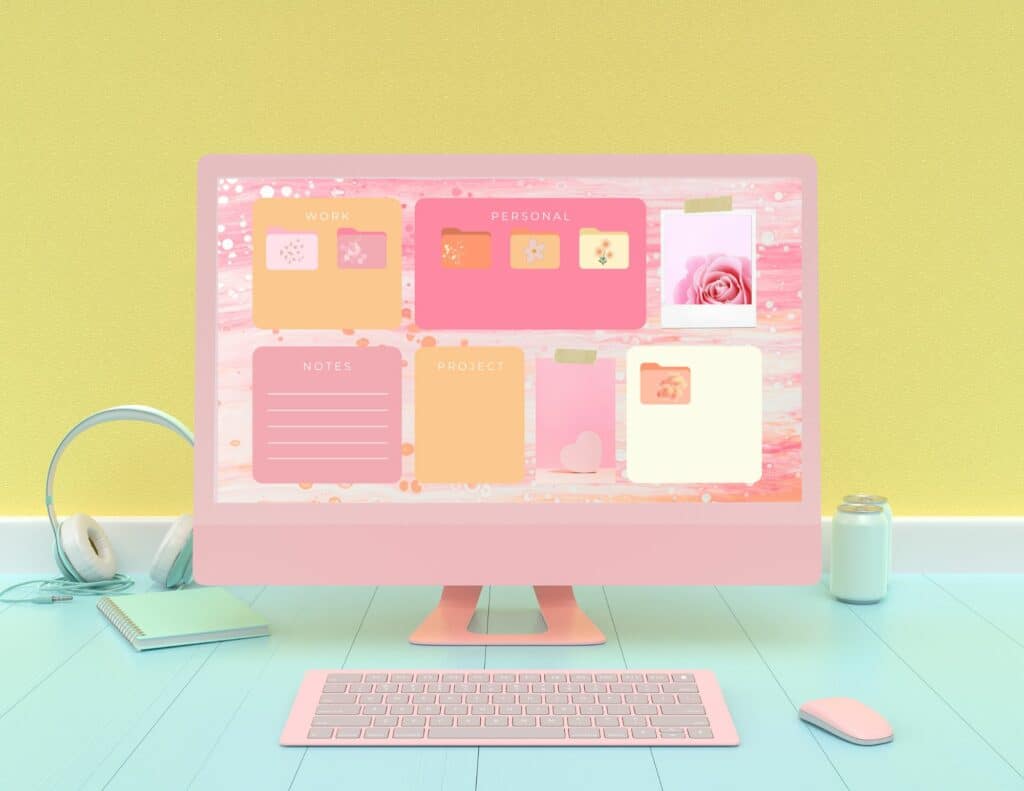
Do you really need all those shortcuts? If a file is old and hasn’t been used in years, it’s time to delete it! Go through apps and decide what you need and what you don’t. If you’re afraid to delete a document for fear you might need it again, you can also store it on a thumb drive so you still have it but it’s not taking up space on your physical desktop.
Deleting old files and shortcuts will not only help your desktop from looking too cluttered, but it will also give you more space for storage on your computer!
Step Two: Create Folders
Once you’ve decluttered your desktop, it’s time to create folders for the remaining documents and icons. A good idea when creating a folder system is to first decide what categories you need.
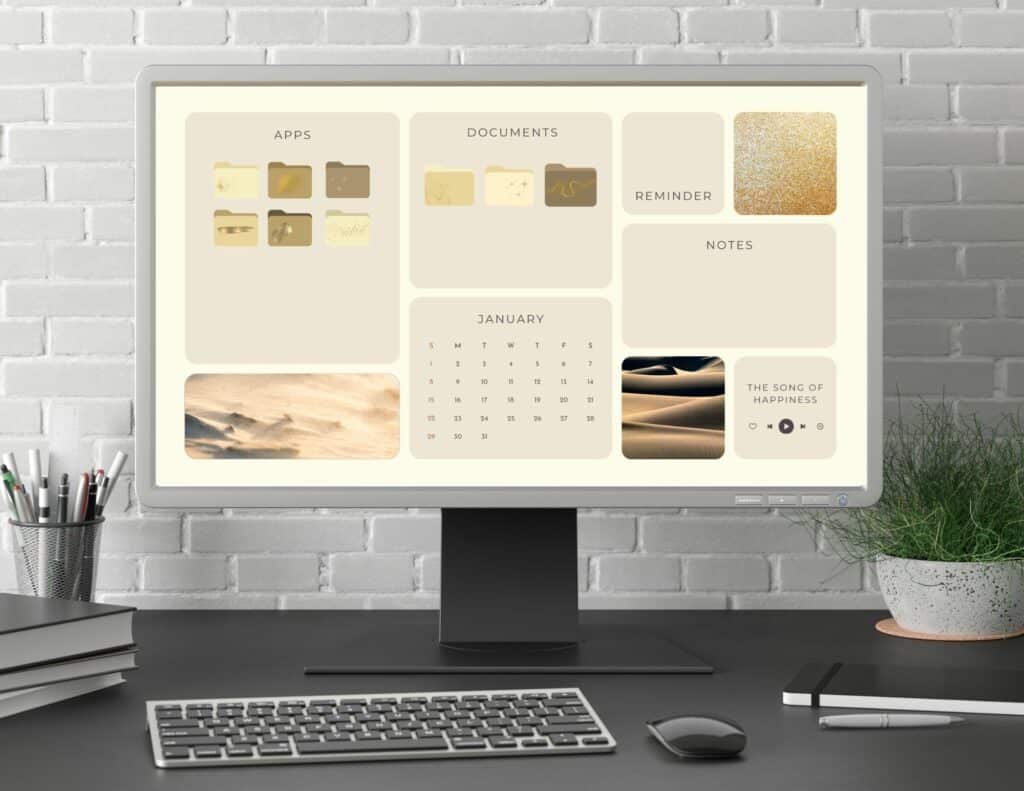
For example, you could create a folder for work documents, one for personal photos and videos, another for school assignments, etc. Once you know what type of folders you need, name them and start dropping your files into the correct folders. Keep any files related to that folder together to keep your desktop files organized appropriately.
Having all your important documents organized in separate folders will make it much easier to find the files you need. When you create a folder, use a name that will easily let you know what associated files are in that folder.
SHOP DESKTOP ORGANIZERS
How many files should you have?
How many files are too many files on your desktop? Well, that’s really up to you! For example, you might be tempted to have just one big folder on your desktop to keep your desktop really clean, but that can make it hard to find the file you need.
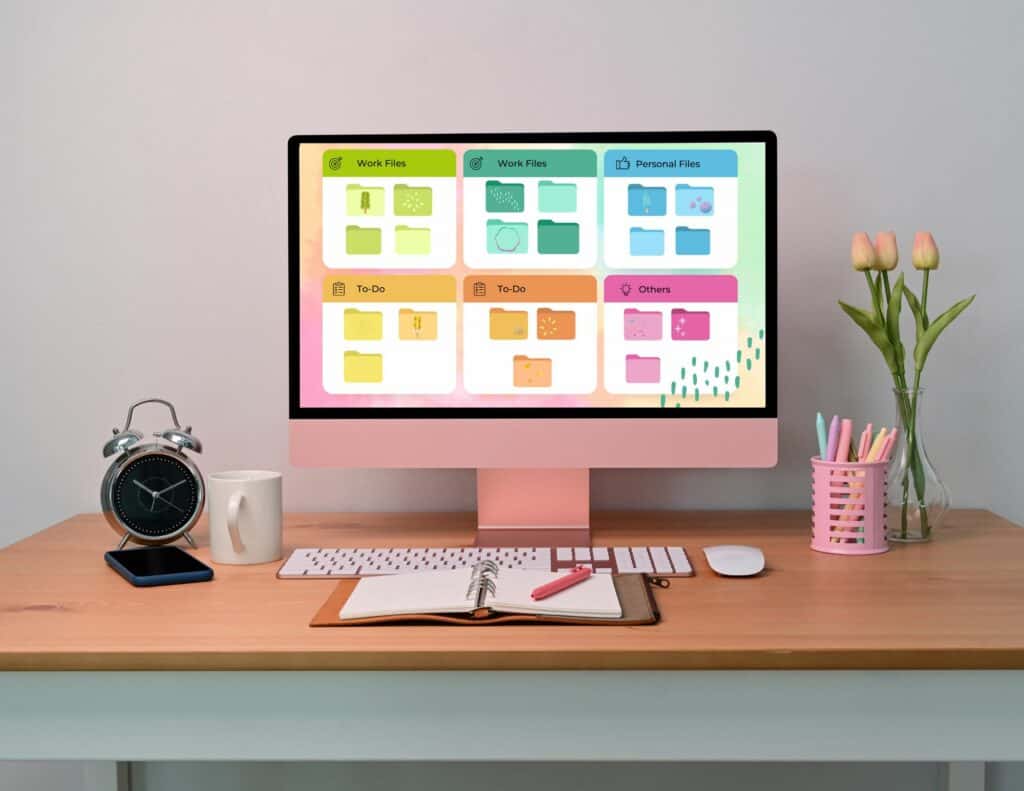
Consider creating a second or third level of nested folders if you’re having trouble organizing multiple files. That way, you can keep all related documents in one place and easily access them when needed. This is my favorite way to organize my desktop!
SHOP DESKTOP ORGANIZERS
Creating Subcategories for Files on Your Desktop
My favorite organizational method is to create several folders full of subcategorical folders. So basically, you would have one main folder for a general topic, like “work” or “school,” then you can create subcategories within that folder.
For example, if your main folder is “work” then you could create folders for different projects you are working on and put specific documents related to each project in the appropriate folder. You could create a new folder for a single project so you know all files, shortcuts, or program icons in the new folder pertain to that project.
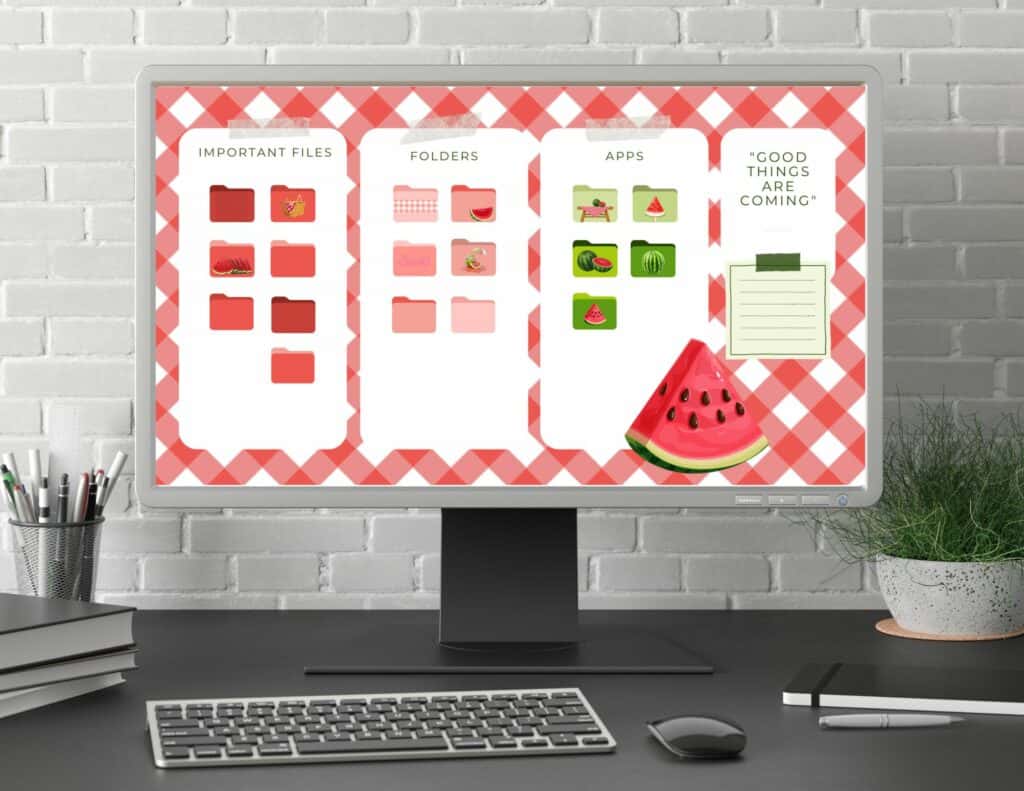
Or if you’re trying to organize a folder for school, you could separate them into subjects such as math, science, etc., and put all your documents related to each subject in the appropriate folder. Drop program shortcuts and store spreadsheets and documents needed for that class, school year, or however you’ve chosen to store files.
Having subfolders can seem like it would be tedious since you have to click into several different files to find the right document, but it’s only a few more clicks and it will allow you to easily access the right files, shortcuts, and documents. By breaking down files into these specific subcategories, it will be much easier to find what you need when needed!
Quickly Sort New Files
When you have created an organization system for your workspace, it makes it easy to store files in the future. When you have a new project, you know exactly where to put your new folder. It is easy to keep your desktop tidy as you know where to drop items immediately after you create them.
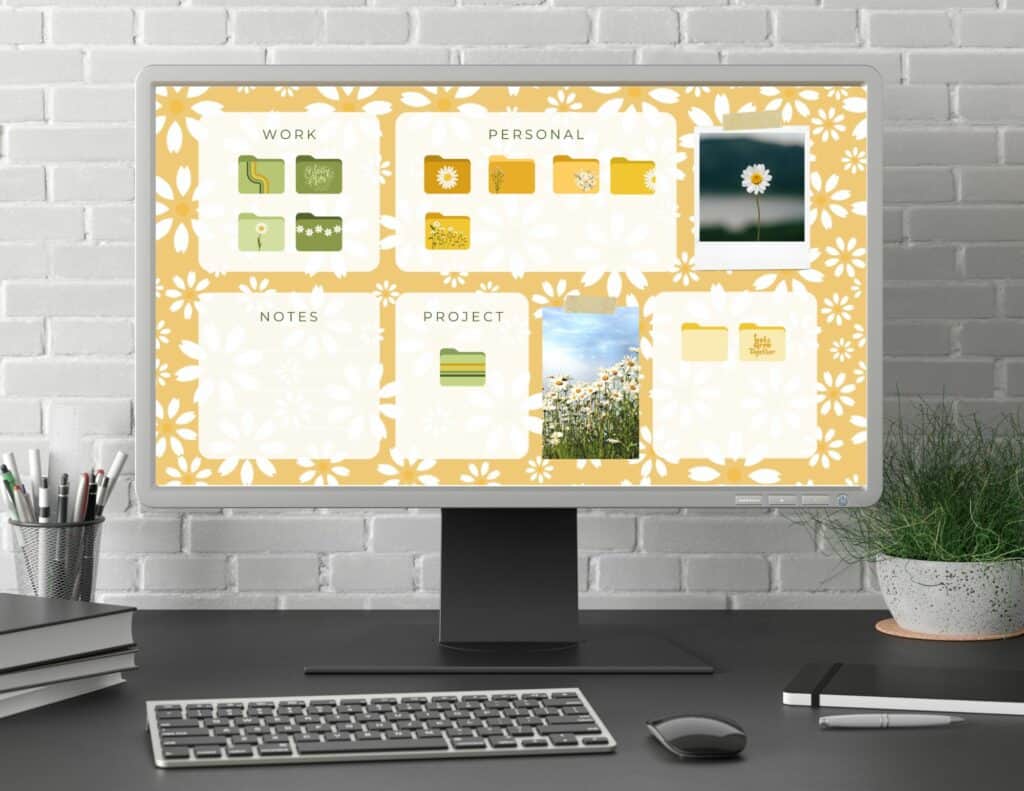
Organizing your files in folders and subfolders also makes it easy to quickly sort new files you receive. Once they are downloaded, store them right away in the appropriate folder, so that you can access them quickly when needed. You’ll spend less time searching and more time getting organized!
This is one of the best ways to store files on your desktop quickly – when you can immediately drop icons in their own folder.
Storing Files in a Convenient Place
Another thing to keep in mind when you are trying to store files and desktop icons is to find a convenient place on your workspace to store them. You want your desktop to be tidy while having easy access to any main documents, program shortcuts, and desktop icons you might need.
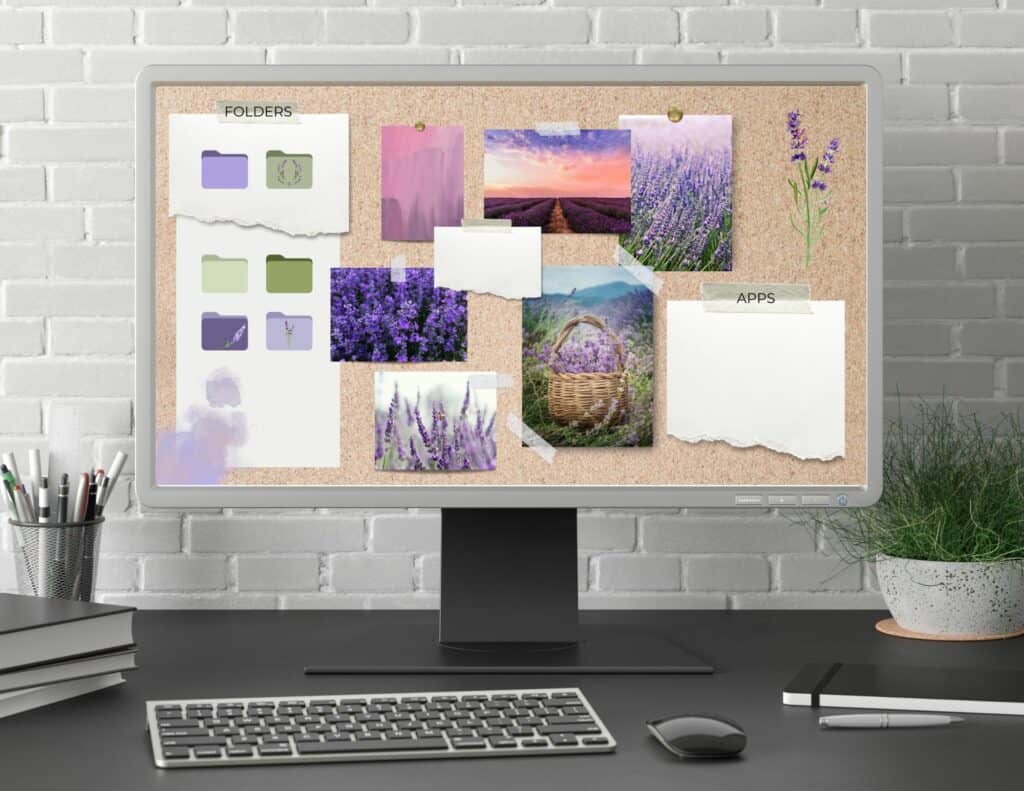
For example, consider putting all work-related folders and icons on the left side of your Mac or PC screen desktop and entertainment-related program shortcuts and desktop icons on the right side of your Mac or PC screen.
Test out a few different systems and see what makes the most sense to you.
Your Desktop Can Be Clean and Tidy!
Organizing your files and desktop icons is key to keeping everything tidy, neat, and easy-to-navigate. With some practice, you’ll be able to quickly figure out which system works best for you.
Make sure your desktop works for you! You want your apps and files to be easy to access without cluttering up your screen. If it’s too overwhelming to do at once, take it one folder at a time. Or spend some time dropping shortcuts in the right place while you’re watching a movie or show.
Before you know it, you’ll have the perfect system for your desktop!
