How to Create an Organized Gift Wrap Station on a Budget
Creating your very own organized gift wrap station will save you both time and money! Read this comprehensive guide on how to create your very own gift wrap station that will fit your budget and needs.
Need more ideas? Check out Have a Stress-Free Christmas + Free Christmas Planner Printables
Why You Should Have a Gift Wrap Station
You may be wondering if it’s really necessary to have a designated gift wrapping station. But I feel like this is one of the many areas where you can set yourself up for success and, ultimately, it will help you save a lot of time. How often have you found yourself frantically wrapping a birthday gift at the last minute? Or even wrapping presents on Christmas Eve?
The last thing you want to do is run around the house trying to find the last few inches of tape you have because your last roll just ran out.
Creating a gift wrapping station doesn’t have to be fancy or expensive but it can go a long way in saving your sanity in those last-minute moments.
There are so many variations of a gift-wrapping station that you could create. Some people have room for an entire section in their built-in cabinetry or drawers designated for paper storage. Others only have enough room to put all of their wrapping paper in a bin underneath their bed.
Both of those are absolutely okay! It doesn’t have to be picture-perfect.
The idea behind a wrapping station is that you just need to create a system that will help you efficiently wrap presents so you aren’t wasting time trying to find the items that you need.
So if you wrap a lot of presents, you may be interested in creating a wall or area to accommodate that wrapping.
Deciding What Space You’ll Need
When deciding what kind of gift wrap station you want to create, it’s important to consider two different things:
- You need to consider how much space you have.
- You need to consider how much you love wrapping presents.
If you are the type of person that hates wrapping presents then maybe the best option for you would be a big box under your bed where you can just pull out a gift bag and some tissue paper and throw a present together.
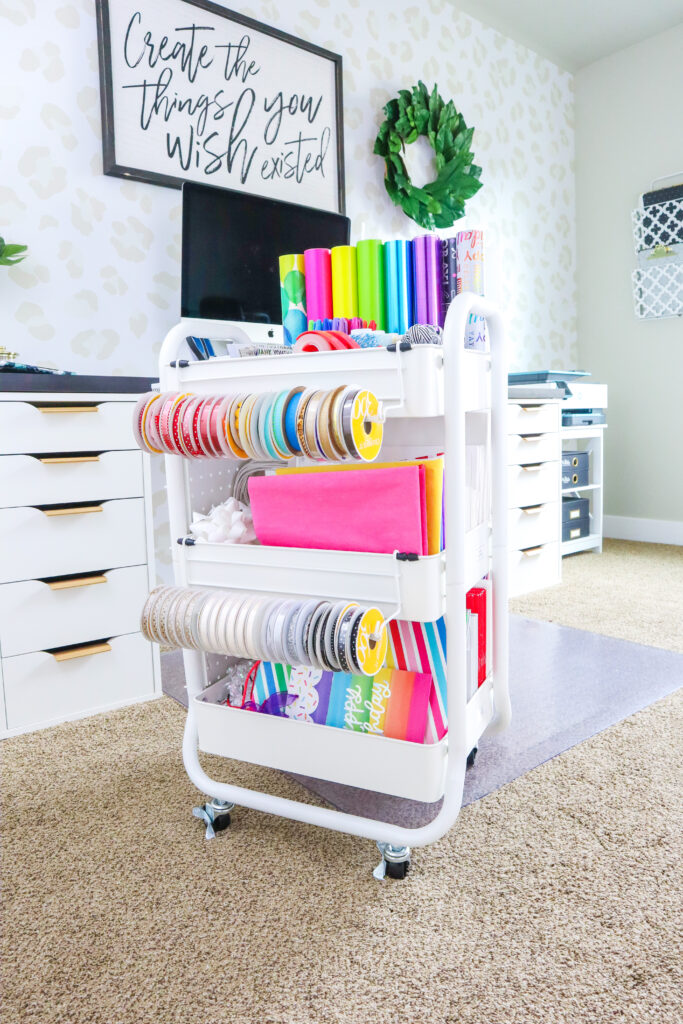
But if you are the type (like my mom) who thoroughly enjoys creating beautifully wrapped presents, then creating a fancier gift wrapping station, like a gift wrap cart, might be your solution!
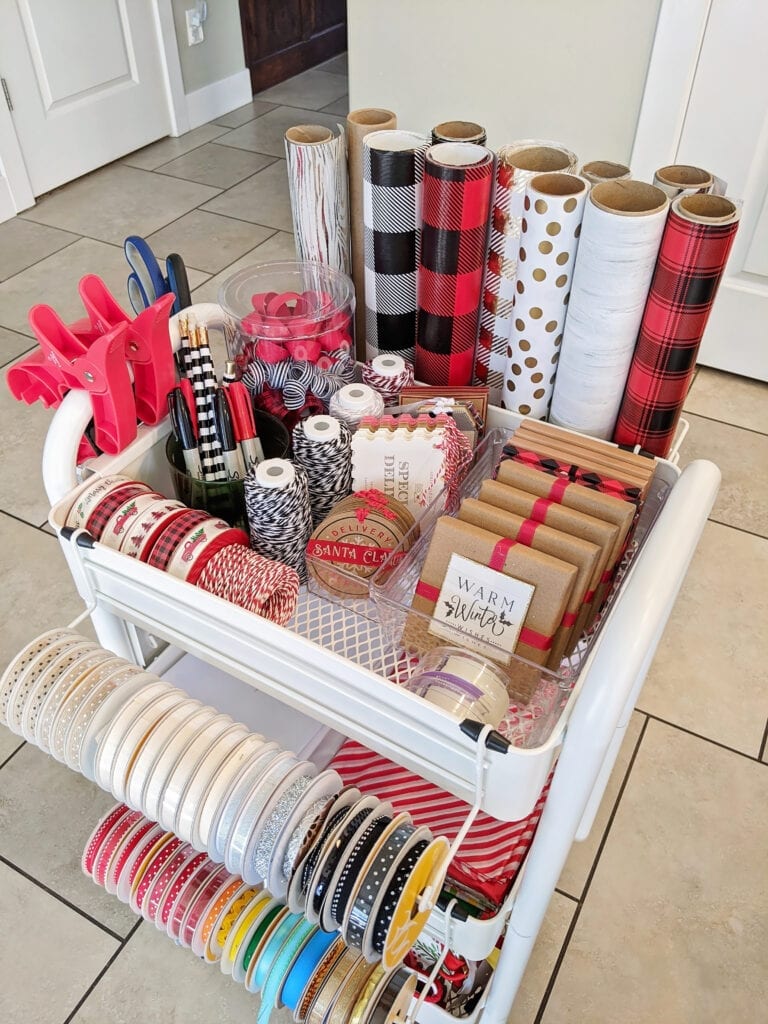
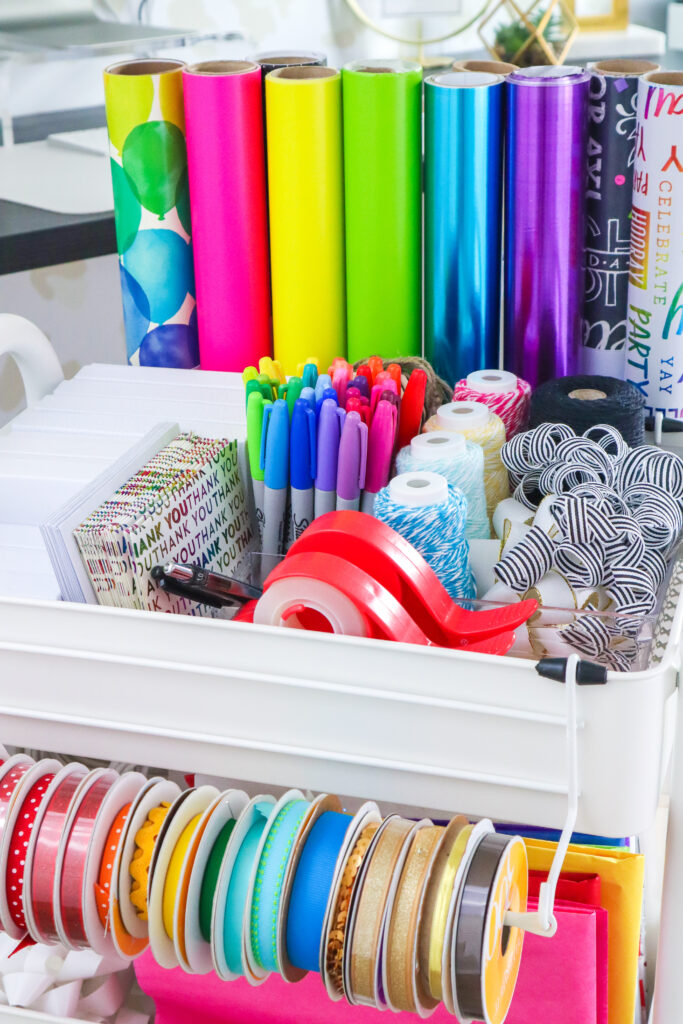
There are more ways to create a station, like using an actual wall or a closet. I do not have the space nor do I want to take up an entire section of my office dedicated to wrapping presents. So I created a gift wrapping cart that works just perfectly for me.
I keep the cart in a small closet underneath my stairs. It’s super convenient because I can just pull out the cart and I have all of my supplies ready to go.
Here are some pretty great gift wrap stations that you can use as a base for creating and customizing your own.

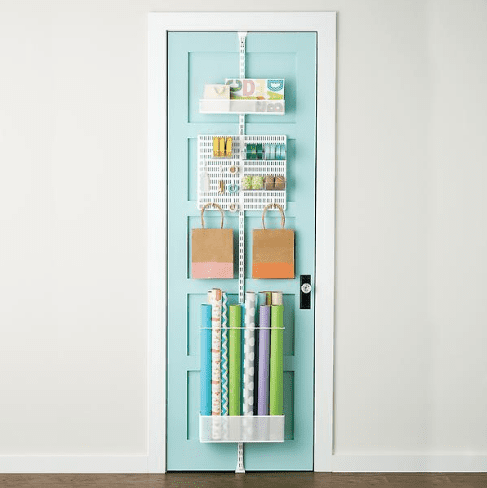
Decide on a Convenient Place to Store Gift Wrap
There are more ways to store your gift wrap than you might think. Here are a few of my favorite ideas:
- Store everything in a box under your bed
- Gift wrapping cart that you can roll around your house to wherever you need
- Install a system that hangs over a closet door
- Dedicate a section of your office or craft room to it
- Store wrapping paper vertically in a bin inside of a spare closet
- Build a wall system that holds all of your wrapping paper rolls
- Purchase a gift wrap storage system that hangs up inside of a closet
- Use a pegboard system as a gift wrap organizer
Get creative with how you use the space that you have in creating a system and storage that will work for you and your family. I also like to make sure that it isn’t too complex so my kids can wrap presents themselves. They love to wrap presents, especially my daughter, and as long as she knows how to put everything away where it goes, I’m fine with that!
Clean Out Existing Gift Wrap
My first tip is to go through your existing gift wrap and declutter the things that you already have. When I went through this process, I found several rolls that had mere inches of wrapping paper on them but they were still taking up a ton of room in my gift wrap storage.
Some of them were not worth keeping while some of them were. But the idea behind it is to get rid of gift wrap that you no longer like or that is too damaged and wrinkled that you wouldn’t be willing to use for someone else.
Just because you get rid of it doesn’t mean that you’re automatically throwing it away. Donate it or offer it up to a neighbor if it’s not too damaged. Otherwise, check to see if any of the paper can be recycled.
As you go through your existing paper, this will give you a good idea of the remaining items that you need to get. Most likely your scissors are dull or all of your tissue paper is wrinkled beyond recognition. Take note of all the things that you are low on and stock up on these gift wrapping supplies.
Stockpile Gift Wrap Supplies
The main idea behind the gift wrapping station is to be fully prepared even for last-minute gifts. There have been several years that we have sat down to wrap a few last-minute gifts on Christmas Eve only to realize that we were completely out of tape. It’s the worst!
You don’t want to be stuck checking stores or trying to get same-day delivery the night before a big holiday!
It doesn’t mean that you need to go out and buy an excess of gift wrap supplies – just have enough supplies so that you will be prepared. Here’s what you should have on hand:
- Wrapping Paper
- Gift Boxes (especially those that come with a lid)
- Tape
- Sharp scissors (nobody likes wrapping presents with dull scissors)
- Gift Bags (in various sizes for every occasion)
- White Tissue Paper
- Colored Tissue Paper
- String or Baker’s Twine (my favorite)
- Ribbon
- Gift Tags
- Sharpie Marker and Pens
- Gift Card Boxes
- Pillow Boxes
Consider Buying Coordinating Gift Wrap
When you are creating your gift wrap station, consider how your gift wrap elements coordinate together. Purchasing gift wrap that can coordinate with several other elements of your supplies will really go a long way with your budget.
Sometimes I have bought things randomly at the store that I thought was a really cute way to wrap a gift only to realize when I got home that I had nothing else that would match it. It was a total waste.
Another great tip is to stick with neutrals with a lot of your gift wrap supplies.
For example, you may want to change up your wrapping paper every year but you could also keep lots of neutral ribbons, strings, and tags on hand so that no matter what paper you buy, it will always coordinate.
Look for deals on bundles of similar paper! Some stores will have a sale or promotion around the holidays.
Must-Have Gift Wrap Gadgets
I am not sponsored by these companies but these are genius gift wrap gadgets that really go a long way to speed up the process of wrapping presents.
- My very favorite gift wrapping gadget is called Wrap Buddies. These completely solve the problem of your wrapping paper roll rolling up nonstop when you’re trying to wrap a gift. And even better than that is that the tape is contained in the wrap buddy itself so you will never need two hands to get a piece of tape again!
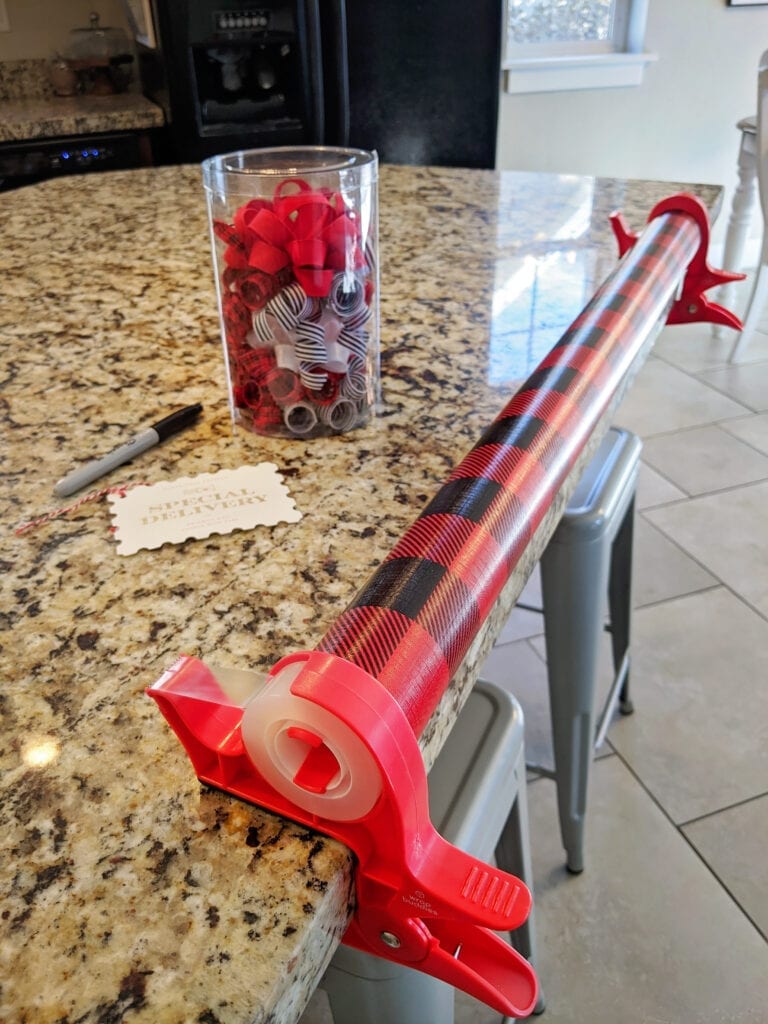
- Another genius gift wrapping gadget is called Wrap Master. This completely takes the place of needing scissors and you’ll be blown away at how easy it is to cut wrapping paper with this thing.
- The Little Elf is another genius paper cutter but what I love about this one is that you can also put it around your wrapping paper rolls to keep them from coming unrolled.
- If you have space in your house to put your gift wrap on display, I really love this Wrapping Paper Organizer that holds 10 rolls of wrapping paper!
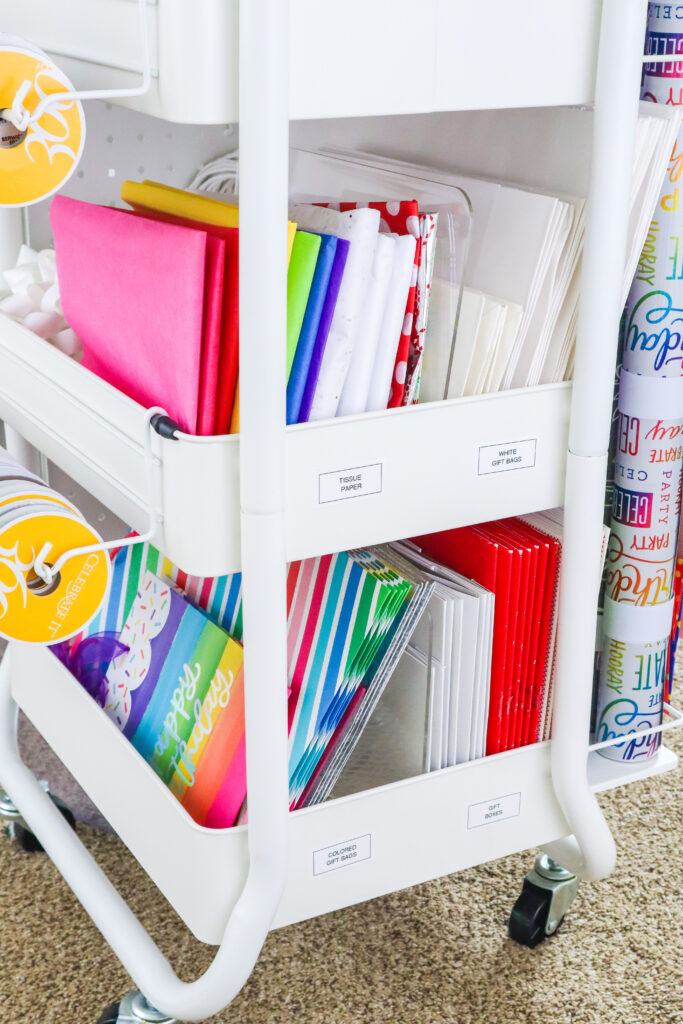
Arrange Gift Wrap by Color and Size
Consider organizing your wrapping paper by color and size. This will help you easily locate exactly what you’re looking for in those last-minute situations.
If you are looking for a small gift bag and have to dig through all of the medium and large gift bags to find one, you’ve wasted time. If you store them by size, then it’s easy for you to find the exact size that you need at that moment.
It’s also very helpful to organize things according to color. If you are wrapping a Christmas present, it’s much easier to find that black gift tag that coordinates with your buffalo check wrapping paper if you store everything by color.
Again, it’s just a very small time saver but when all those very small incremental moments are added up, it really does make a huge difference in your life.
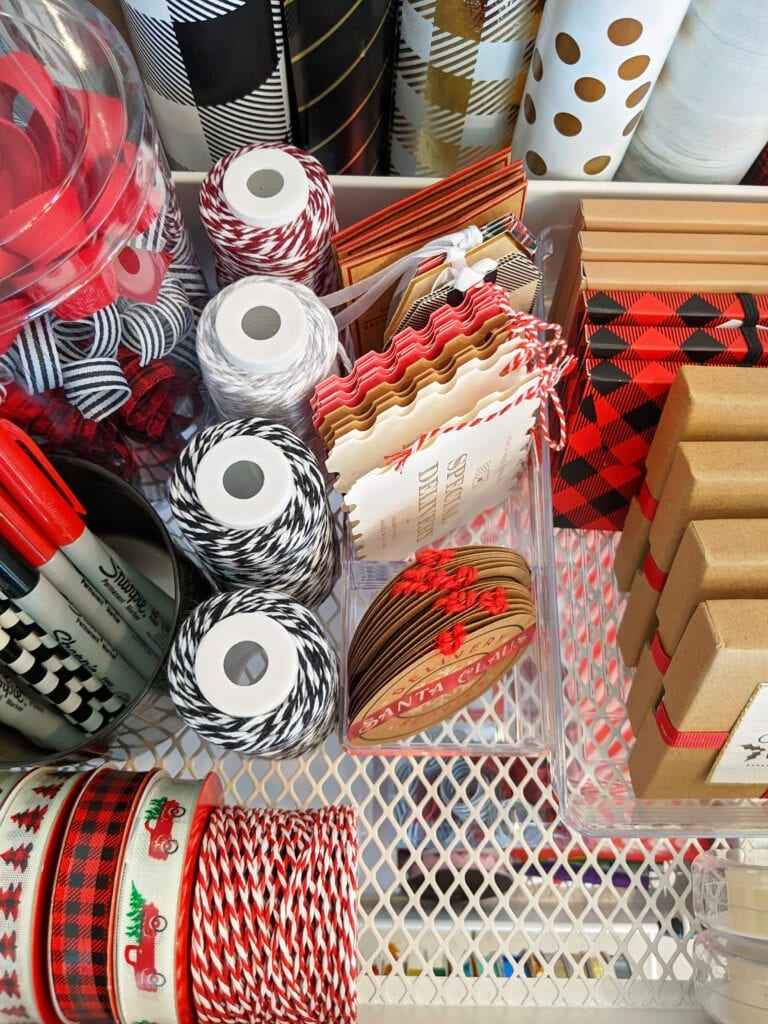
Compartmentalize Gift Wrap Accessories
Another important step in creating a gift wrapping station is to organize things by type. That might seem pretty intuitive but even those really small things like tags and ribbons can get lost in your station.
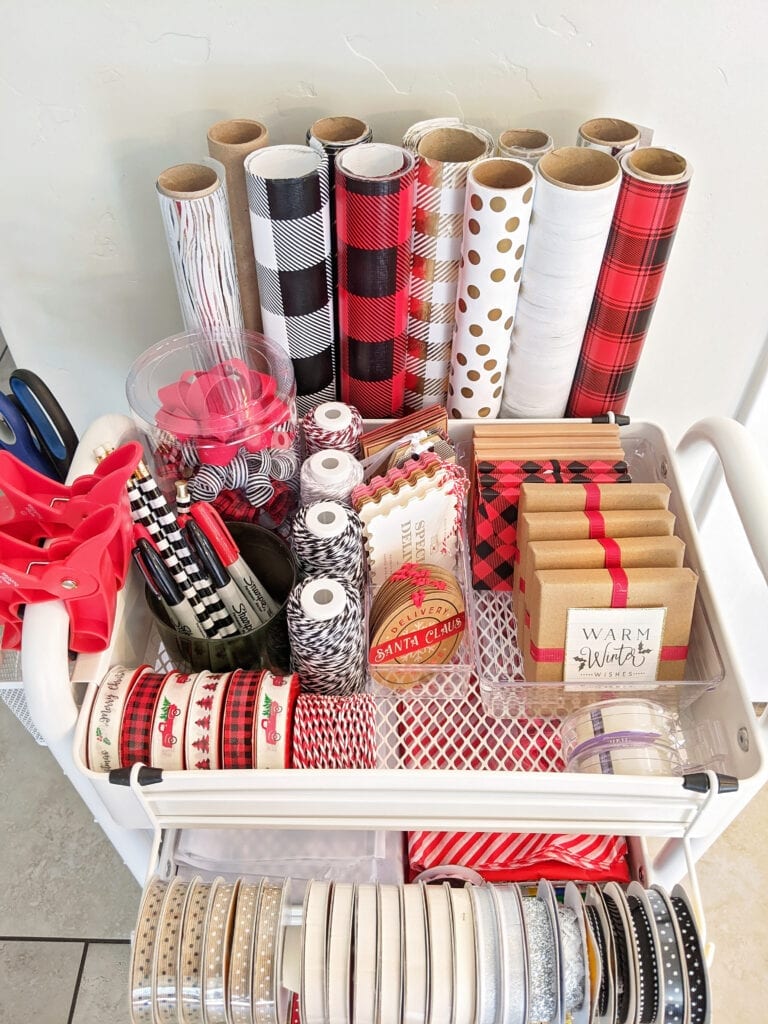
Taking small acrylic containers from the dollar store or container store to help organize your gift wrap supplies will really help things stay neat and tidy. I did that on the very top shelf of my gift wrapping cart and it really helps things look nice. I always know where things are and it’s very easy for me to find what I need.
If you have extra drawers that you are using in your built-in cabinets you can use various things to keep things organized, such as:
- Expandable Bamboo Drawer Dividers
- Clear Acrylic Organizers
- Small Bead Organizers for Tags
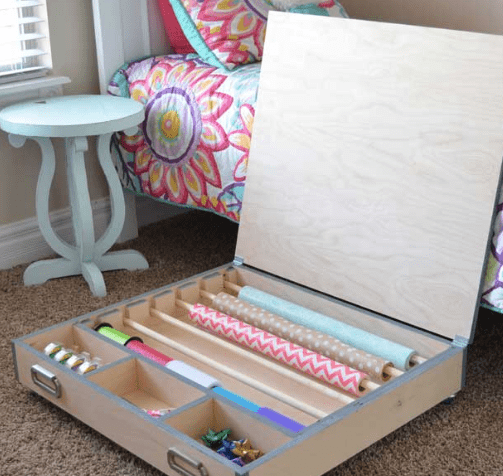
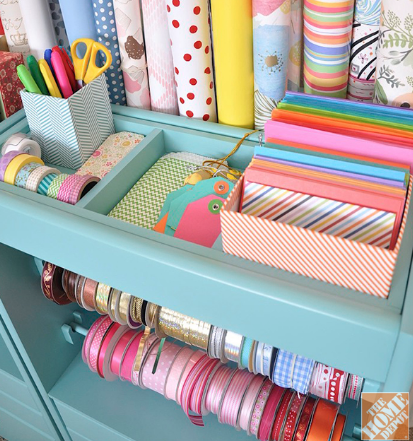
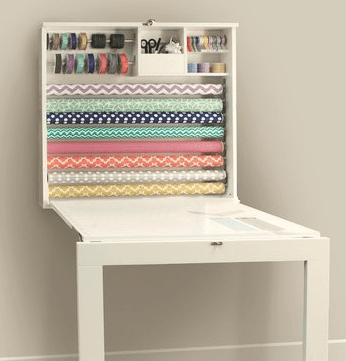
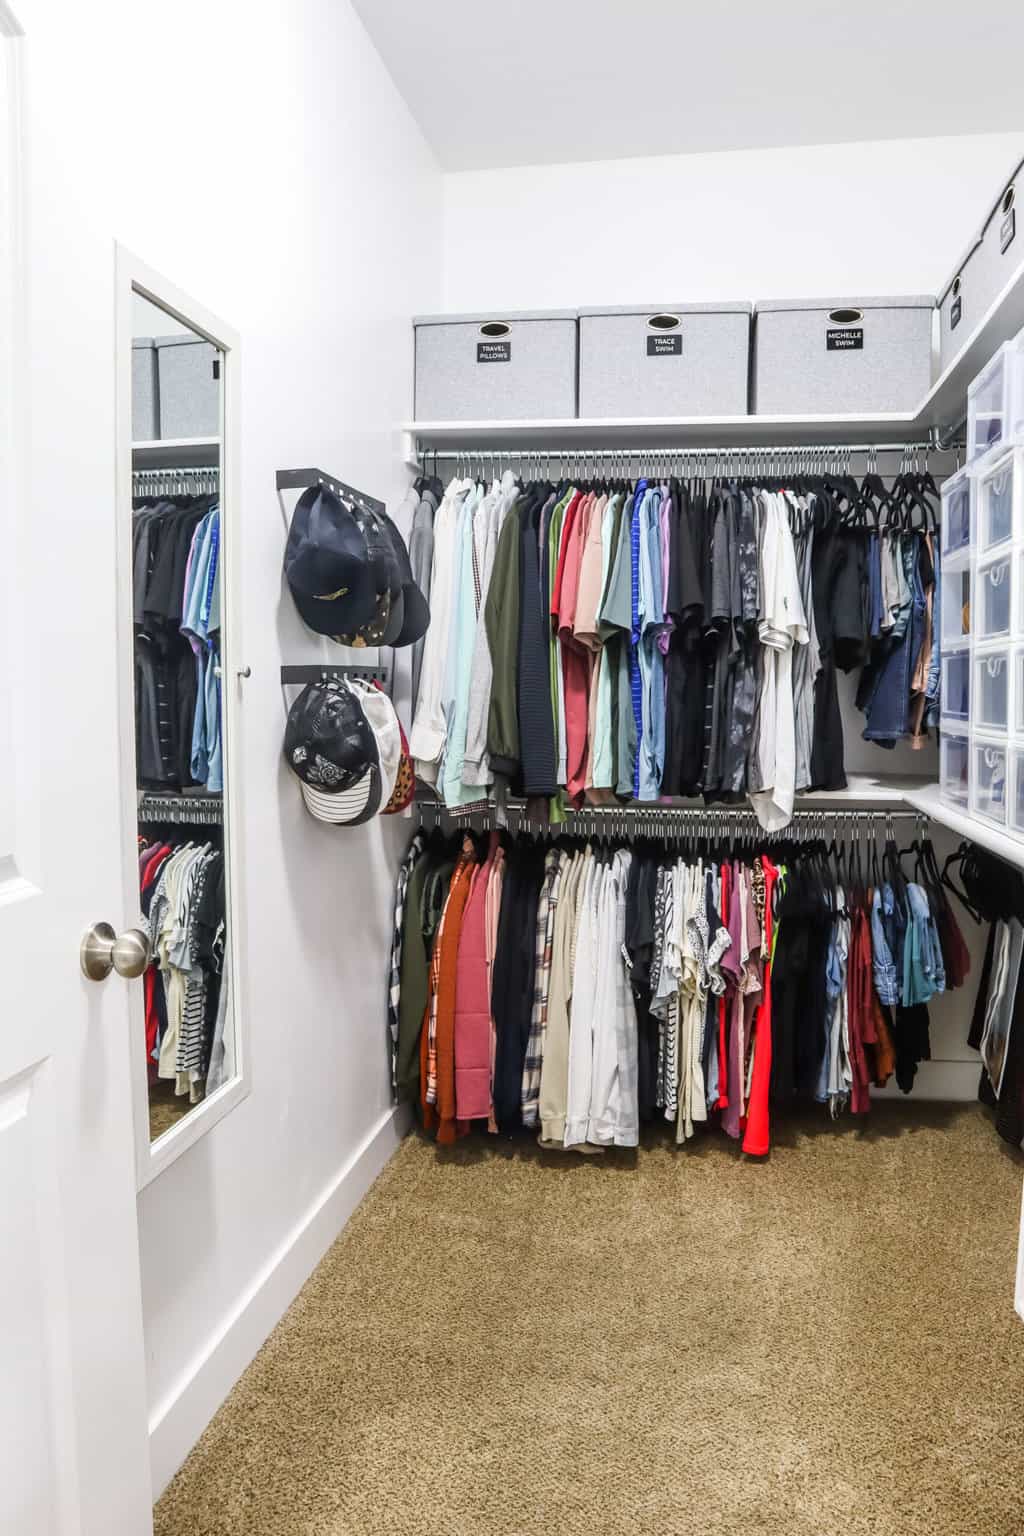
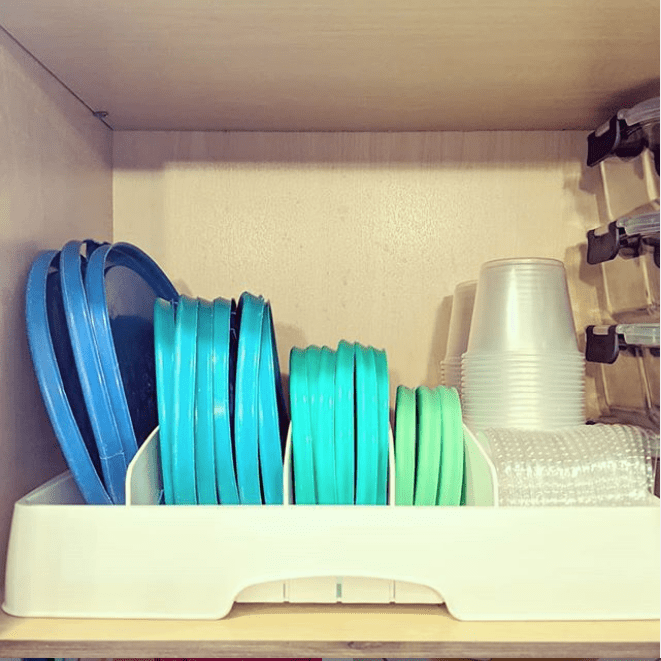
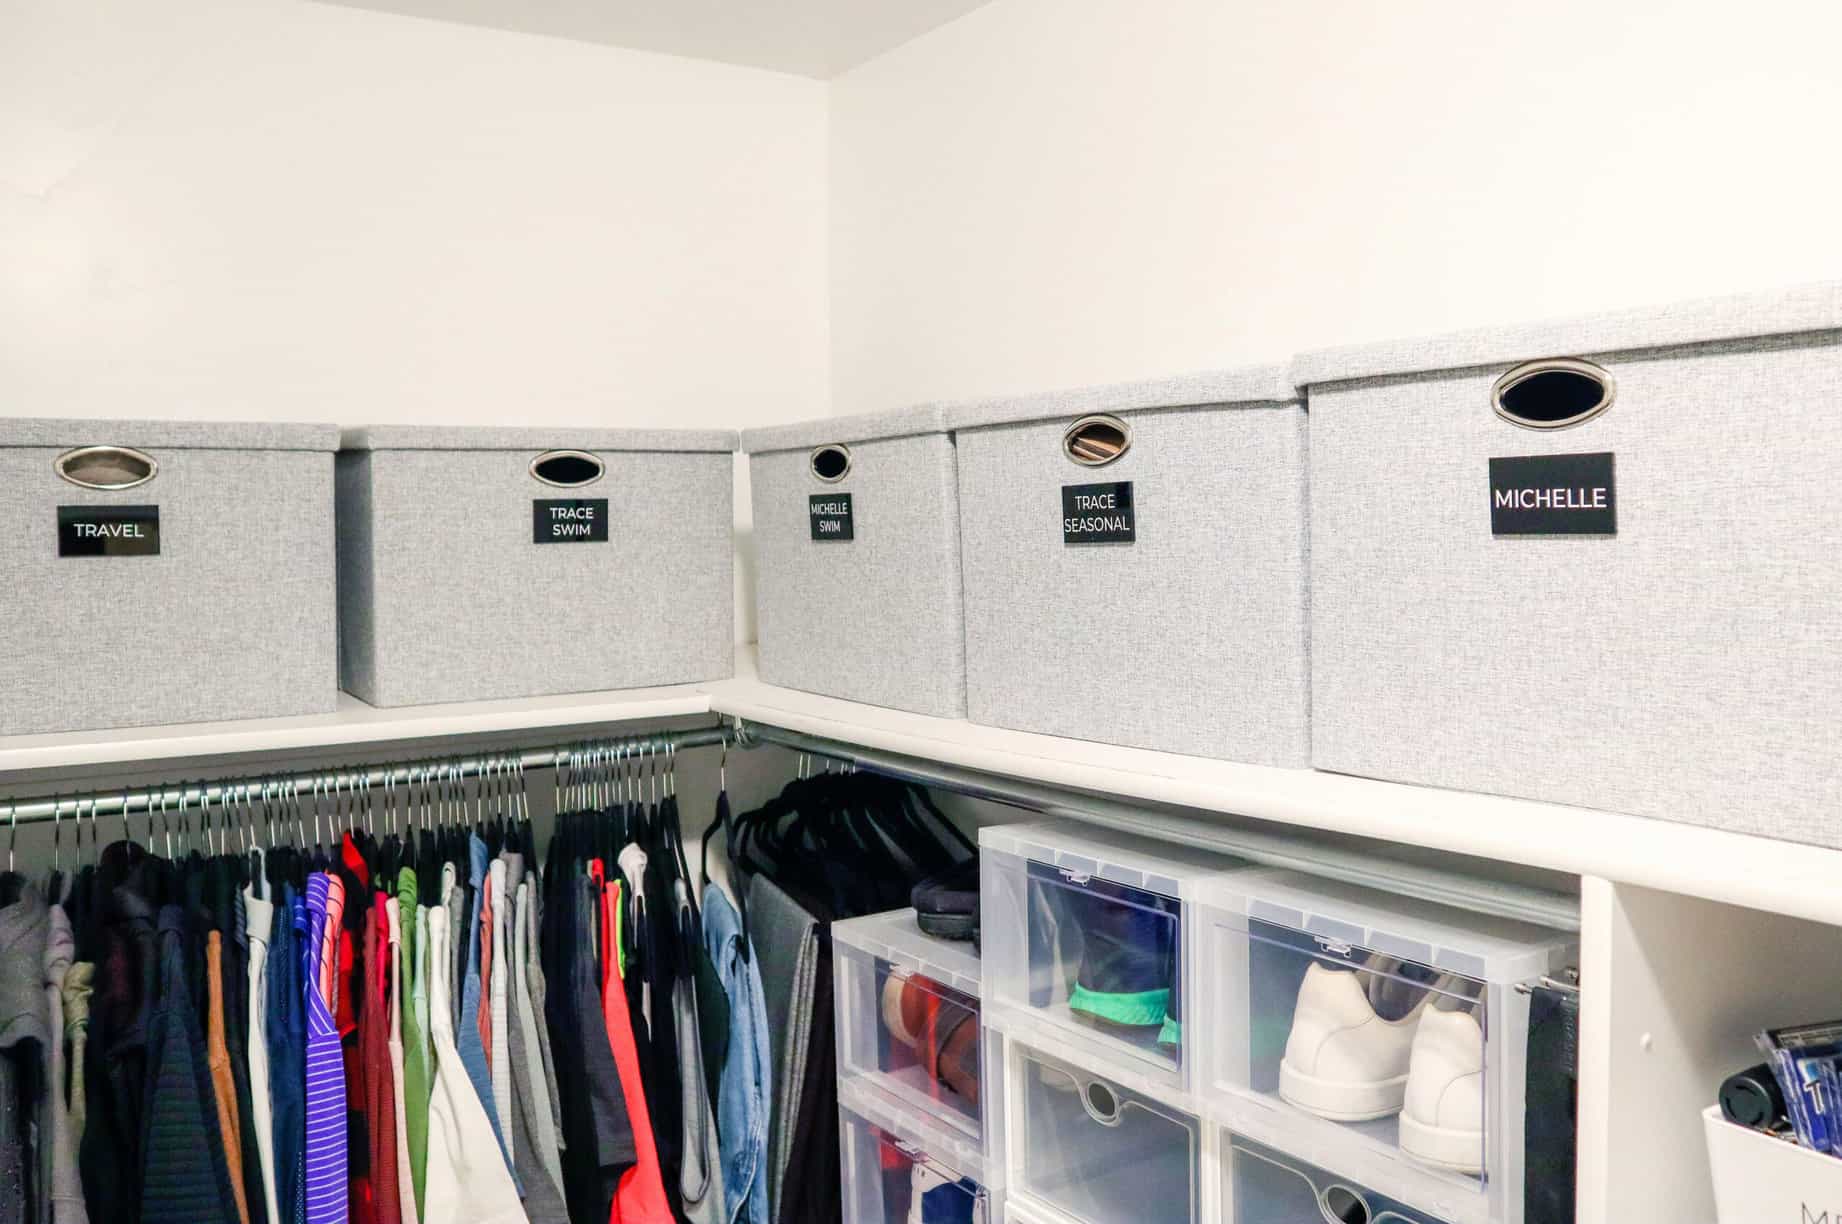
Other Great Gift Wrap Station Ideas
There are so many more ways to make wrapping stations, carts, and containers all over the internet. There are tons of incredible people with lots of great ideas and inspiration. I have compiled a few of my very favorite gift wrapping stations for you so that you can gain some inspiration as well!
You can click on the links to get more details about the image in the photo.
I hope something you have seen in this post has inspired your creativity. Having neat and organized paper storage will save you tons of time in the long run, especially around the holidays.
Make sure your gift wrap organizer is pretty easy to access so you’re ready to wrap before any party. Happy organizing, friends!

I love your ideas for the gift wrap station. I was wondering if you’d be so kind to post a link to the cart you used or even provide more information as to the specific kind of you don’t have a link. Thank you!
Hey Stacy! I have a link in the blog post where there are small photos of a gray cart. I hope that helps!
I’d love to know more about your specific cart. I saw the link that you mentioned in the comment above, but I’d love to know what accessories you used to hold your gift wrap, ribbon, etc.
Do you have any suggestions on how to create a traveling wrapping station? I usually have to travel out of state for Christmas and always find myself trying to scramble for wrapping supplies.
Hello! thank you sooo much for sharing. This is perfect for me. Can you please tell me what you purchased to hold your wrapping paper in the back of the cart? Please send link. I LOVE this idea. Thanks again for sharing
The cart that is linked throughout the article (the one from Michael’s) comes with the shelf that will hold your wrapping paper. I hope that helps Candy! Thanks for reading!
Great idea for a wrapping station! Can you please tell us where to purchase the ribbon holders?
Thanks
The ribbon holder comes with the gift wrap cart that is linked (and used) in the blog post! Yay!
Could you tell me what you did to that rolling metal wrapping station to be able to stand upright the wrapping paper rolls in the back. I can see you added racks to the front for ribbons which I live. I’d like links to those two additions to the cart or ideas on where to get them and what they are called. I’d like to do exactly what you did to mine. Thanks so much for the inspiration.
Unfortunately, you can’t buy those pieces separately. They are a part of the cart that I have linked to throughout the article. I hope that helps!
I like the clear dividers between the tissue paper and boxes. What are they called?
Thanks
Her is the link to the clear shelf dividers: https://amzn.to/3jVvc69
Hope that helps!