Easy Closet Organization how to Guide
Do you ever get overwhelmed by your bedroom closets? Once in a while, I am embarrassed to say that I have thrown something in the closet and closed the door real quick before it could fall out. I hope I’m not the only one! 😣 Can you relate to this? Keep reading my closet organization how-to and you’ll be able to conquer the closet clutter!
Need more closet ideas? Check out my other post: Easy Kids Closet Organization
Closet organization comes in two phases. The first phase is to pull every single thing out of the closet. Wipe everything down, and go through all of the clothes and toys and everything else that’s in the closet.
The second phase is to implement your closet system that you have planned…and this is the fun part!
Empty Everything Out
The first part of closet organiztaion is to clear out the things you no longer need. Be brutally honest with yourself on what things you want to keep and what things you want to sell or donate. The reason why you go through the closet first is so that you can have an accurate picture of what will really go in the closet when all is said and done.
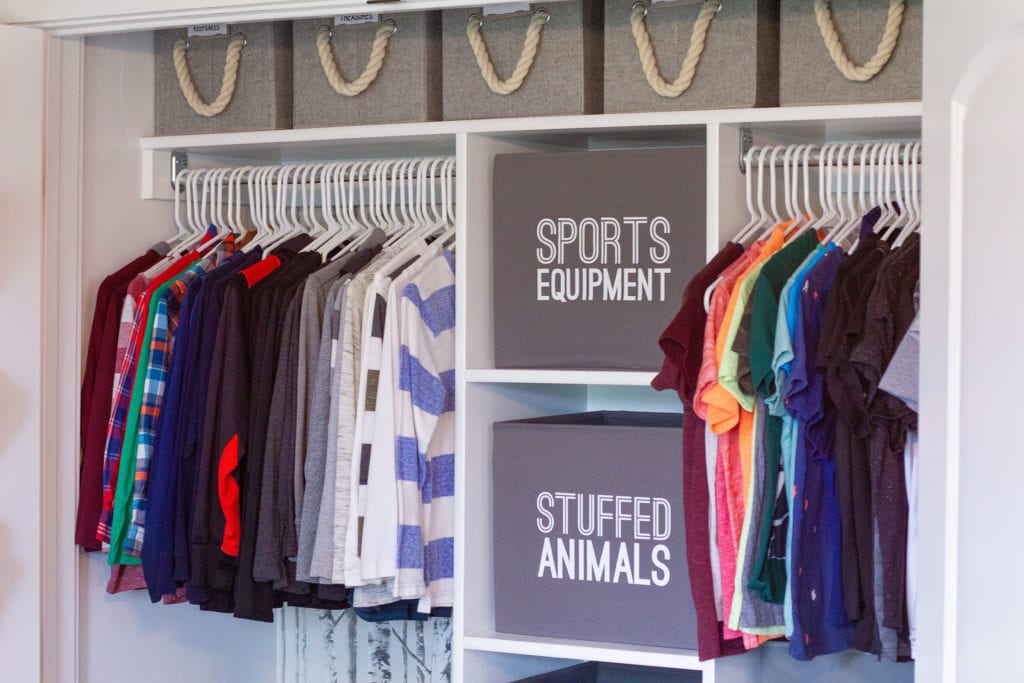
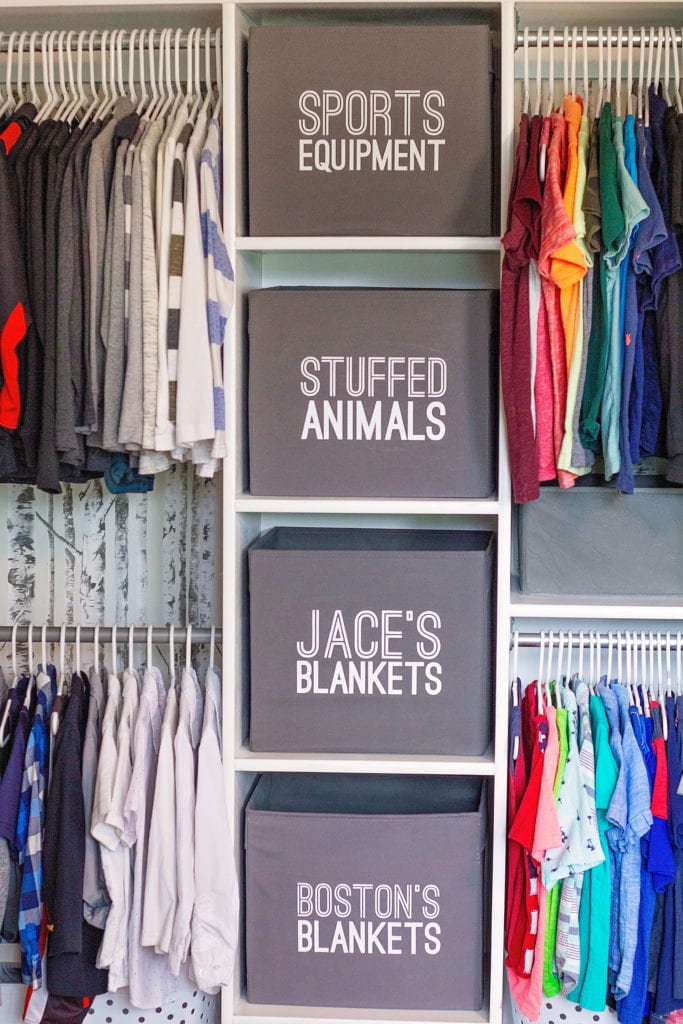
This is a really important step to help you stay on budget and not overbuy on bins or hangers. Once you have gone through everything, now you need to categorize and group things that you will store together. For example, I keep all of my boys’ sports equipment such as shin guards, helmet pads, and soccer cleats in one bin.
I don’t keep my kids’ toys in their bedroom but I do have a bin where they keep their stuffed animals.
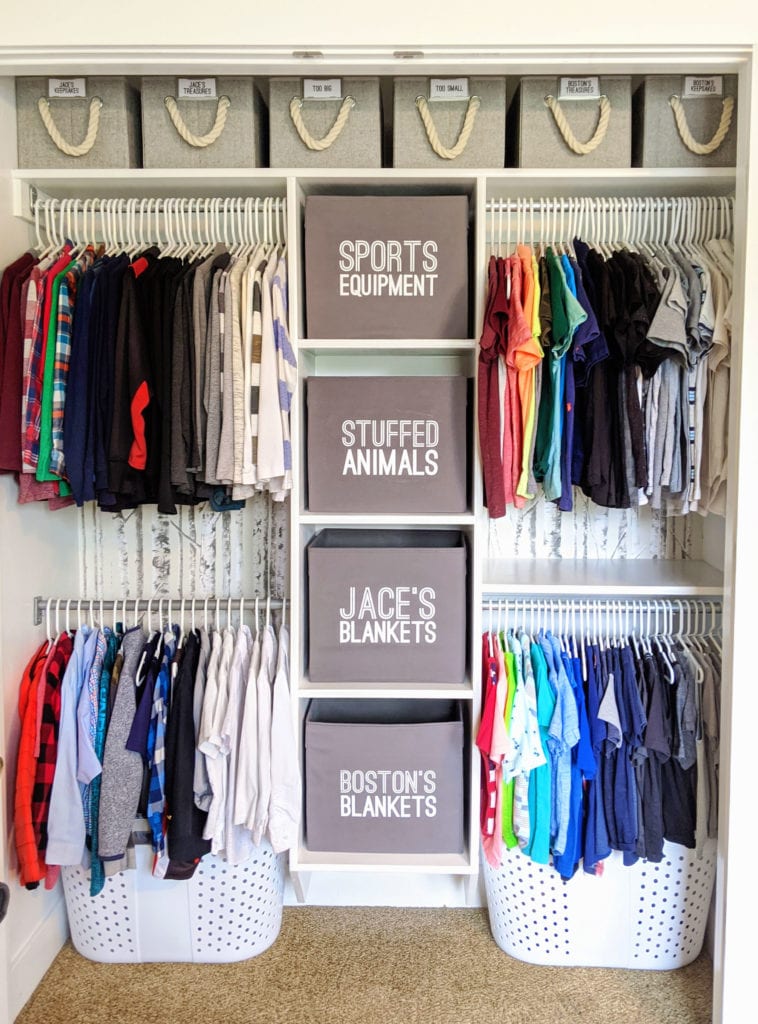
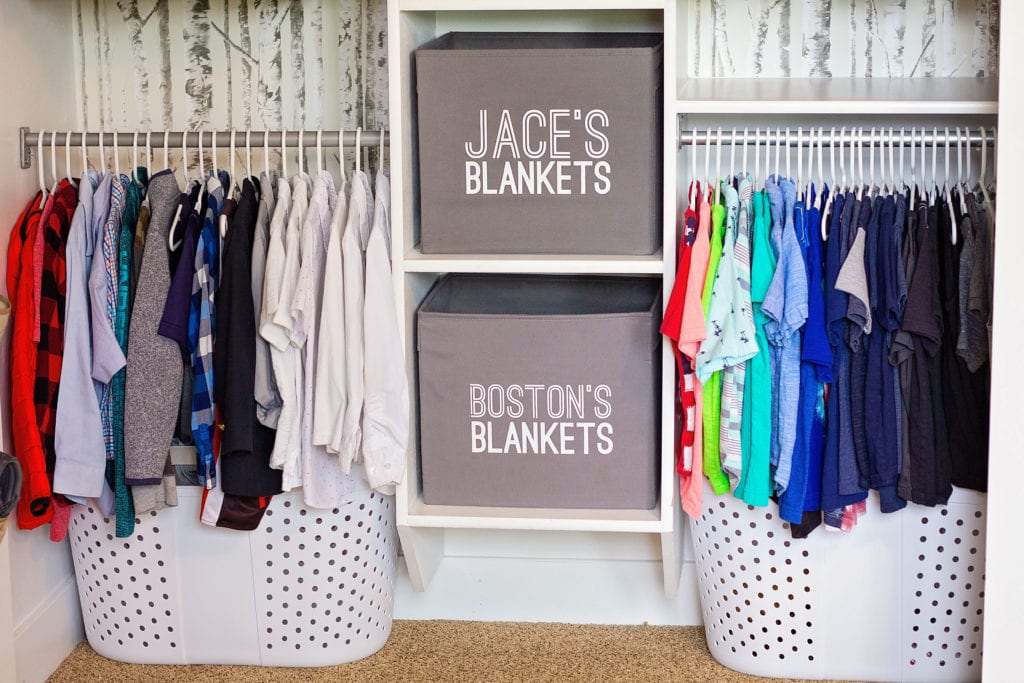
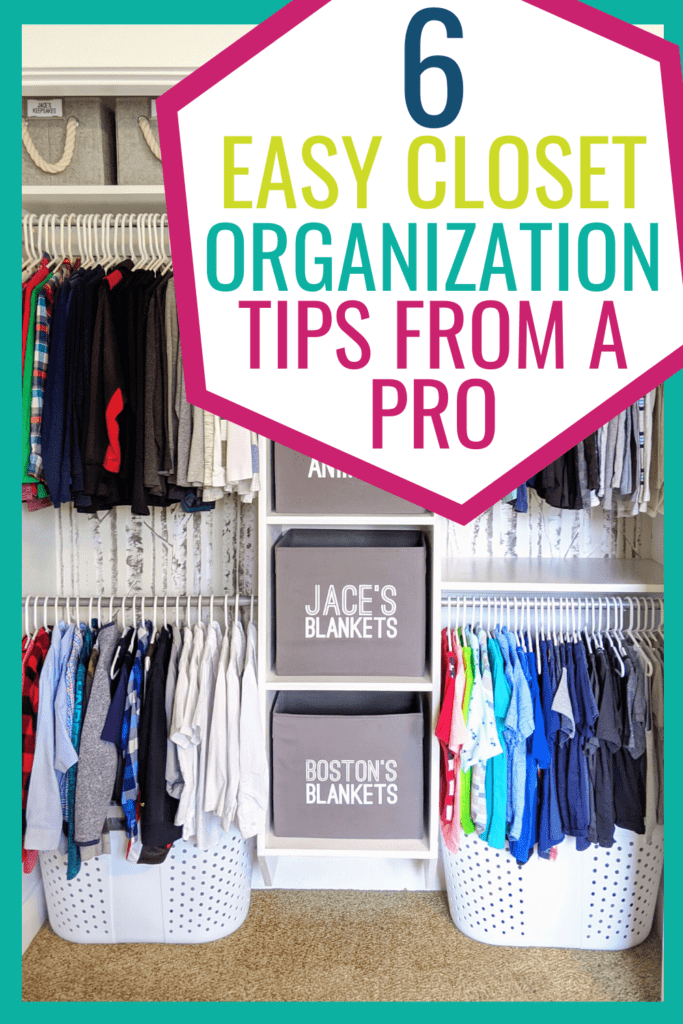
After you have everything grouped together, decide what containers you need that will help you keep things nice and organized. I really love these gray bins that take up the full space of the cupboard because it’s really practical for my boys to just throw their blankets in there but it still looks nice from the outside.
Create a Plan
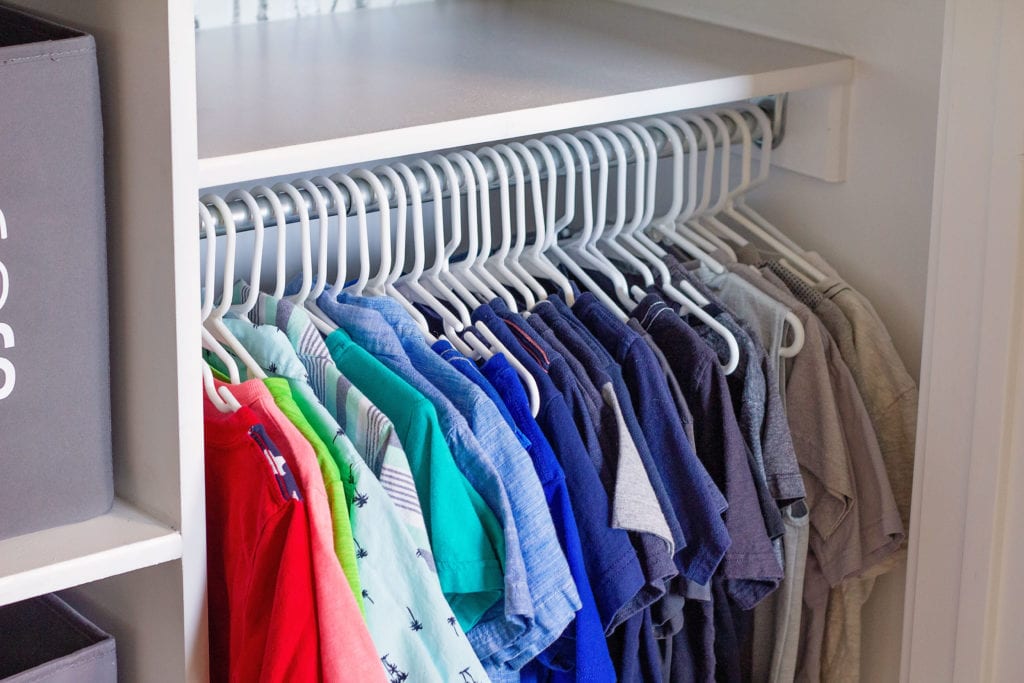
After you have decluttered everything in your closet, the next step is to create a plan for your closet! One of my very favorite tips to give people is to make sure that you have matching hangers! They really aren’t that expensive and they make a huge impact on how clean and clutter-free your closet can be. Every time I have an organizing client follow this advice, they always comment on how surprised they are on how much of a difference it makes!
My next tip is to be realistic about the containers that you choose. If you have kids that are really tough on storage bins, make sure that you get bins that are really sturdy and that will last a long time. Otherwise, you were just wasting your money and all of your hard work won’t last very long because the bins will end up looking crappy after a while.
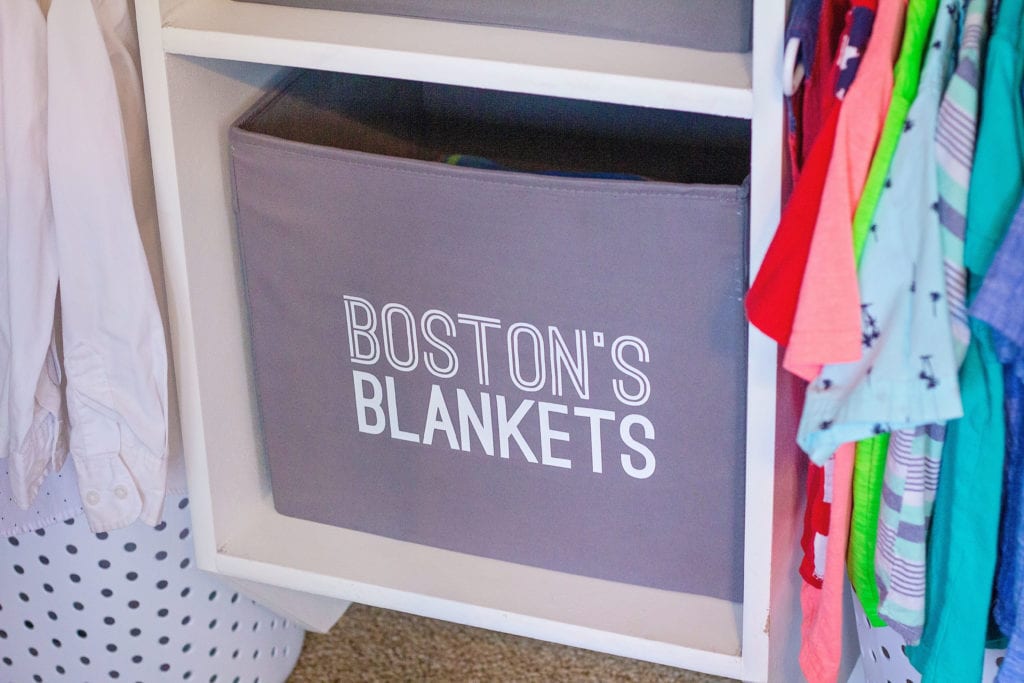
My third tip is to implement a realistic plan. Like the example that I talked about before, I know that my boys aren’t really going to take the time to fold their blankets every single morning. And I’m actually okay with that. So I just find a solution that enables me to make things look nice and clean but allows them to clean the room quickly by just throwing their blankets in there without having to fold them.

Order your products
Before you order your organizing supplies, I really really recommend measuring all of your spaces. You can easily waste a lot of time and money by ordering the wrong products that will not fit your closet spaces. I have made this mistake before so it’s something I always make sure to do. Double and even triple check your measurements. The nice thing is that products usually have their measurements listed right in the product listing so you’ll be able to easily see if those products will work for your space.
Closet Organization How To
In my opinion, this is the best part of the whole project! This is where you get to see the real transformation of your closet! Some people may wonder why organization is so important. But in my opinion, organization is essential! Here are my 3 favorite reasons to be organized:
- Saves time: if you are organized, you will save SO MUCH TIME that you otherwise would have spend on looking for lost items.
- Saves money: you don’t buy items again and again just because you can’t find them.
- Walking into a clean and organized home brings actual peace into your life! And who doesn’t want that?!
Enjoying this post? Pin it for later!
Label, Label, Label!
My favorite thing to do with each organizing project is to label my bins. It really adds that extra finishing touch that really makes the space feel complete! Here are some different ways you can label:
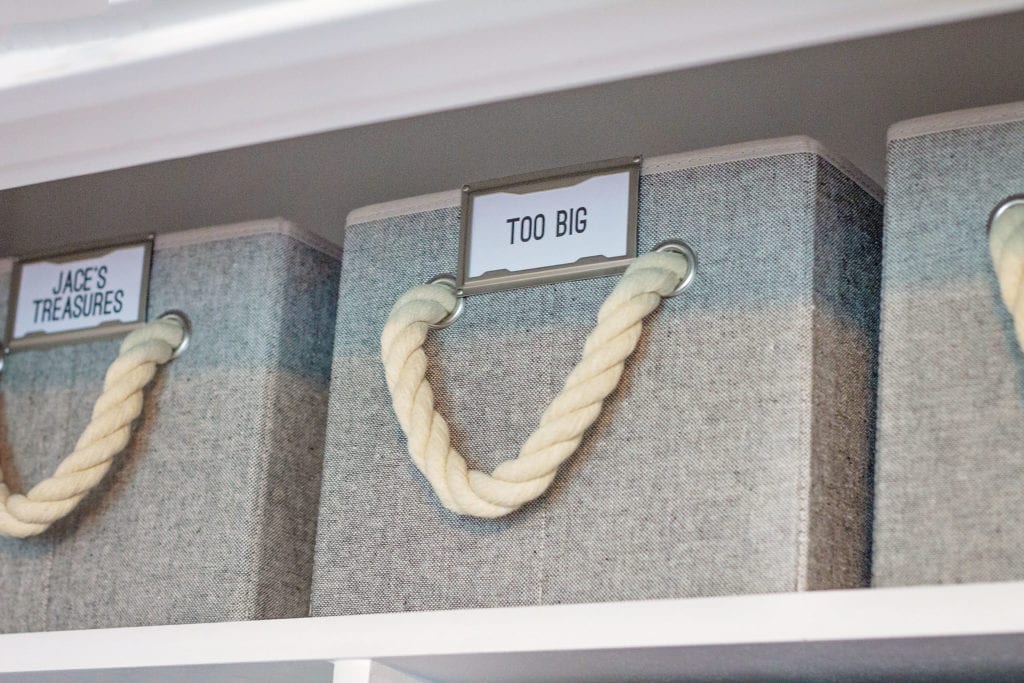
- Metal Frame Clip Labels from Target (used on my bins at the top of the closet)
- Metal Binder Plates from Martha Stewart (not used in this project)
- Silhouette Machine and Heat Transfer Vinyl (this is how I labeled my gray cube bins in this project)
- Chalkboard Labels for plastic bins so you can easily change the label with a chalkboard marker
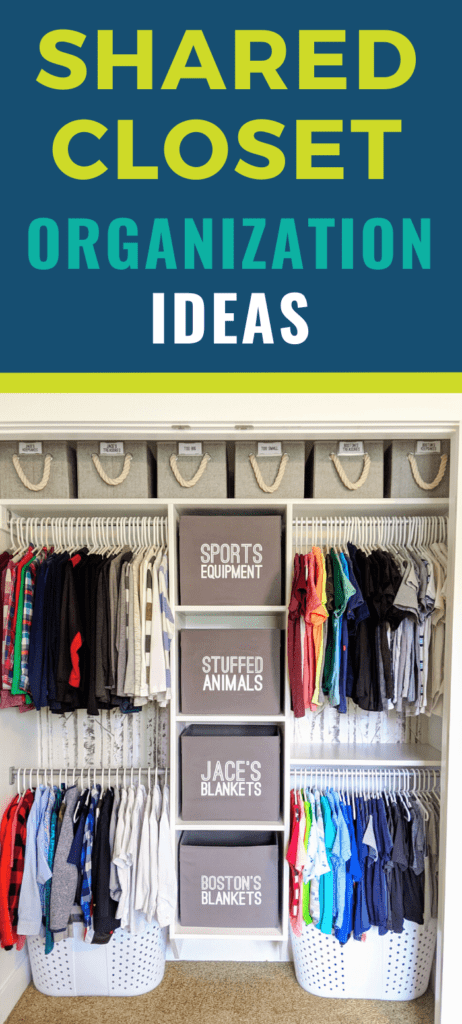
The gray bins in the center of my boys’ closet are from Ikea. They are really inexpensive and for the price, I’ve been super surprised at how long these have lasted! We have had them a year and they are still in great condition!
The bins at the top of the closet have been a total life saver to me. There are so many times that my boys’ have grown out of clothes and I just don’t know where to store them until I give them away! So I created bins at the top of my boys’ closet where I can easily throw the too-small clothes (or too-big ones!). I have 6 bins at the top that keep things nice and organized so I know exactly where to find something when I need it.
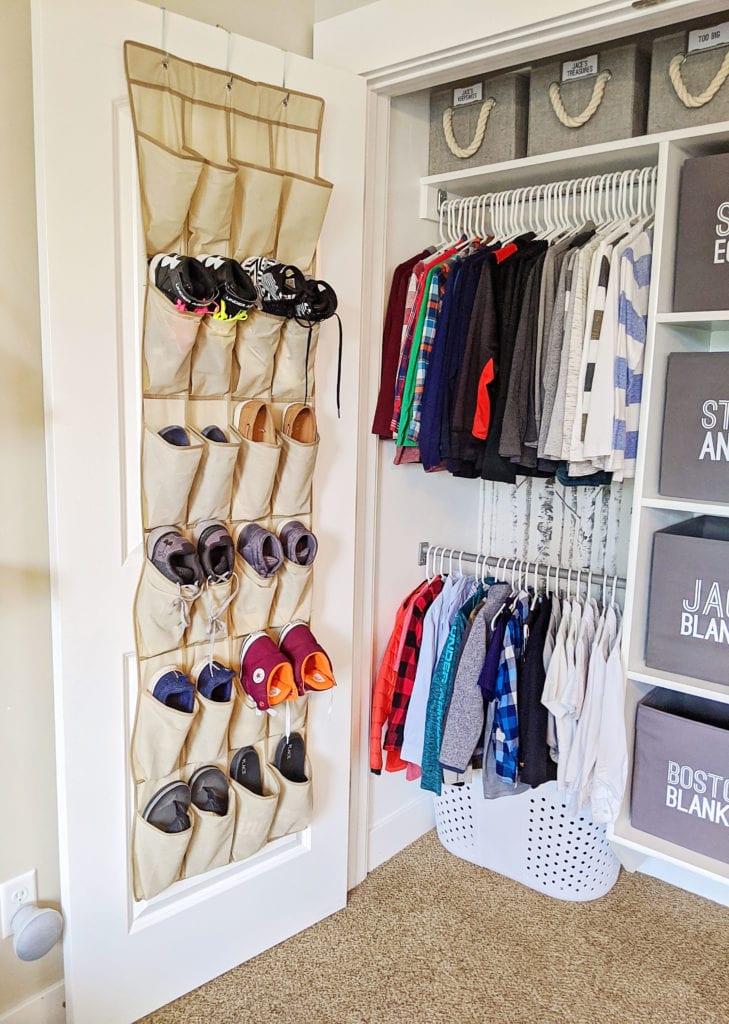
I had a really difficult time finding stylish laundry baskets that would fit in the space in this closet. That’s when I found these awesome white bins! I love them because they are plastic, but the plastic is flexible! So they fit perfectly on the ground under my boys’ clothes. I highly recommend these!
I also love to use the over the door shoe organizers. They are a great use of space and they don’t take up space on the floor or inside one of their dresser drawers. I probably should have bought a gray one to match the rest of the closet but I decided to use what I already had even though it doesn’t match perfectly.
Wallpaper the Closet
As you can see in my boys’ closet, I actually added leftover wallpaper from their room into the back of the closet! I love how it ties the closet and the bedroom together and it makes the closet look stylish.
Because I am renting my home, I opted for peel and stick wallpaper so that we could easily remove it when we moved. GUYS!! THIS IS A GAME CHANGER! It has the same feel as contact paper but it’s thicker and nicer. This Birch Tree pattern that I chose is SO darling and it was REALLY easy to hang. We used it in their room as well and I’m excited to show you that post in a few days!
I hope that I have given you some closet organization DIY ideas that inspire you to create your own organized closet! Just take it one step at a time and before you know it, you’ll fall in love with your closet!
Love the shelf and rod system. Did you make it or buy it?
The shelves were already built into our home when we moved here. All I added was the metal rod on the bottom left so each boy had the same amount of hanging space. Hope that helps!
Looks awesome! What is the font named you used on the bins?
What did you put I. The other bins a top of closet besides too big and too small clothes