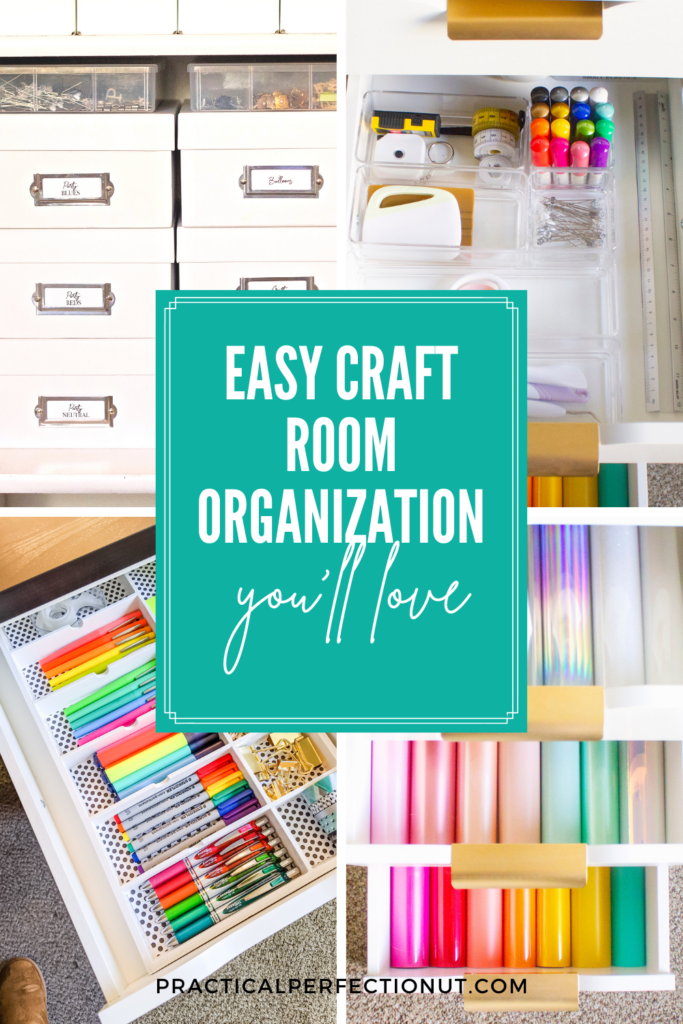
10 Simple Ways to Organize a Craft Room So It Stays Clean
It’s hard to craft when you’re living in a mess.
Craft rooms can get messy really easily and it can be hard to find all of the craft supplies that you need. What’s worse is that craft supplies tend to stay out for days on end, which means your craft room will never stay clean!
Plus, if you have any kids who love crafting, that just adds to the chaos and mess!
This post will give 10 tips for how to organize a craft room and utilize your craft room storage wisely so you only have to focus on getting creative instead of worrying about a mess!
Need more ideas? Check out The BEST Places to Find Cheap Storage Baskets and 20 Cheap Storage Solutions Cheaper Than the Dollar Store
10 Ways to Organize a Craft Room
The best way to organize a craft room is to focus on craft room storage. When your craft room storage is well-organized and all your supplies have a place to go, it’s so much easier (and faster!) to put everything back where it belongs.
Here are some ideas for how to organize your craft room storage spaces! These also work if you don’t even have a designated craft room.
Maybe you just have a craft cart or a craft closet that you pull craft supplies from. Maybe you do your crafting from your kitchen table. These craft room organization ideas will help you keep your supplies organized so you have no problem feeling inspired when you get crafting.
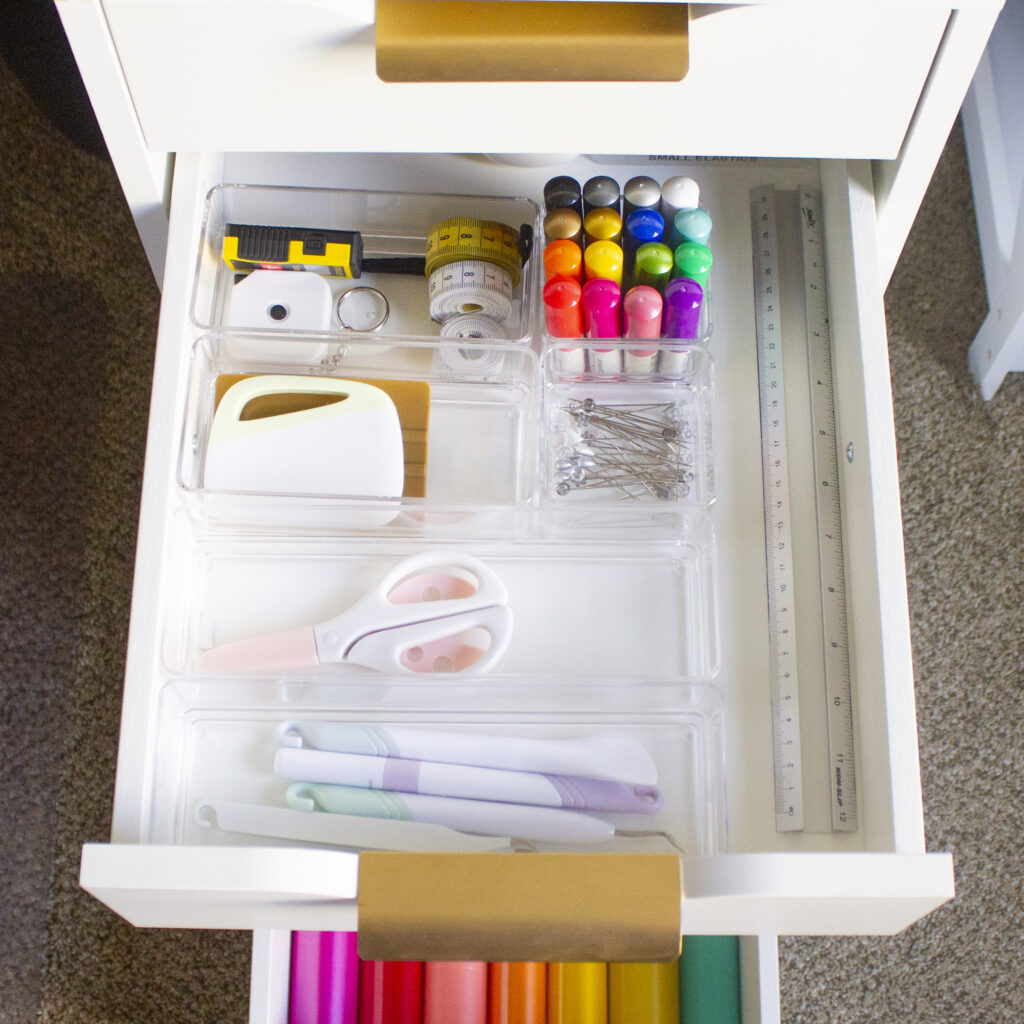
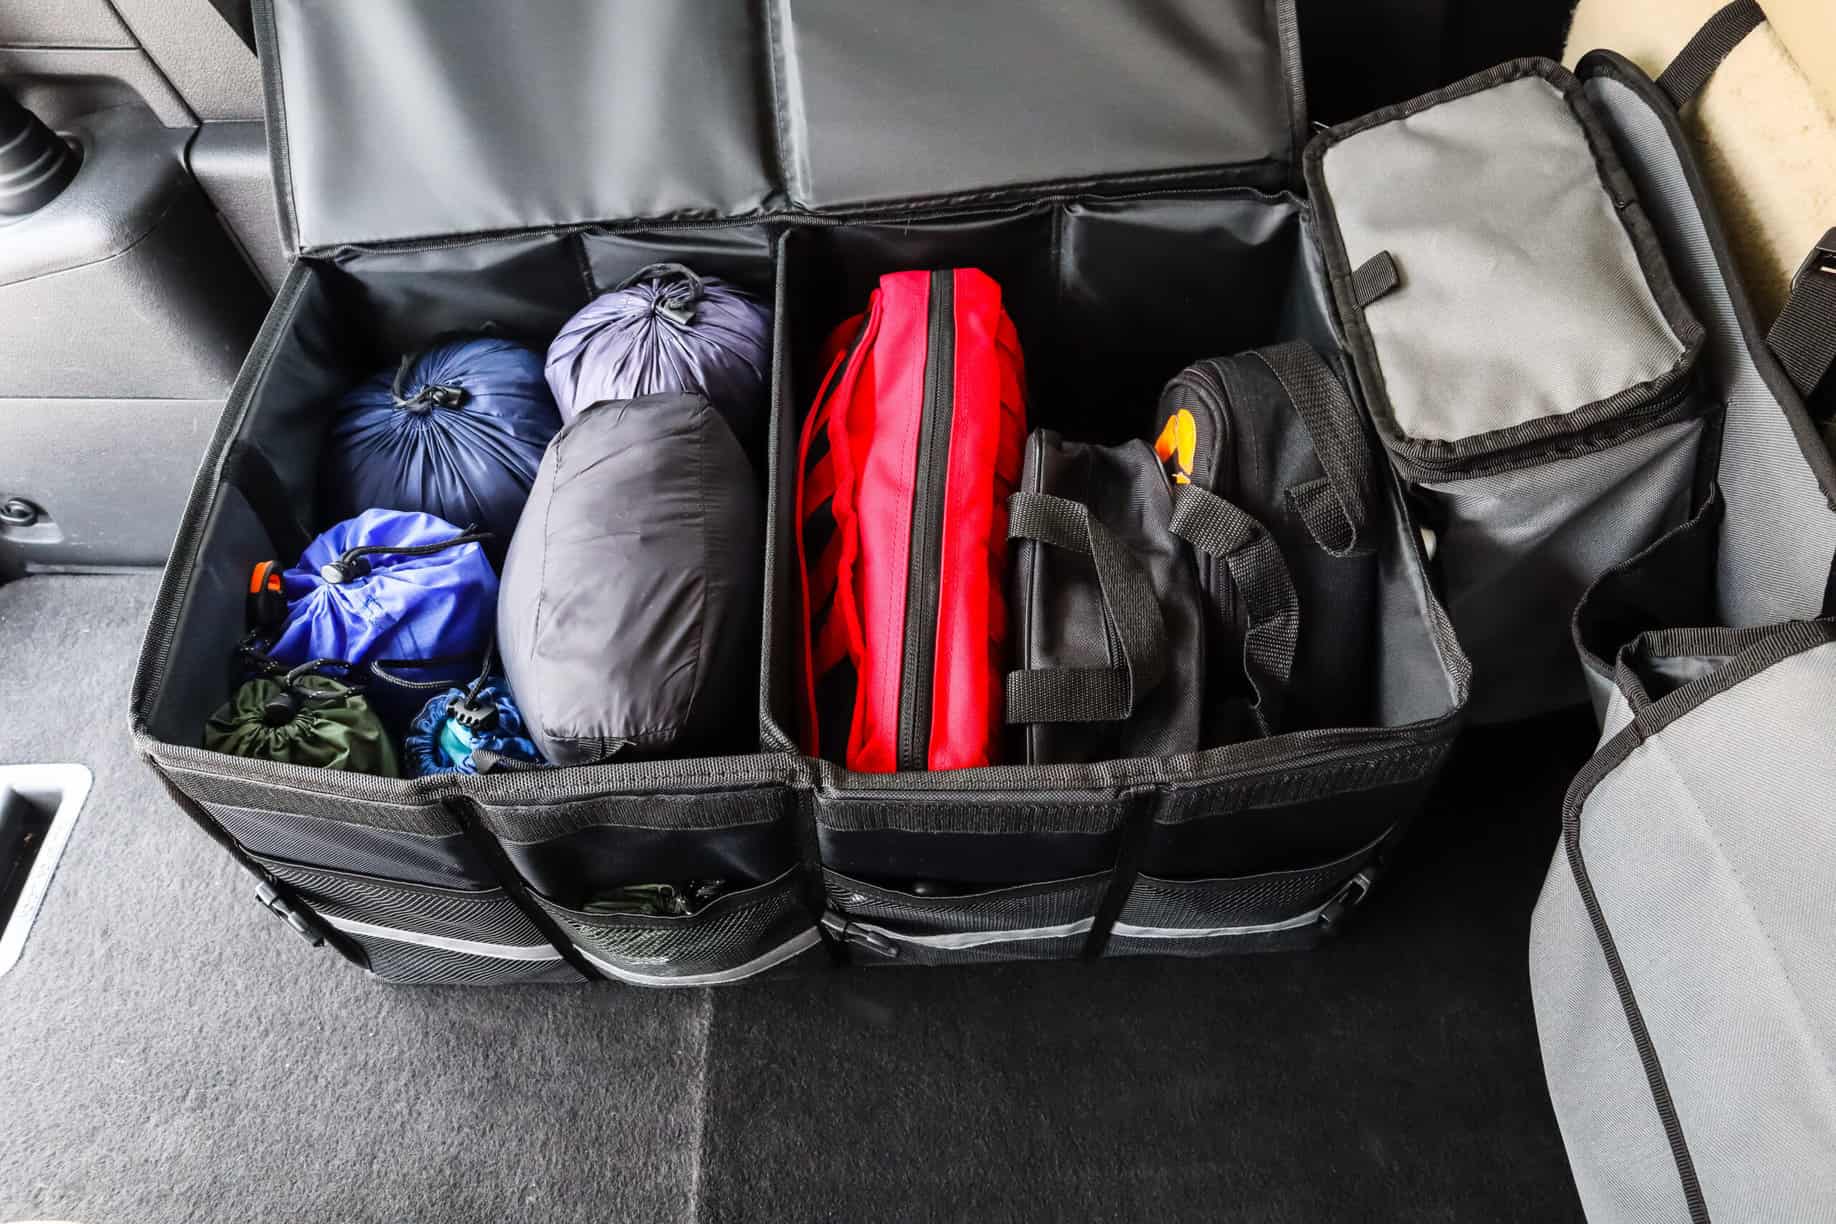
1. Separate all your items into different containers.
One of the best things you can do when organizing craft supplies is to separate them out by category and type. When you do this, craft supplies that normally get lost in the shuffle become much easier to find.
It also makes it a lot easier for your kids to know where things go when they are done using them because each item will have a specially designated spot.
Of course, this might sound like a big task… you may think that you don’t have enough space for tons of bins and containers, but you can get so many different sizes. And, if you don’t want to buy a lot of new containers or bins, you can repurpose old items.
This is a great idea especially if you’re on a budget! Organizing doesn’t have to be expensive!
Shop Storage Containers:

Here are a few things you can repurpose to help with storage:
- craft boxes
- shoeboxes
- cans
- spice containers
- makeup products, like creams, that come in a container with a lid
Those are all a perfect example of things you can repurpose in your home, but there are so many other containers and bins that you can use as well!
Get creative. Look around your home and find things you would normally just throw away but that can act as storage. Then clean it out and use it!
If possible, I’d recommend using clear containers so that everyone can easily see what’s inside.
Shop Office Supplies:
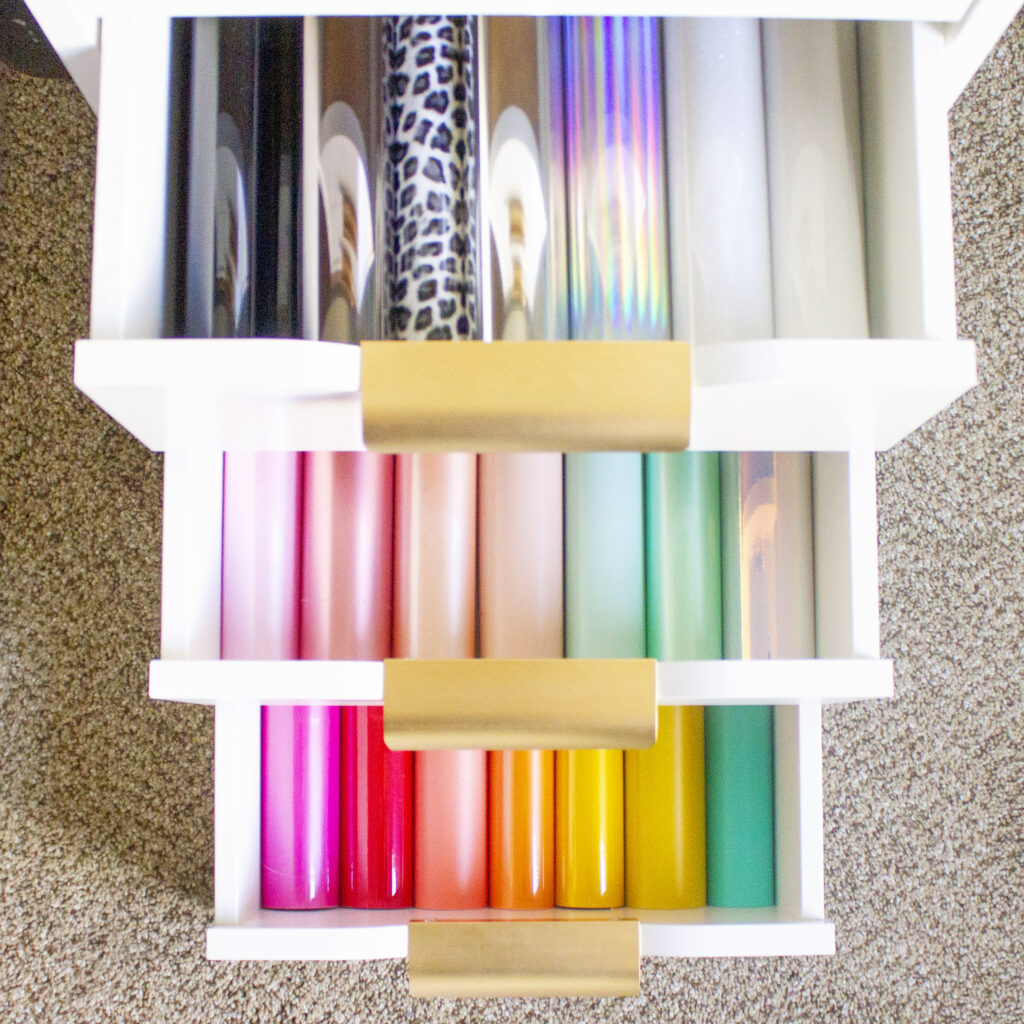
2. Use vertical space.
Vertical space is often underutilized throughout a home, and it’s especially true when it comes to craft room storage.
If you have a craft room, maximize storage by adding floating shelves to the wall. This will allow you to store small craft boxes, craft paper rolls, and other craft supplies on your wall without taking up any floor space.
If you don’t have enough room for shelves or shelving units in your craft room or if you don’t have a craft room, add another shelf above where ever you are storing things.
So, if you’re using a closet for your supplies, see if you can add another shelf up high for things you don’t need super often.
If that’s not possible either, that’s okay! We’ve got other solutions for you.
Shop Vinyl Storage:
3. Hang rods on the wall.
Another alternative to shelves is hanging rods on the wall. Using rods is a great way to organize supplies because it allows you to utilize wall space that might not be available otherwise.
Attach rods to the wall and use hooks with storage baskets to hang on them. You can store anything that you want easy access to, like scissors, glue, or even paintbrushes and other supplies you use frequently!
They are a cute and practical way to display supplies.
This idea can be utilized in any room on any wall and will help keep everything off the floor so it’s even better if your craft room is on a basement or garage level!
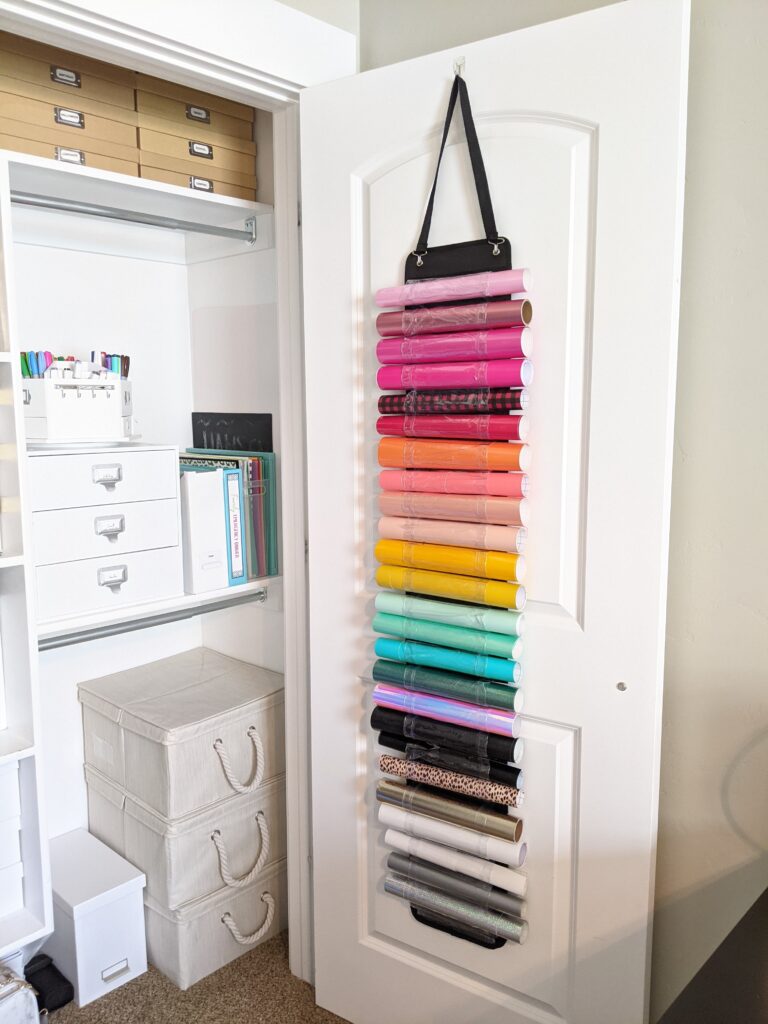
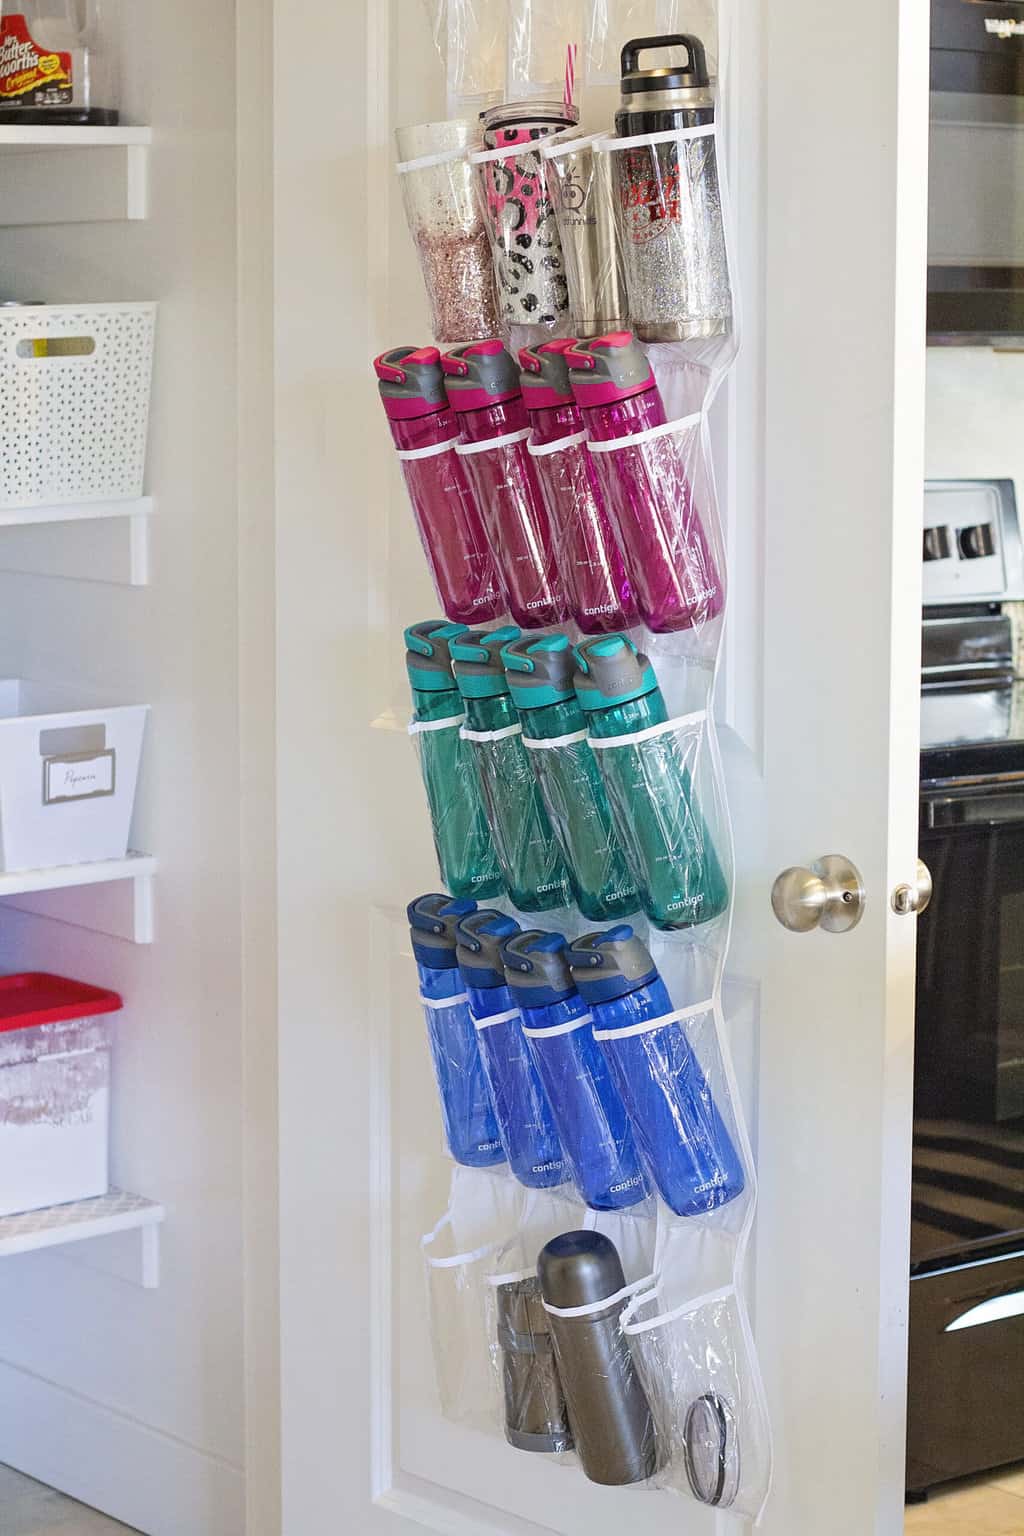
4. Turn your door into more vertical storage.
Even in small spaces and small homes, you should have a door in your home that can act as craft room storage. I mean the back of the door – so guests won’t even see it!
To use the back of your door as storage, you’ll need to add some craft room shelves. That doesn’t mean they actually have to be shelves, but just something you can hang or attach to the back of your door with hooks that will create an area for more storage.
There are lots of tutorials available to make your own craft room shelves, but here are some quick ideas:
Over-the-door hanging racks
There are lots of different racks and organizers out there that work even in a small space. Look for one that will fit over your door, and I’d highly recommend finding one that is customizable.
Some racks will have a way to change the distance between the storage baskets, which I love. That way you can adjust your shelves or baskets to fit exactly what you need to place on them.
You might even be able to find one with a large basket on the bottom, which is a great way to store and organize wrapping paper.
Make your own
If you like DIY projects, you can also make your own door hanging rack.
To make your own hanging rack, you’ll just need to add floating shelves to your wall and then a towel rod (or even a thin bungee cord) that can keep things from falling off your shelves when you close the door.
Basically, you’re trying to create a little pocket for your shelves where your supplies and crafts can stay secure even as the door opens and closes.
Use these shelves for wrapping paper, paint, ribbon, or fabric.

Shoe organizers
If nothing else works, you should be able to find a shoe organizer that can be perfect for your craft space. They are relatively flat, but you can still fit supplies like washi tape, ribbon, and other small containers and supplies.
5. Use a pegboard.
Some rooms have built in storage in the closet or even in built in shelves. But that’s not often the case, which can sometimes make organizing and storage more difficult.
You don’t have to hide away your supplies! In fact, if you have a designated space for crafting, like an extra bedroom or office space, you can even use crafting supplies as decor!
Get a display board (pegboards are perfect for this) and paint it. Then you can add hooks and hook on little shelves, bins, or baskets that store your supplies.
With small shelves hooked onto the board, you can display fabric, or with bins, you can display fun, colorful supplies. You can even just place scissors directly onto a hook on the board so you’ll never lose them again.
This is when your sense of creativity can really shine! Your storage doesn’t have to be only practical, but with a fun board like this, it can act as decor too.
6. Make a craft binder.
You can also easily store crafts and items in a binder. This will save so much craft space and is super practical!
To make a craft binder, just take a three-ring binder and decorate it to fit your craft style (if you’d like). Then add sheet protectors and store anything from extra craft paper to stickers to scrapbooking paper and supplies.
You’re basically using a binder as a filing system. You can even use them to store old crafts that your child brought home from school!
Anything relatively flat can go in these binders! Then they can just be stored in drawers or cabinets or placed on shelves.
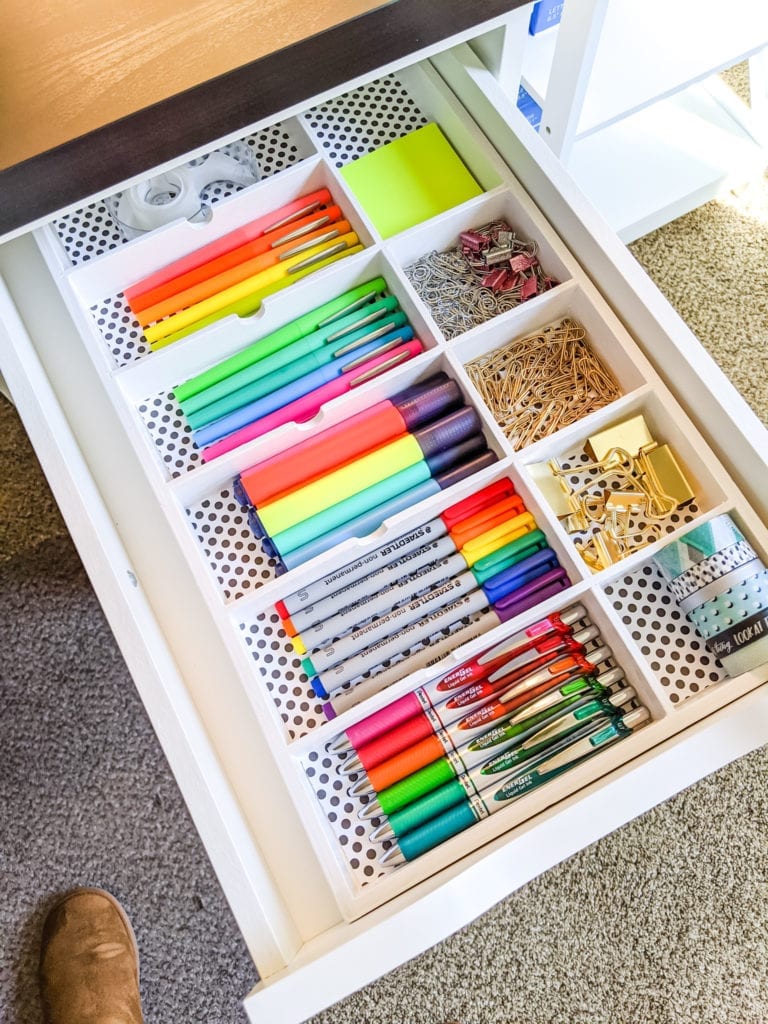
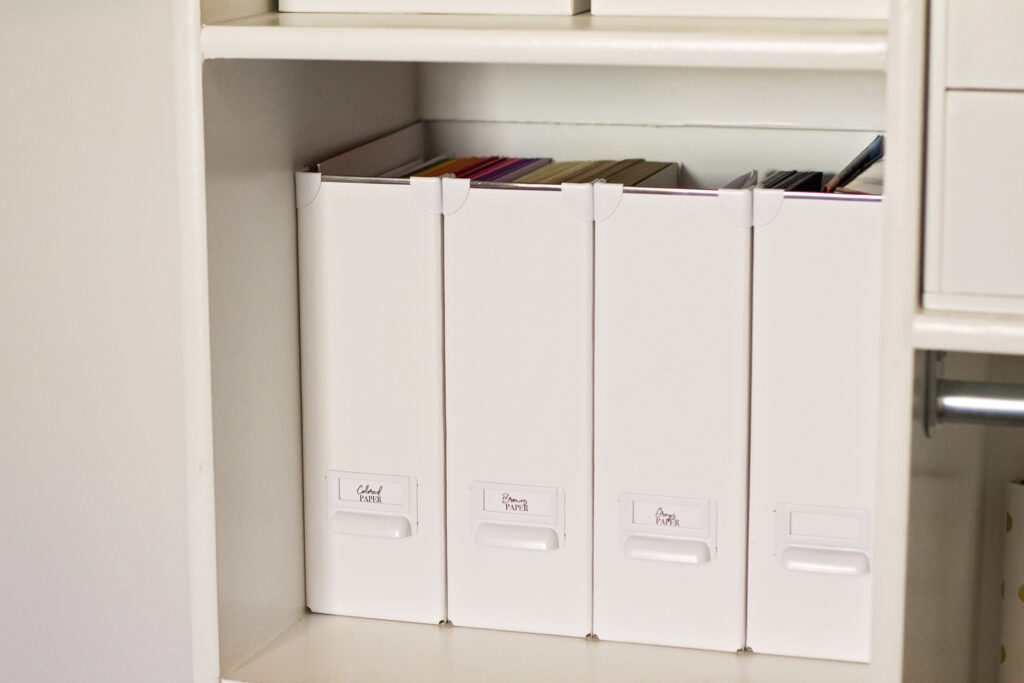
7. Get or make organizers for everything.
Craft rooms get chaotic with all of the little objects that can be floating around, like paper, paintbrushes, pens, markers… you name it.
So you really just want to get or make organizers for everything. Use old magazine holders to store paper, boxes for craft supplies, and little trays to store pens.
If you want something cute or custom-made (which is totally doable), make it yourself! You don’t have to be crafty either; there are plenty of tutorials online that can help show you how if you’re just starting out crafting.
Be creative and try to come up with storage solutions that can be cheap and work with your budget.
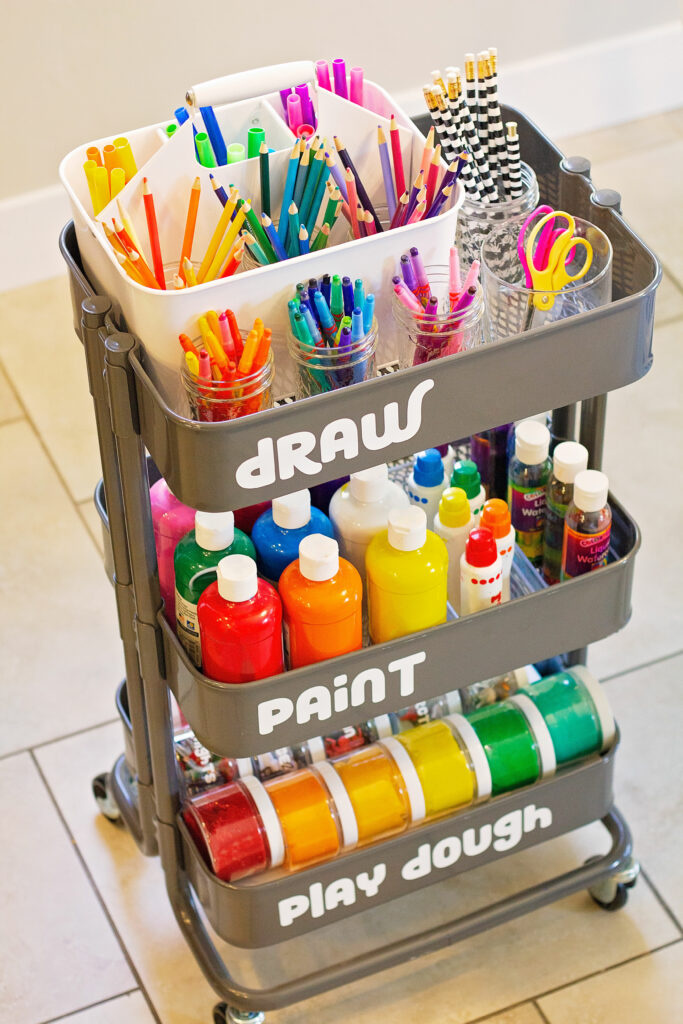
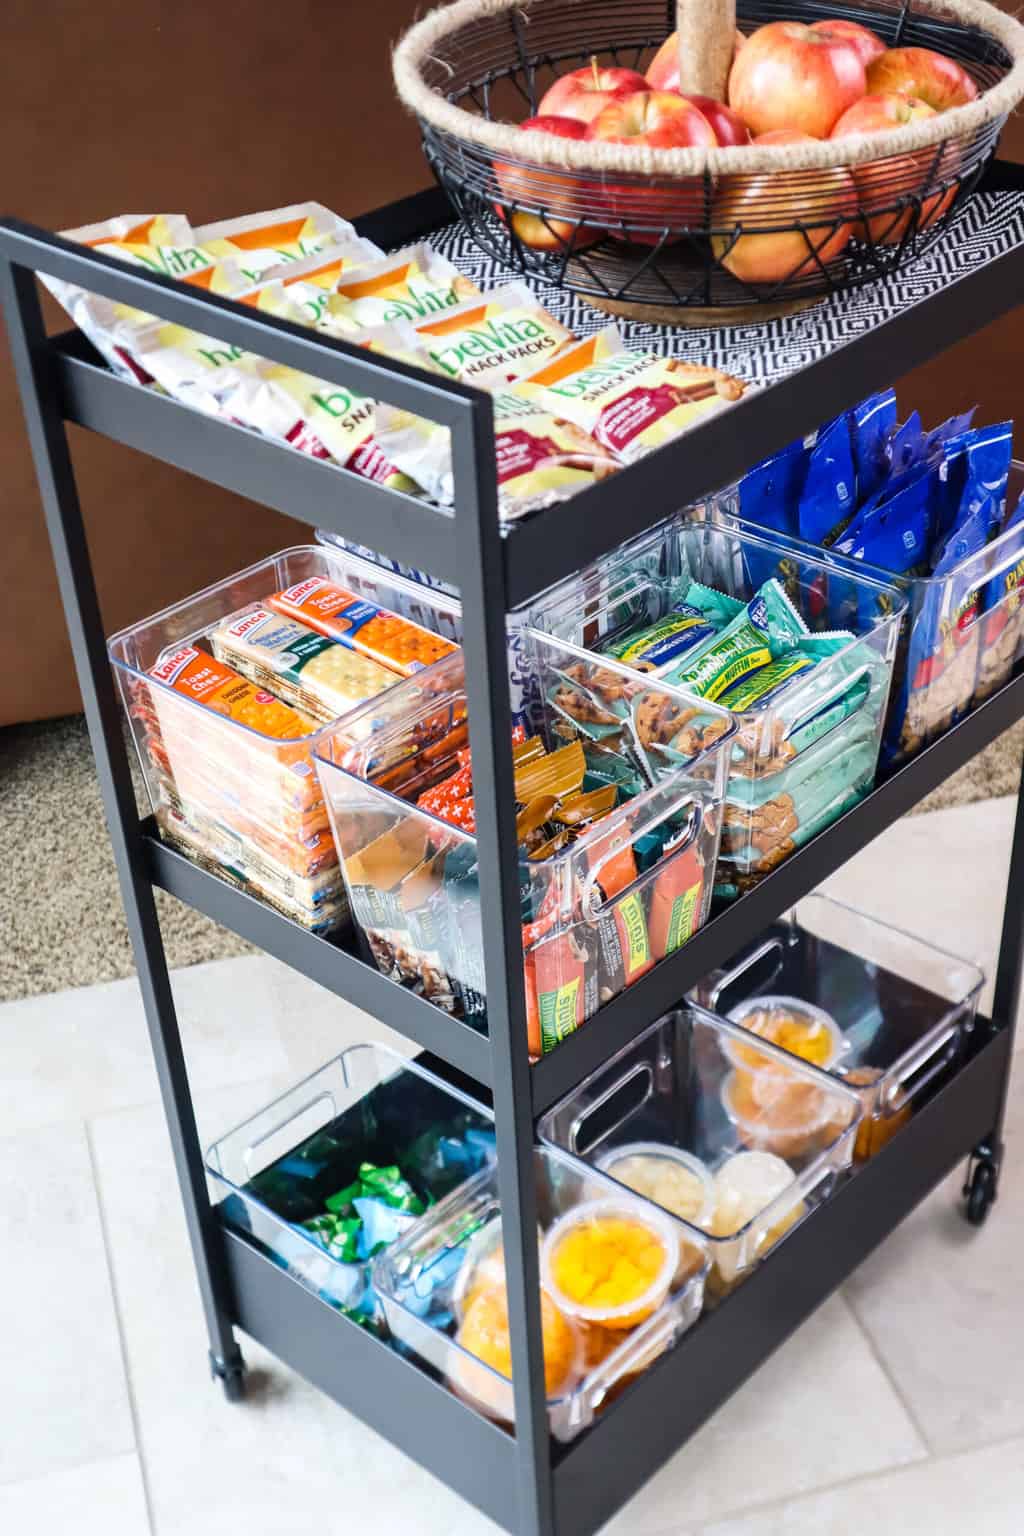
8. Make a craft cart.
If you want to do crafting on the go, or you’re taking crafting supplies to a desk area or craft table, consider making a craft cart!
A craft cart is a great idea because you can store all of your most-used items on them and then easily transport them to your crafting station.
Plus, when you’re done, you can just roll it into a closet or an unused corner of the house.
Shop Craft Carts:
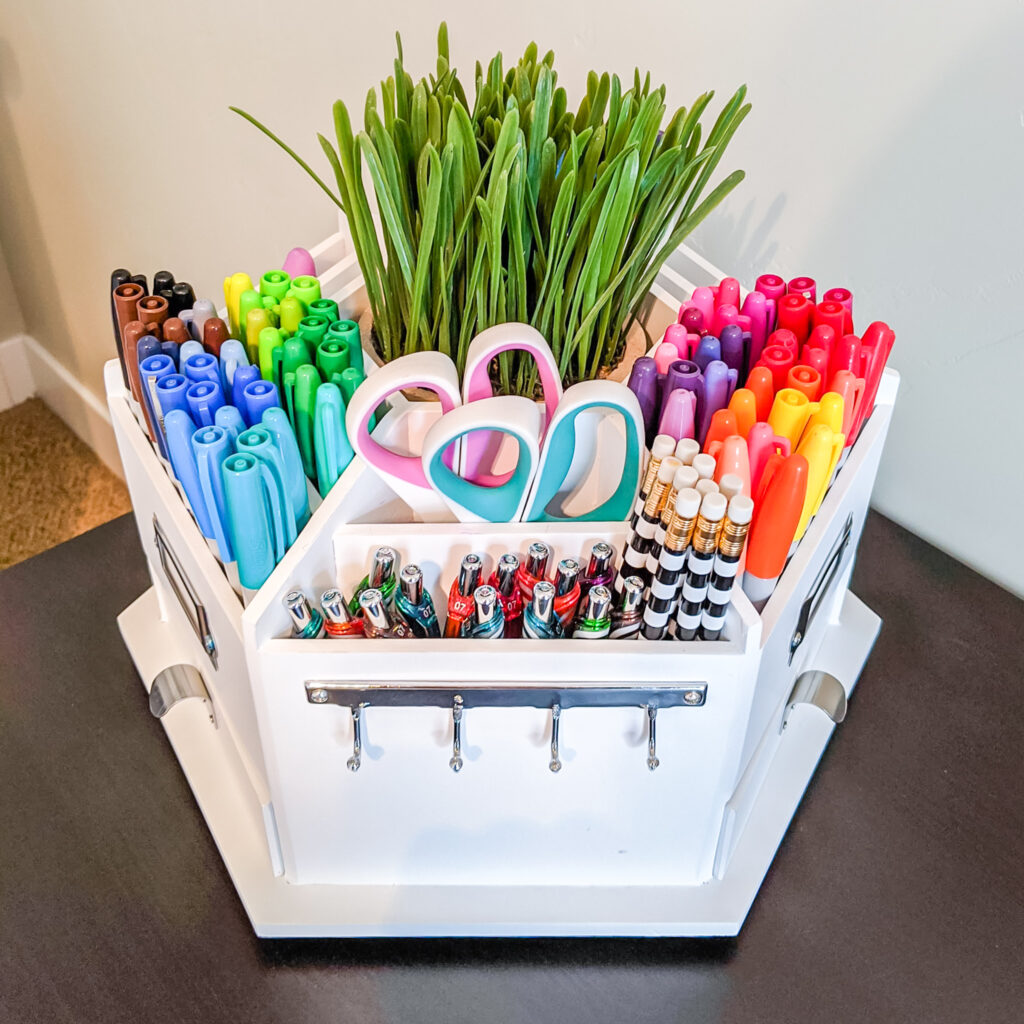
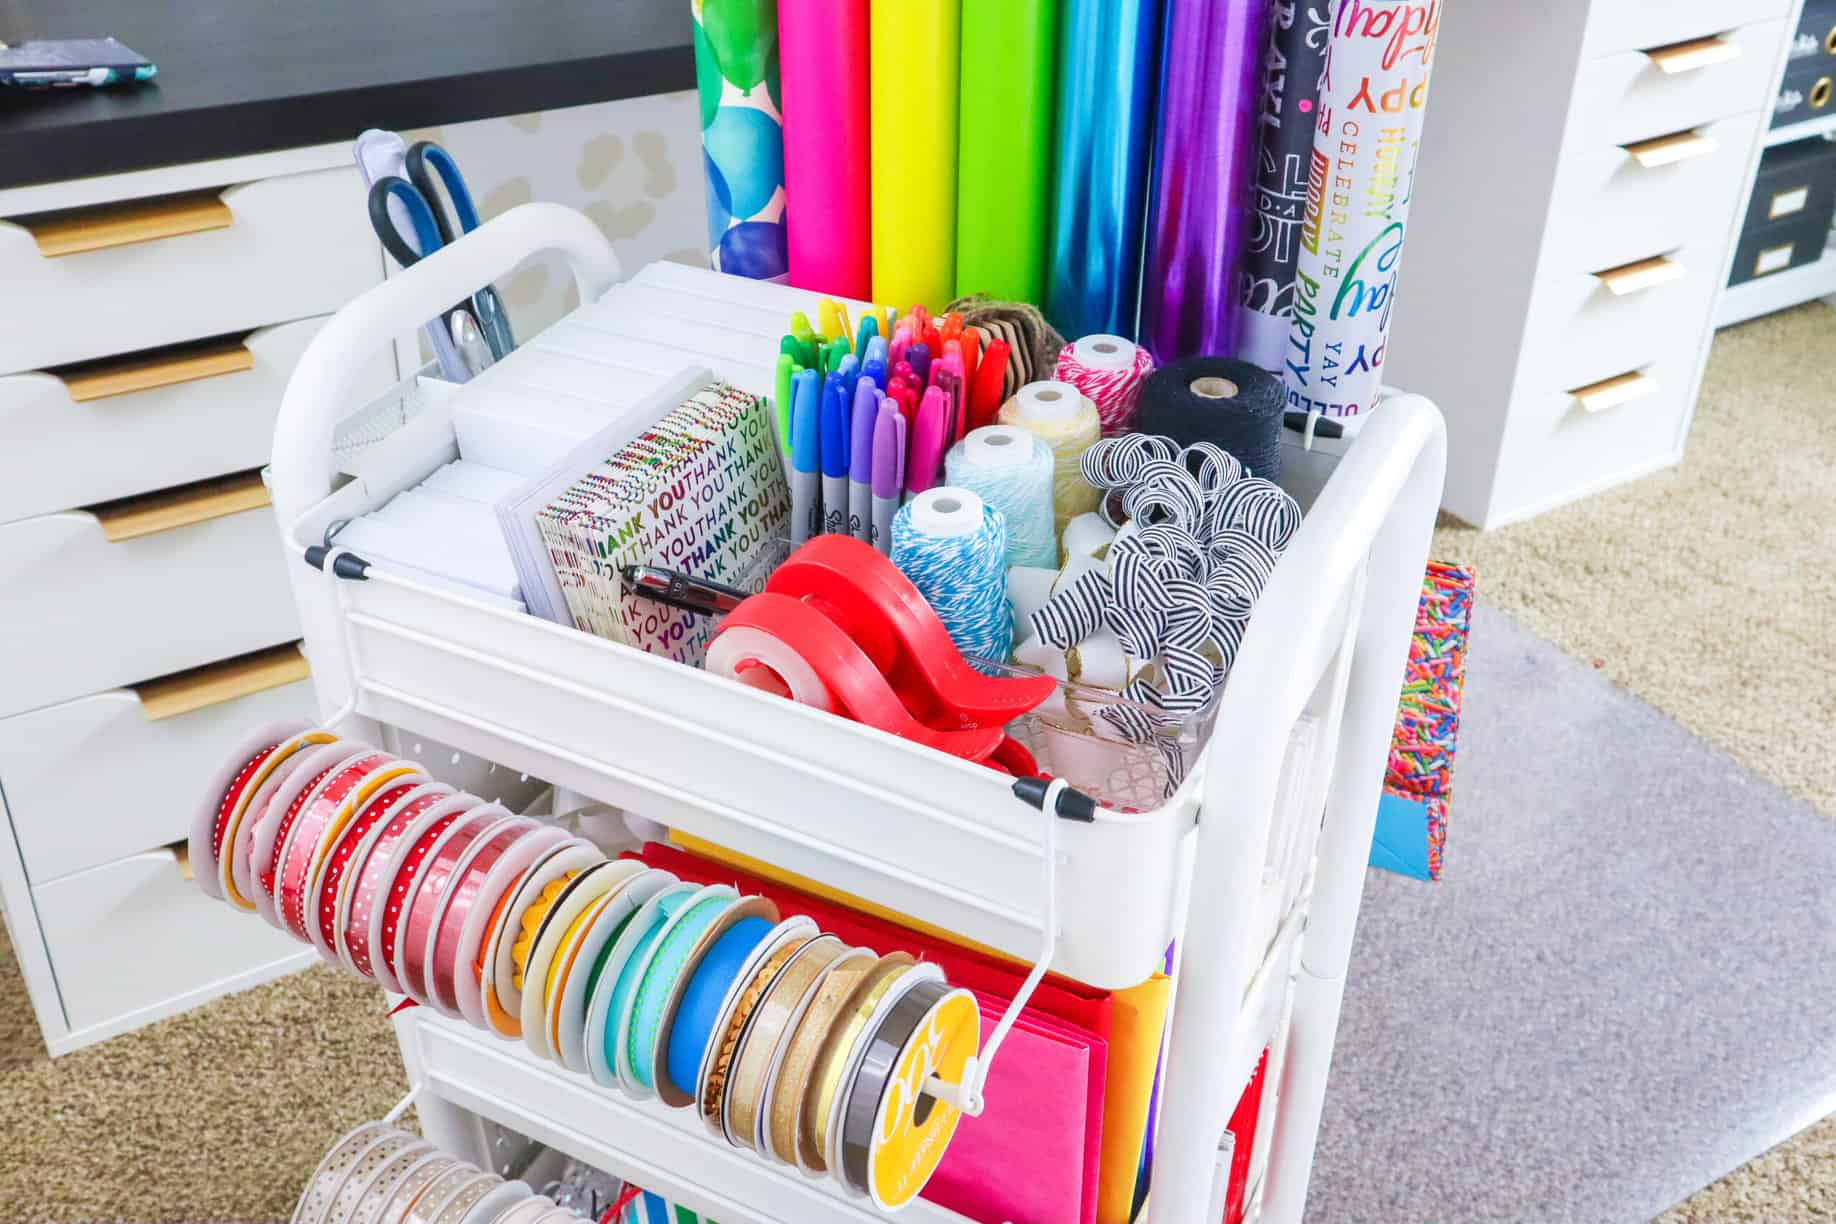
9. Make a craft caddy.
Of, if you don’t have enough room for a cart, make a craft caddy! A craft caddy is a great craft room organization tool because they are small and can fit in tight spaces.
Put in the items you need most, and then when inspiration hits, you can just grab the caddy and start creating!
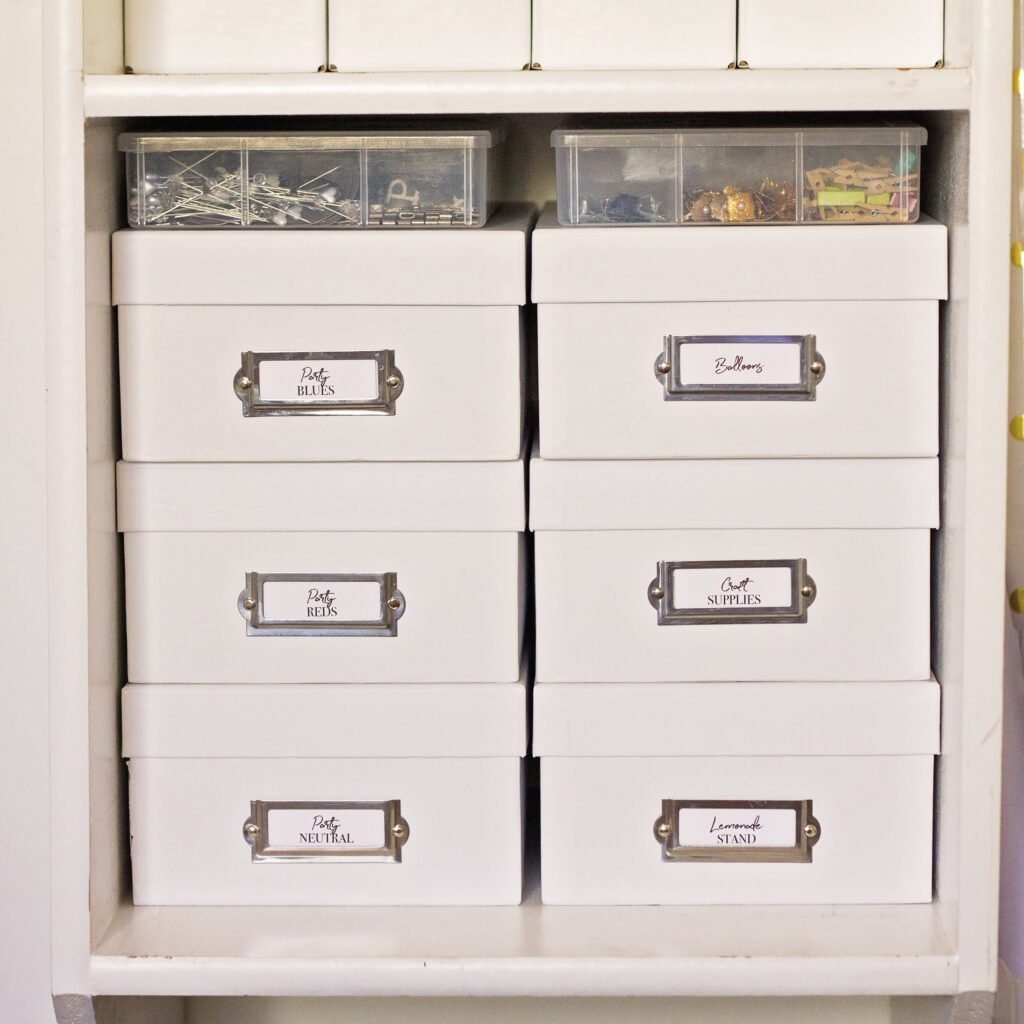
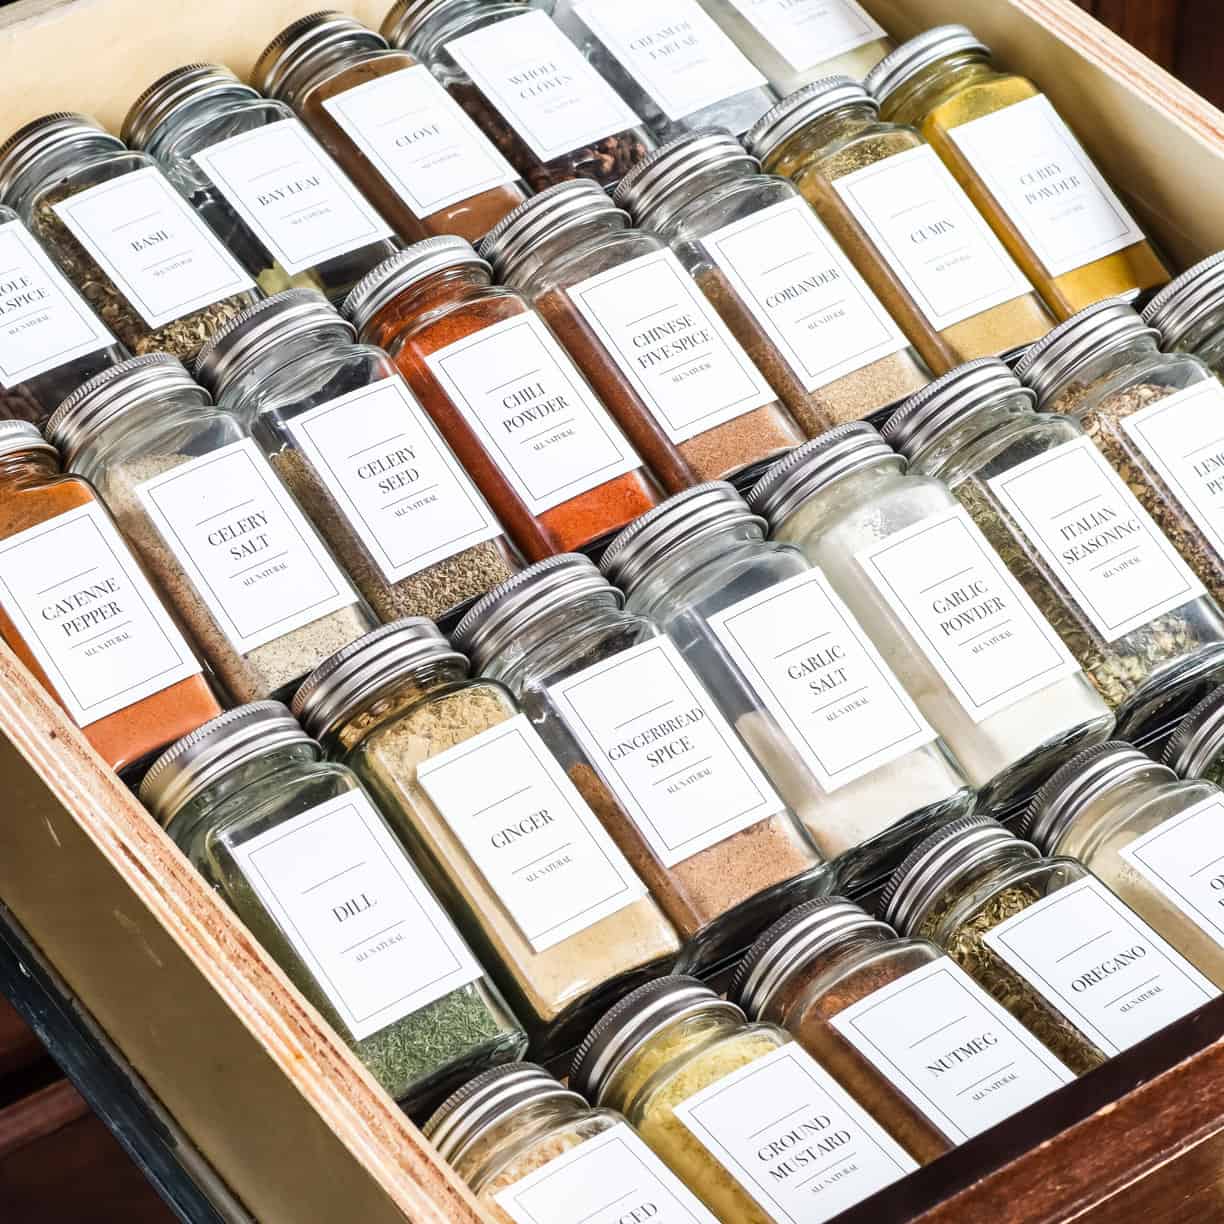
10. Label everything.
One of the most important and effective craft room organization ideas is to label everything. Obviously using clear containers can help you and your kids easily see what is stored inside, but labeling takes it a step further.
Labeling things in your craft room can help you remember what goes in certain containers and they keep you accountable for putting things back properly.
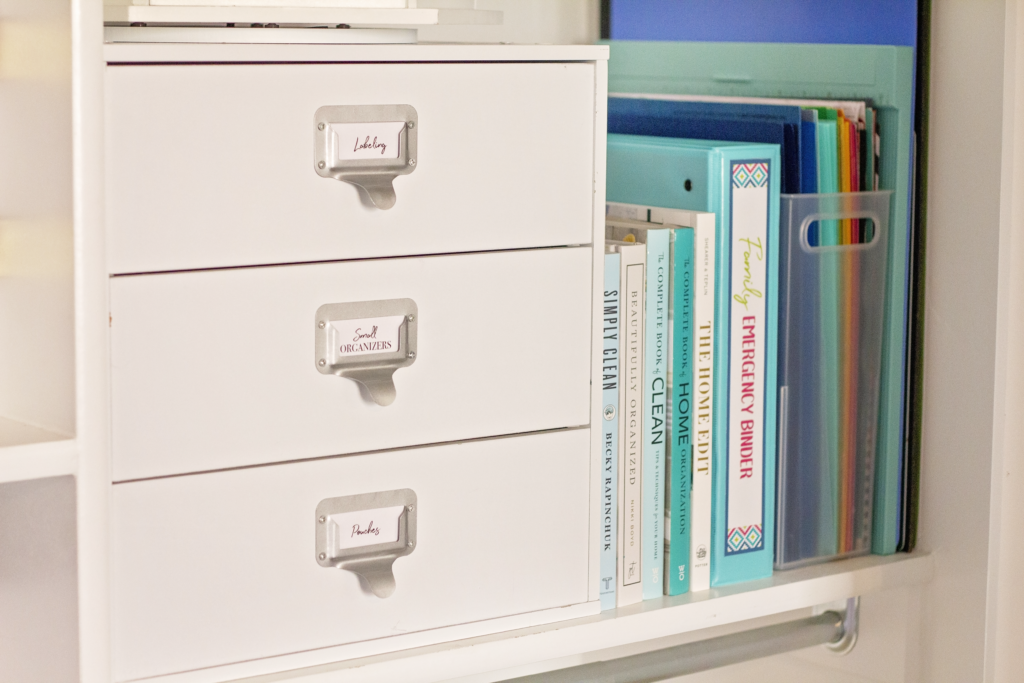
Labeling can also help remind you of craft room organization ideas so you don’t have to search for that one organizer! No more searching all around the house for the Sharpie you need – you’ll know right where it is!
Final Daily Tips and Ideas
No matter how many craft room organization ideas you read or try to use, it won’t mean anything if your storage solutions and organization system aren’t easy for you to follow.
When organizing, you always have to keep in mind that you are trying to create a system you can replicate and follow for years to come. Don’t go through all of that effort just for it to get messy again 3 days later.
Craft room organization might seem overwhelming due to all of the supplies you have but, like other organization projects, it just requires patience and a little bit of creativity.
Remember, you don’t have to spend tons of money or buy lots of new products to create an organized craft room.
It doesn’t matter if you have a huge craft room or a small space or even just a closet – organize your space and your storage to make it easier for you to stay organized and creative.

This all looks very colorful, creative, and so appealing! Great job coming up with all of those solutions for craft room organization.