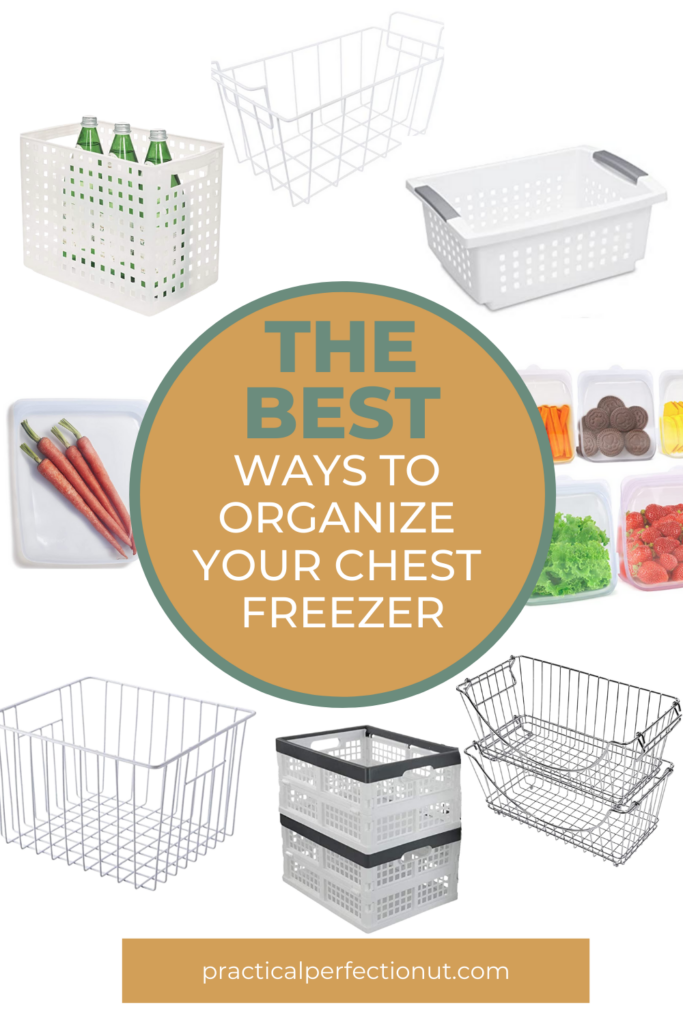
5 Quick Tips to Help You Organize Your Chest Freezer
A chest freezer can be your biggest blessing or your greatest curse.
They are amazing at saving space (especially if the freezer attached to your fridge is small) and freezing food is a great way to make your groceries last longer.
However, if your chest freezer isn’t organized, finding anything in that deep pile of ice-cold bags and containers is nearly impossible.
Why is organizing a chest freezer important?
While chest freezers are great for storing food, they can become messy very quickly. Every time you take something out, other items shift around inside the deep freeze – which means that things get lost easily!
You’ll find random frozen vegetables or ground beef shoved into dark corners or bags of frozen food you don’t even recognize. (Unless that’s just me… but I really hope I’m not alone in this.)
Luckily, there are ways to organize those frozen foods and save yourself the frustration of searching through a messy chest freezer.
This guide will provide some great tips to organize a chest freezer and get it back in working order!
How to Organize a Chest Freezer
It can be easy to just throw food into your chest freezer when you get home from the store – we’ve all been there.
But chest freezer organization can really help you save time when cooking. When you have your deep freezer organized and know exactly where things are, you can easily grab what you need without needing to spend hours arm-deep in your freezer.
Organizing a chest freezer can feel intimidating or overwhelming, but it doesn’t have to be!
Here are some good ideas to help you get that wonderful, organized chest freezer.
1. Throw out anything that has gone bad
The first step when organizing a chest freezer is to go through all of the food you have inside and throwing out anything that has gone bad.
Check the expiration date on all of your frozen goods before you organize them so you can get rid of anything that’s expired.

You may be surprised at how much food has actually gone bad and needs to be thrown away.
Throw out or recycle any boxes, bags, or containers that your items came in if they are no longer useful. (However, you may be able to repurpose some of those boxes – more on that later.)
If any of your food has freezer burn or has been in there for an indeterminate amount of time, you should probably just get rid of it.
While frozen food does last for a while, it doesn’t last forever. Make sure to keep track of how long you’ve had your items so you make sure you’re not eating anything that’s passed the usable date.
Keep track of the older stuff in your chest freezers so you use it all before it expires!
2. Categorize your foods
Now that you’ve thrown out any food that has gone bad, it’s time to categorize your foods.
Start sorting your frozen foods into several different groups and categories. I LOVE this awesome photo from Savory Seasonings:
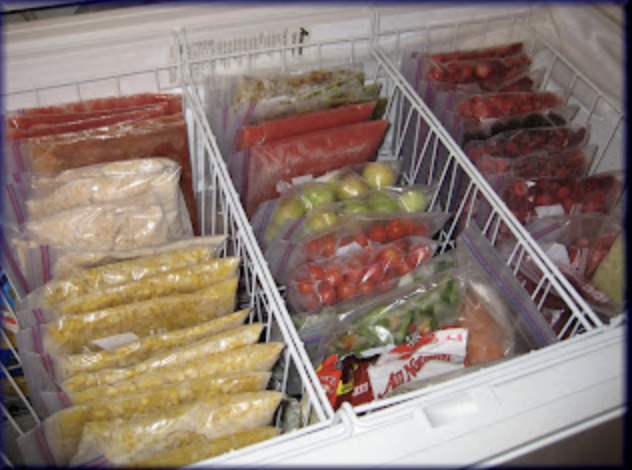
Some of your groups or categories will be small, while others will be large. Keep a mental note of what type of food you have the most of because that will be important when you’re organizing later on.
It’s also helpful to take large quantities of food and break it down into smaller, more useful portions so your food doesn’t go to waste.
Shop Storage Bags:

Some good categories to use when organizing a chest freezer are:
- meat
- fruits
- vegetables
- breads
- baked goods
- dairy products
- snacks
- frozen dinners or pre-made meals you can pop in the microwave or oven (this group could also include frozen pizza)
You can always sub-categorize these big categories. In fact, I’d actually recommend it.
That will just make sorting and organizing a chest freezer easier, and it will make it easier when you’re looking for certain things later on.
(Even if you have an upright freezer, not a chest freezer, I’d suggest doing this step. Freezer organization makes cooking way faster and less stressful.)
Freezer Labels:
3. Get a lot of sturdy freezer bins
Freezer bins are great for organizing chest freezers because you can keep them on the shelves inside your chest freezer without taking up too much space.
You can also easily pull them out see what’s underneath each bin (which is especially helpful when it comes to looking for certain types of food). If you want an organized freezer, you’ll need to get some containers.
Here are some ideas of the different types of storage bins you can use. Make sure you find some that will be effective and will work for your entire freezer.
Obviously, you can use a combination of the following options, but I like when things are relatively uniform. So finding sets of containers that come in different sizes is usually a great option. It’s also really important that your containers can stack on top of one another.
Shop Freezer Bins:
Dollar store bins
You can find tons of dollar store bins that would help you organize your freezer.
From flexible plastic tubs to dividers, if you’re looking to maximize space in your chest freezer without breaking the bank, check out the dollar store.
Repurposed containers
You can easily repurpose old items to use as storage bins. For example, you can use old cans, oatmeal containers, or even baby formula tins.
If you don’t want to buy anything new and would like to organize your chest freezer on a tight budget, try using repurposed items instead of buying more plastic tubs!
Some people even use old milk cartons to store small frozen vegetables or other items. I’ve also seen people store things in magazine holders.
Get creative and figure out what you can re-use!
Wire baskets
You can use a wire basket as an easy way to organize items in your chest freezer. Wire baskets are helpful because they’re easy to organize and you can stack them on top of each other.
Also, because they are wire and not totally solid, you can usually see through them and see what’s inside pretty easily.
Shop Wire Baskets:
Cardboard boxes
Repurposing cardboard boxes into storage containers is great because you can use the exact sizes you need and organize your chest freezer in a way that works for you.
It’s also a cheap option if you’re using any that you already have around your house.
You just need to make sure that they are sturdy enough so they won’t collapse or break apart when stacked on top of each other.
Different kinds of bags
Using bags is another way to keep the categories of your chest freezer separate.
You can use all sorts of bags for this, like old canvas bags, cloth bags, or even old grocery store bags.
The main downside is that it can be hard to organize different kinds of food in bags, especially if you want some more exact organization with your chest freezer items.
If you’re using this method for organizing a chest freezer, make sure to label the outside of each bag so that everyone knows what’s inside.
Remember that you can organize your chest freezers with a combination of any of these. For example, you can buy some deep freezer bins and also use large labeled plastic storage containers to organize the food inside those larger bins.
So you could always use a big container and then have bags within those bins to sub-categorize. It’s really helpful to organize food in your chest freezer if you store your food in smaller portions in Ziploc bags (or similar sized silicone bags).
Shop Freezer Organization Bags:
4. Organize your foods according to what you use the most
If you organize your chest freezer according to categories, then you will know exactly where things are when it comes time to cook and eat them.
So, when creating your organization system in your chest freezer, decide what items you need to be easily accessible.
If you use ground meat often, you want that in a spot that has easy access.
Since you’re organizing a chest freezer, you’ll need to stack your bins in order to save space. It’s always a good idea when you stack things to make sure your top layer contains items you use the most often.
It’s also a great idea to make sure your top layer has light items, so you can easily lift those bins when going for something on the bottom layer.
Additionally, you can organize your chest freezer according to temperature preference. For example, keep items that need a colder climate on the very bottom while other items can be stored in baskets or bins within arm’s reach.
Be thoughtful about your chest freezer organization so that it works for you and your lifestyle. You know best what you use, so have that reflected in your chest freezer organization system.
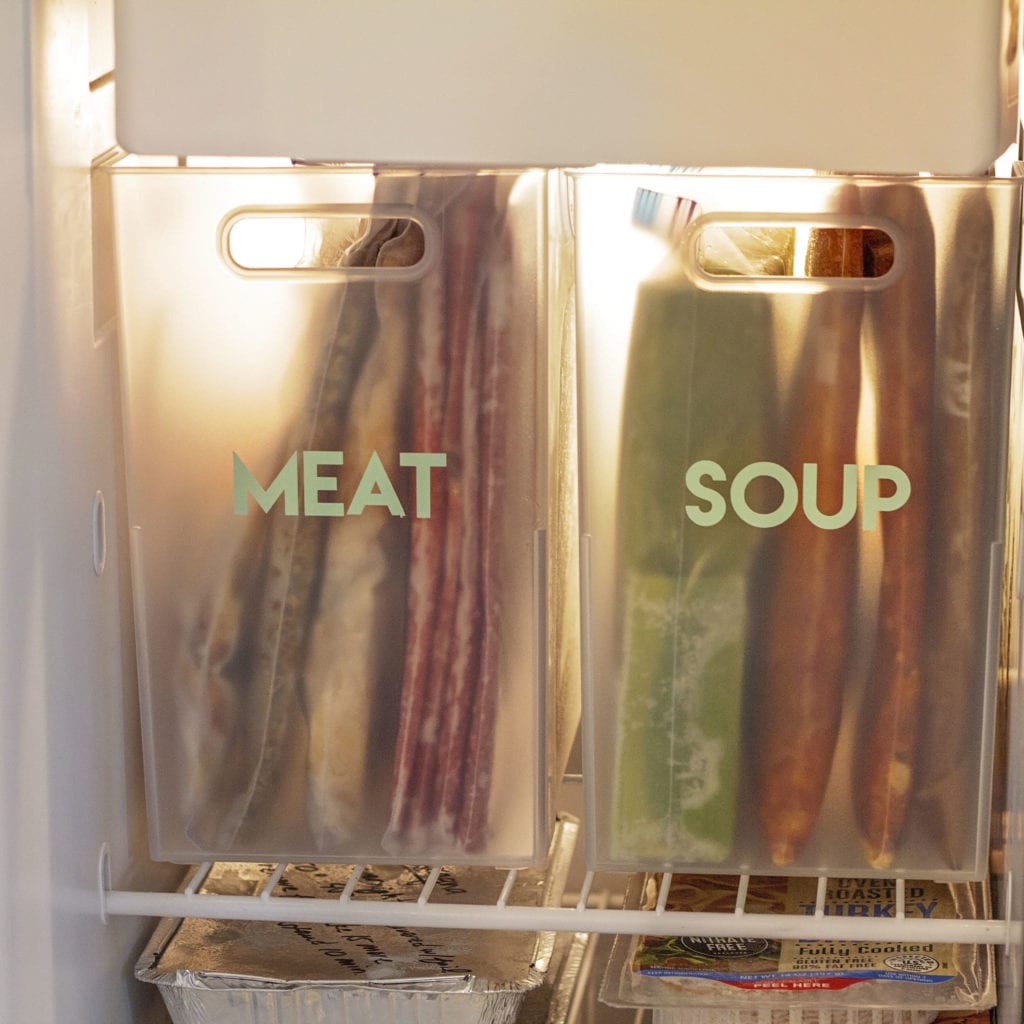
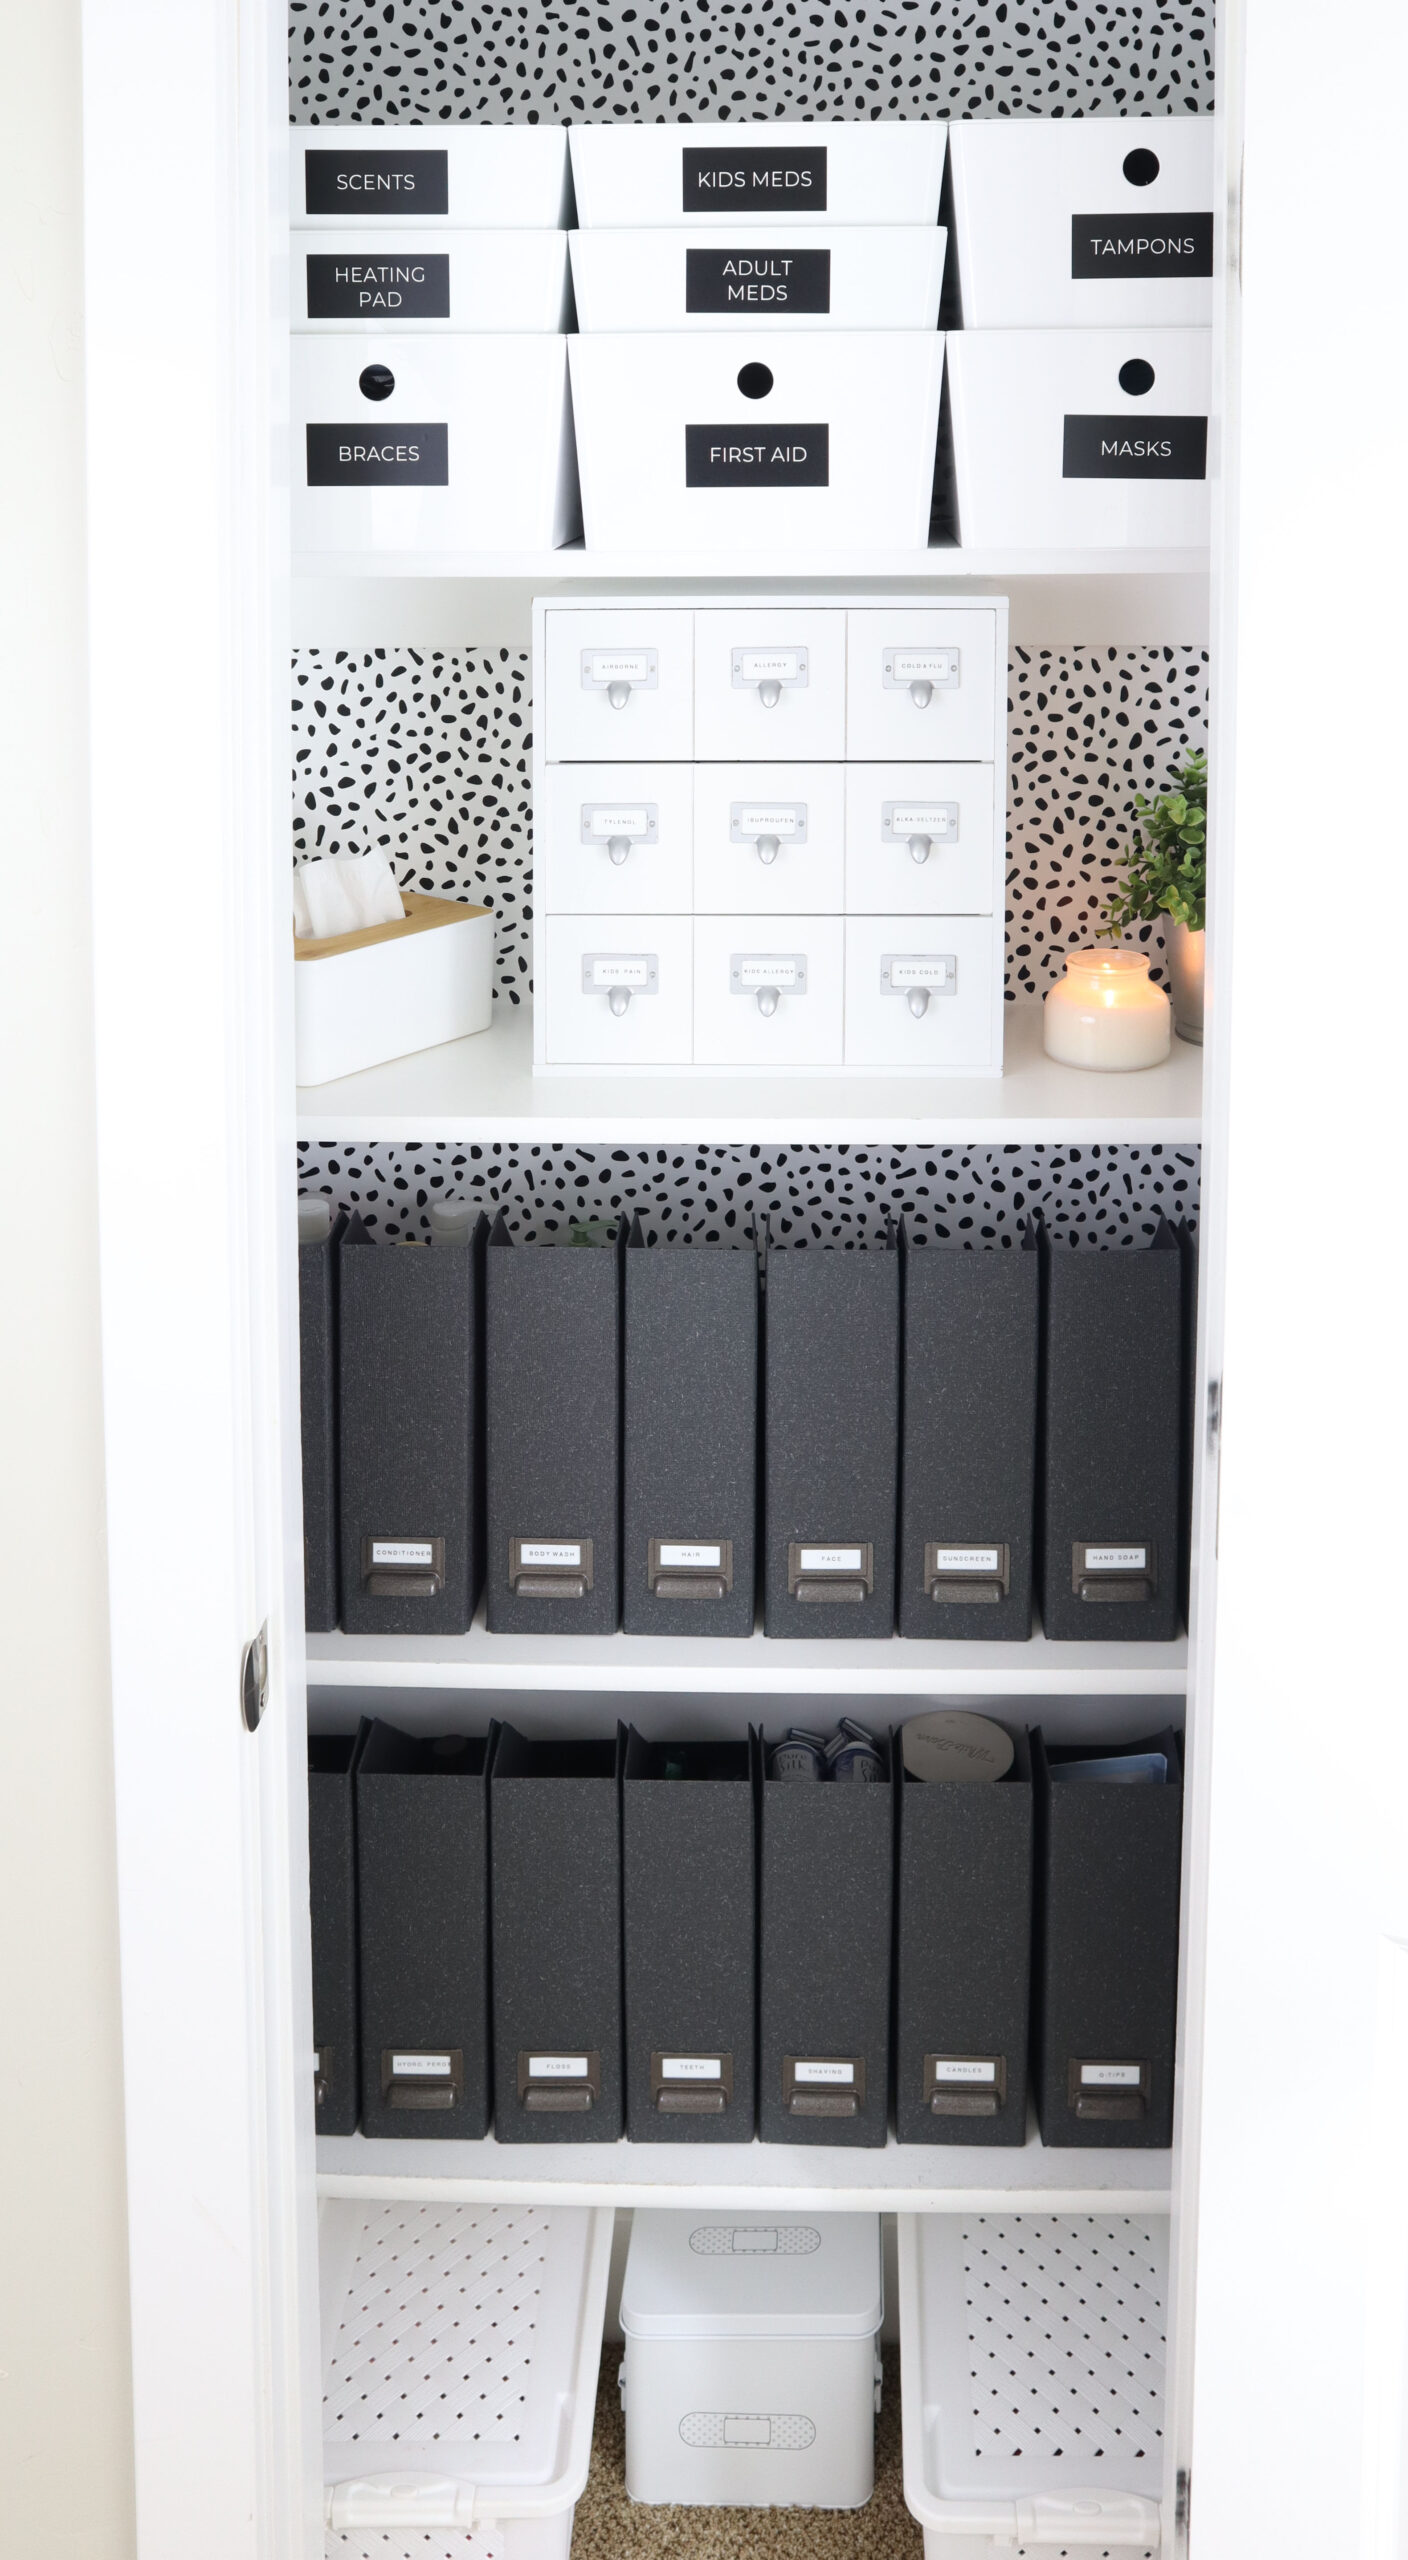
5. Label all of your bins
Now that everything is categorized and organized, it’s time to label. Labeling might seem tedious, but it’s a big part of organizing a chest freezer.
Labeling the things in your deep freezer is important because it helps you keep your chest freezer organized in the future.
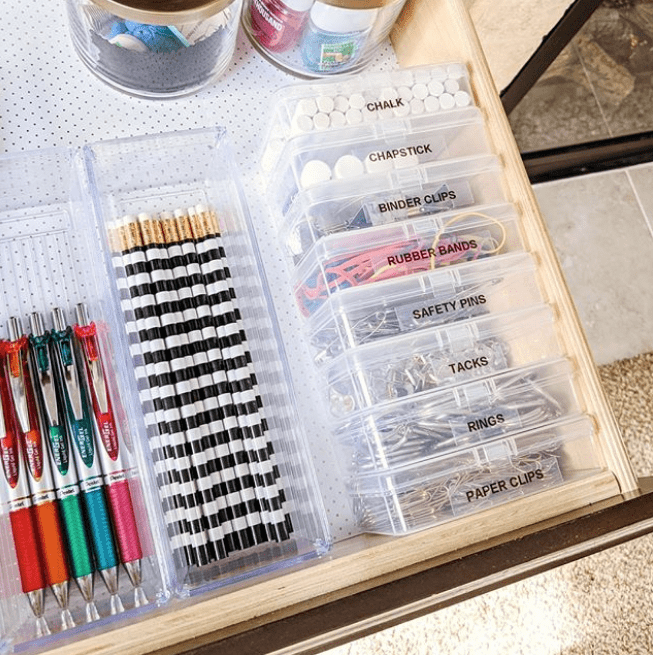
Try to get as specific as you can when labeling the food in your chest freezer. Don’t just write “meats” on everything in the meat bin. Write down what meat it is, if it’s marinated or not, and when you bought it.
Likewise, don’t just write frozen fruits or frozen veggies on the bags. If there are in store-bought bags, then those will have the name and usually a picture, but if you’ve put some fruits in separate freezer bags, you’ll want to label them.
Most of the time, it will be obvious what is inside, but sometimes it can be hard to tell if it’s a bag of strawberries or raspberries when it’s just a frozen lump of red fruit.
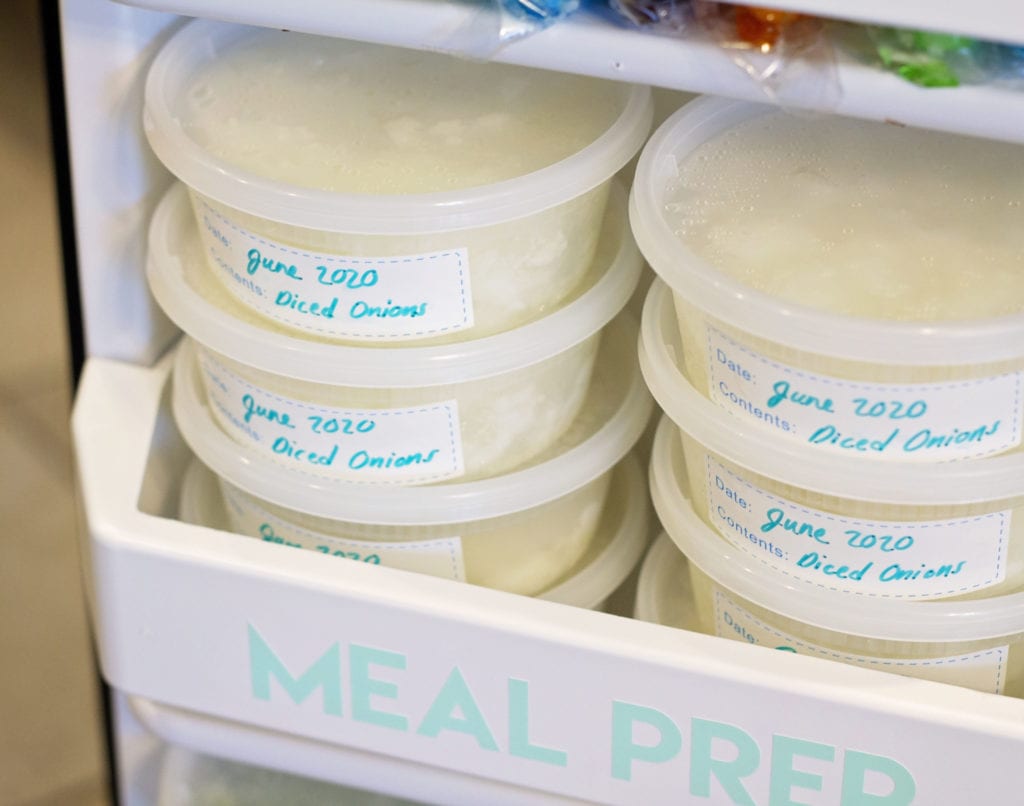
So a good rule is to label everything, even if it’s obvious what is inside the container. Getting the habit of labeling will help you maintain an organized chest freezer in the future. And don’t forget to add the date!
Make a chest freezer inventory
In order to easily maintain your chest freezer space and frozen goods going forward, I’d suggest making an inventory for your chest freezer.
Once you’ve labeled everything, this step shouldn’t be too hard. Sure, it might be time-consuming but it will take your chest freezer organization to the next level and make sure your chest freezer is as efficient and organized as possible.
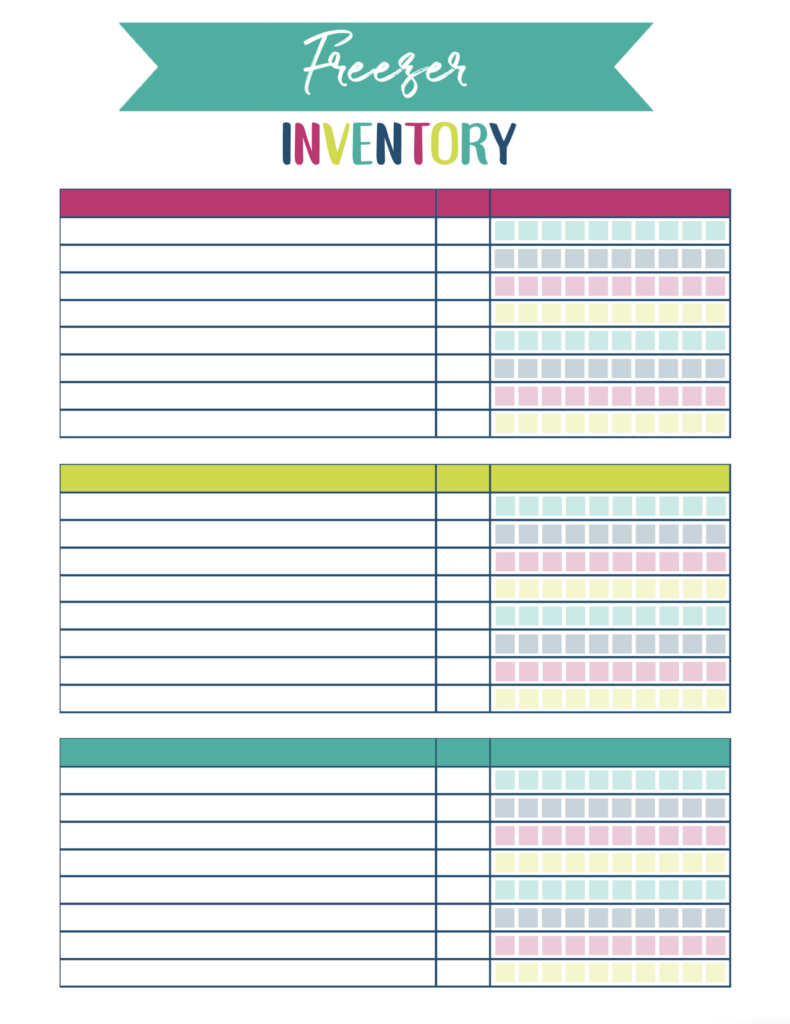
If you’d like to create a freezer inventory for your own freezer you can download my freezer inventory printable here.
An inventory sheet of your chest freezer would include any or all of the following:
- The food you have stored inside your deep freezer (with the date it was brought into the freezer and purchase location)
- A list of what’s in each category: meat, vegetables, fruits, etc.
- Any expiration dates on certain foods so you can use them before they pass their due time
You don’t even need to have a hard-copy version of this. In fact, you can just use your phone to keep a running list of what is inside your deep freezer, when you bought it, and when it expires.
It’s an easy way to make sure you’re not wasting anything, and you can consult it when you need to make a grocery list.
Now you know how to organize a chest freezer!
Organizing a chest freezer isn’t hard, but it might take a little time depending on how messy your freezer is.
Remember to take your time when coming up with a plan and a chest freezer organization system. You want to make sure it’s something you can easily maintain.
When you go shopping and you’re putting things away, make sure you put them in the right bins. You’ll want to keep things organized as you go so you don’t have to go through this entire process all over again.
Once you’ve enjoyed your life with your organized chest freezer, you’ll never want to go back!

You have given me some great tips for my freezer
It’s a small chest freezer we keep in the garage and it needs some bins to organize what inside
We need to defrost it so I thought it’s a good time to get it more organized
Appreciate the article