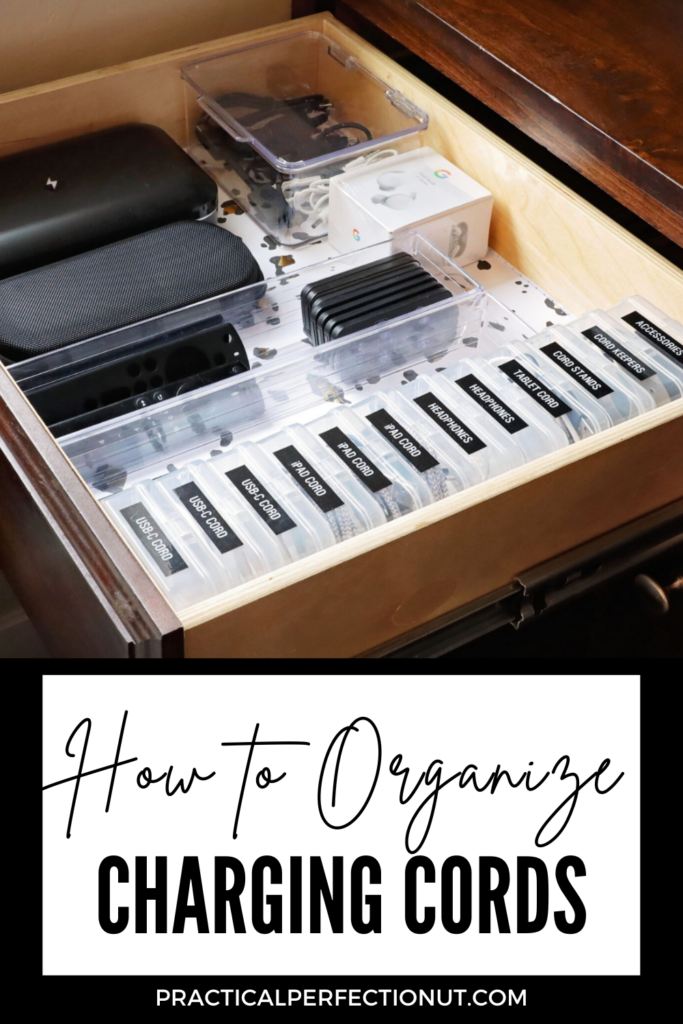
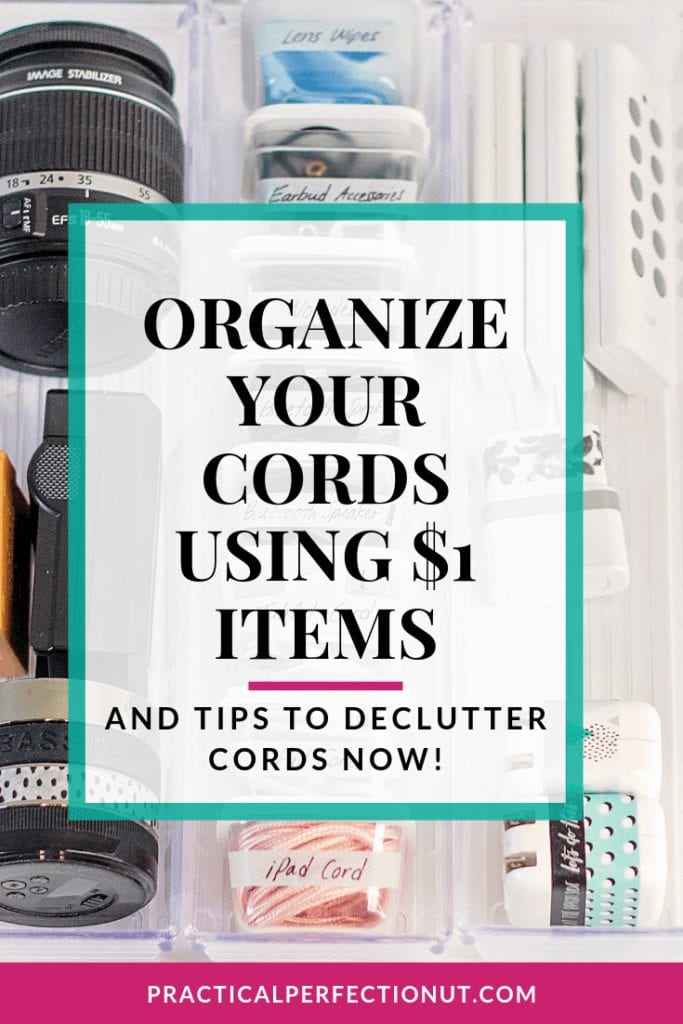
40 Ways to Easily Organize Charging Cords
Charging cords are somehow like multiplying bunnies. You blink and there are 500 of them! And they are usually in a giant tangled heap like Medusa’s hair. So? What can you do?! There are tons of different ways to organize cords and I’m excited to show you the best way to organize electronic cords in your home.
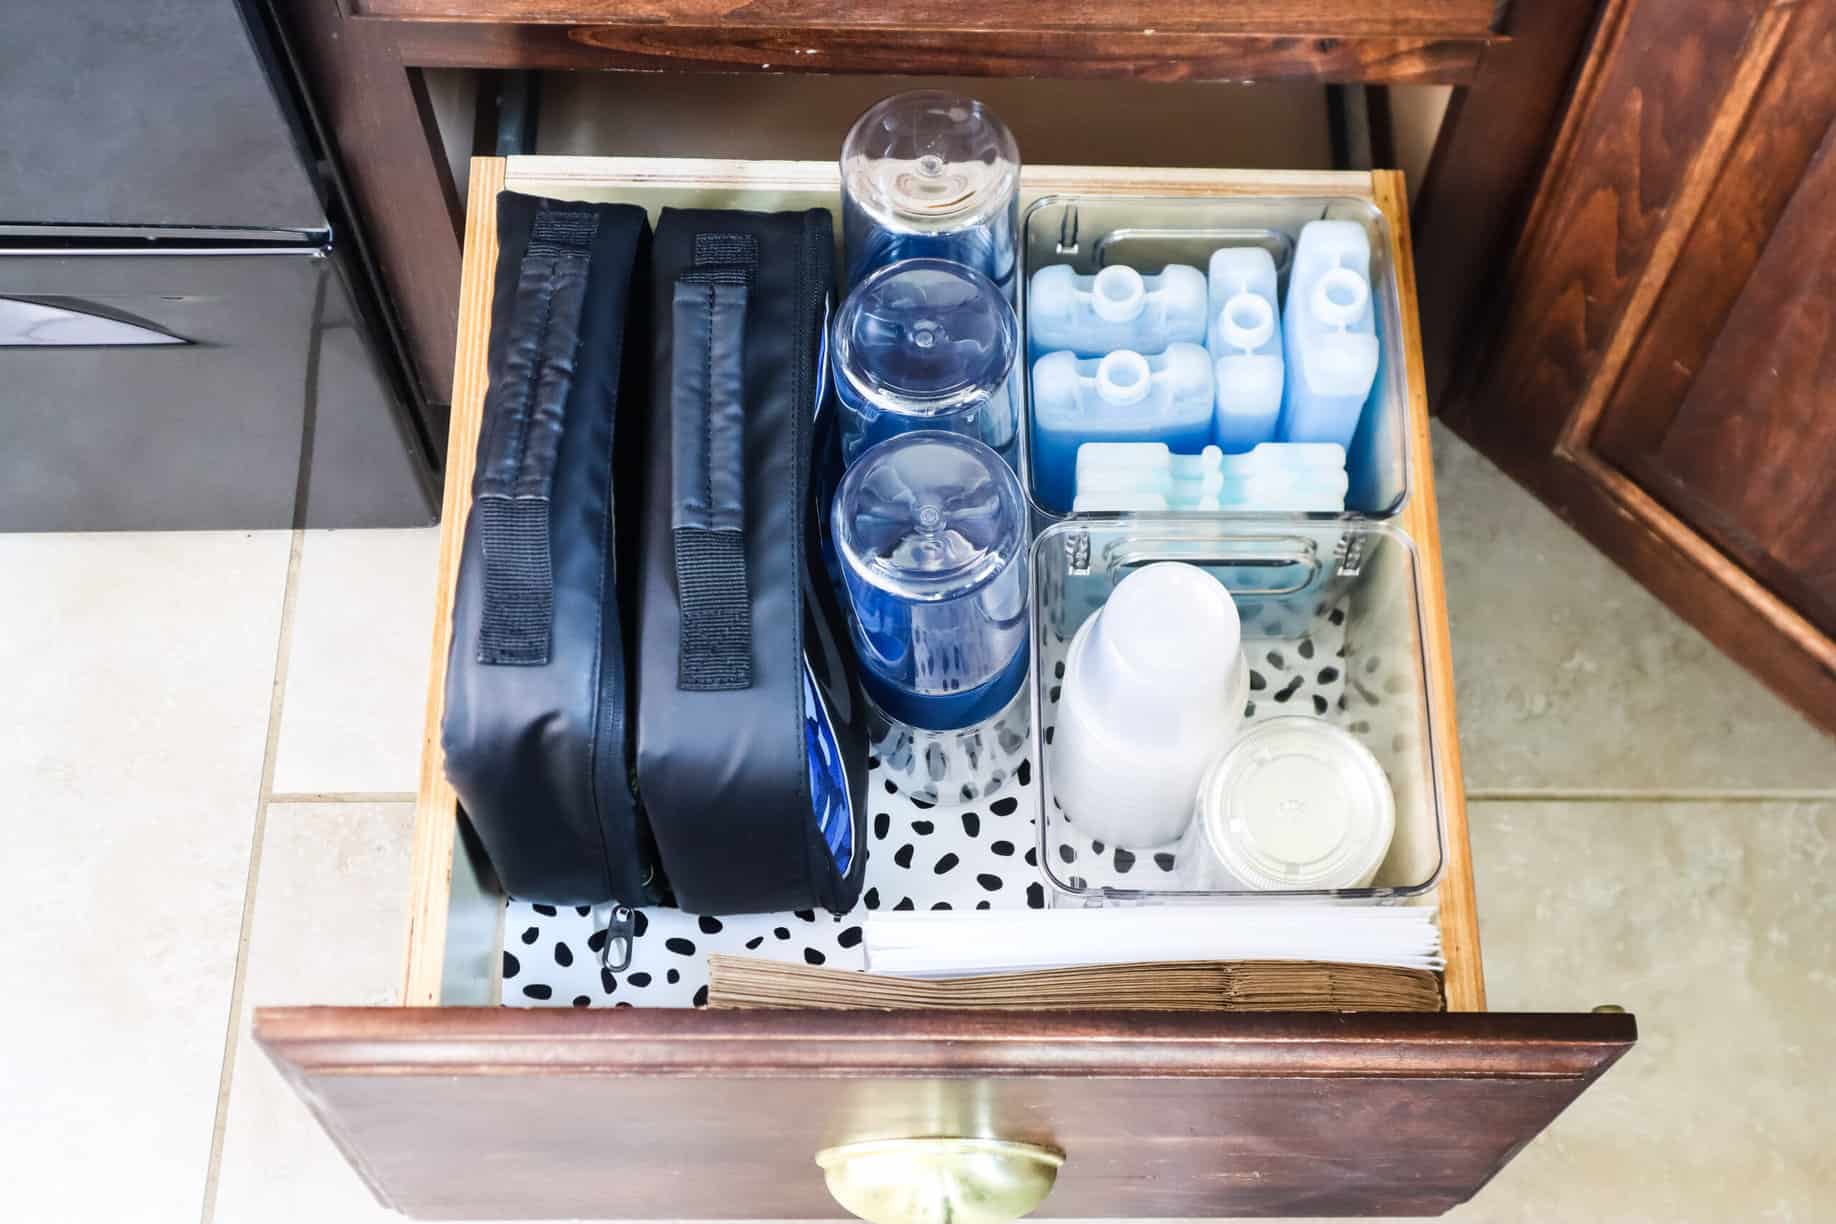
If you are looking for more drawer organization ideas, check out my posts about Organizing Your Nightstand and Organizing the Junk Drawer!
Why should you organize your cords?
If you don’t organize your charging cords, they will become a tangled mess and it will be difficult to find the one you need when you need it. This can cause frustration and even lead to device damage.
Nobody likes to open a drawer in search of a particular cord only to sift through a huge charging cables mess. Luckily, there are tons of different ways to organize cords and it only takes a few minutes to get all those cords contained and organized. I have some awesome tips that will help you find functional and cute ways to keep your cords untangled.
How should you organize cords?
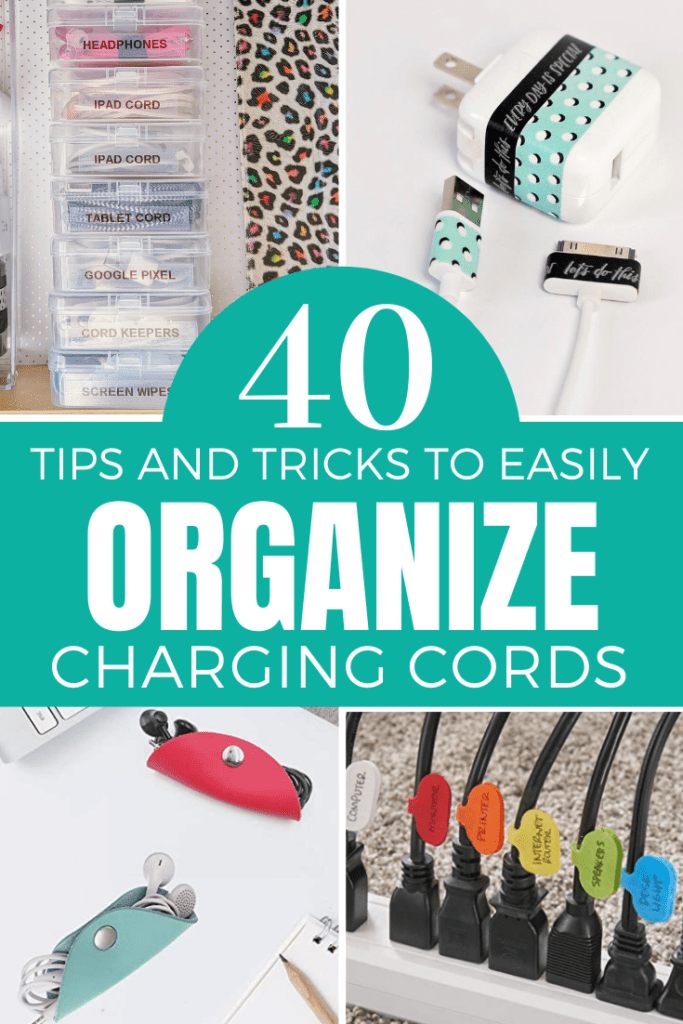
There are many ways to organize your charging cords. You can use baskets, boxes, or dividers. You can also use zip ties, labels, or markers to keep them organized. Cable management can get overwhelming, but these tips will make it a lot easier:
- Use a basket: A basket is a great way to keep your cords together and organized. You can put the cords in the basket as they come in different sizes and colors. This will help you quickly identify which cord is which.
- Use a box: a box is also a great way to organize cords. This can be helpful if you have a lot of cords or if you want to keep them separate by type. You can even use a simple shoe box!
- Use dividers: dividers are a great way to keep your cords organized by type. You can use different colors or shapes to help you quickly identify which cord is which.
- Plastic Bin for Cord Storage: sometimes the simplest ideas are the greatest. Using a simple plastic bin to organize cords makes it possible to have your bin double as decor (depending on the style of your bin) as well as organize cords. Plus these can also store an extra power strip, or two if needed.
- Use velcro straps, cable ties, or twist ties to keep cords neat and tidy within a desk drawer, basket, or box. This is THE BEST way to keep cords untangled.
- Label cords: labeling your cords can be a great way to keep them organized and easy to find. You can use a label maker or just a Sharpie to write on the cord itself. These cord labels are my very favorite ones that I’ve ever used to label individual cords.
- Use binder clips to keep cords together. This is an easy way to keep them organized and prevent them from becoming a tangled mess.
- Use small storage boxes to contain and label each cord (or type of cord if the box is big enough). This is how I organize all the cords in my electronics drawer and I don’t think I will ever use any other kind of cord organizers.
TOOLS YOU’LL NEED

Decluttering Your Cords
Every time you get a new device or upgrade your phone, it always comes with new charging cords. And somehow you are always stuck with the old cords forevermore. And what’s worse is that we don’t dare throw it away because we ‘might’ need it someday. Or we don’t even know what it belongs to!
Well, I am here to give you a challenge. I want you to go through all of your cords and only keep the ones that you currently have devices for! You will be surprised at how few of them you actually need to keep and you will free up a lot of space in your drawer! So your first step in creating an organized charging cord area is to declutter your cords.
How to Identify Charging Cords
You may look at your charging cord mess and wonder how you could ever determine what cords you actually use. You have cords that you use on a daily basis, but we all have a stash of cords that we rarely use but don’t dare throw away. So how do you determine what ones to keep?
- Inspect each cord to see if it’s broken or missing prongs. Many times cords have broken inserts (or bent prongs) leaving them completely unusable. They won’t charge anything so don’t be afraid to toss it.
- Take a look at all of your current devices (phones, tablets, reading tablets, laptops, computers, video game consoles, etc.) and see what type of port it uses. I’m not technical enough to know the names of the ports but I usually just go by sight. Then group the cords that match up with the devices and put them in a pile. Then decide if you have an excess number of cords for that type and get rid of all the cords that you don’t need.
- If you are really struggling to find the device for that mystery cord, you can also look up the model number from the manufacturer (in Google) and see if you can find what device it belongs to. Cords and wires come in so many shapes and sizes…but the internet can be a huge help! This google search has some great ideas to help you identify what types of cords you have.
- All remaining cords that don’t have a matching device can be tossed out! There’s no need to keep it around and let it clutter up your drawer that you are trying to organize. This will really help you be able to see what cords you actually use for your electronic devices. This is one of the best tips I can give you to help you create a system to organize all the cords.
TOOLS YOU’LL NEED
How to Label Cords
It is really important to take a few extra minutes to label your cords and wires. If you have a drawer or a box filled with cords and wires, it can be difficult to figure out which one goes with which device. I think it’s really important to also label your charging cords. Color coding your cords may be enough but it will be extra helpful to take it a step further and label it with its purpose. You could put a family member’s name on it, what device it belongs to, what room it belongs in, etc.
Here are some of my favorite cord labels that I have found on Amazon. And luckily, they are actually quite cheap!
There are multiple ways to organize your cords that I personally use myself and recommend:
- These cable labels are by far my favorite way to label my cords and wires. I love that I can even color code my cords and wires according to what device it belongs to. For example, I label all of the cords that go to my outdoor speakers with a red label to easily identify what goes to what.
- These Velcro cord labels are also a great way to label your electronics cords. The advantage to these ones is that they are reusable and can easily be taken on and off your cables to use on something else.
- These Zip-Tie Labels seem more sturdy to identify cords. They stay securely on and don’t come off unless they are cut off!
- Use a Label Maker to customize and label your cords using your phone! This is a perfect solution if you have a wide variety of needs.
- Using Washi Tape is another great way to label your electronic cords. The great thing about Washi Tape is that you can even use it for thicker cords because you are in charge of how much tape to use. You can also take advantage of the multiple colors a color code multiple cables if needed. Washi tape has many different options, just make sure that the adhesive is sticky enough so it will stay.
- Some products even act as cable organizers and labels at the same time!
TOOLS YOU’LL NEED
Plastic Containers to Organize Cords
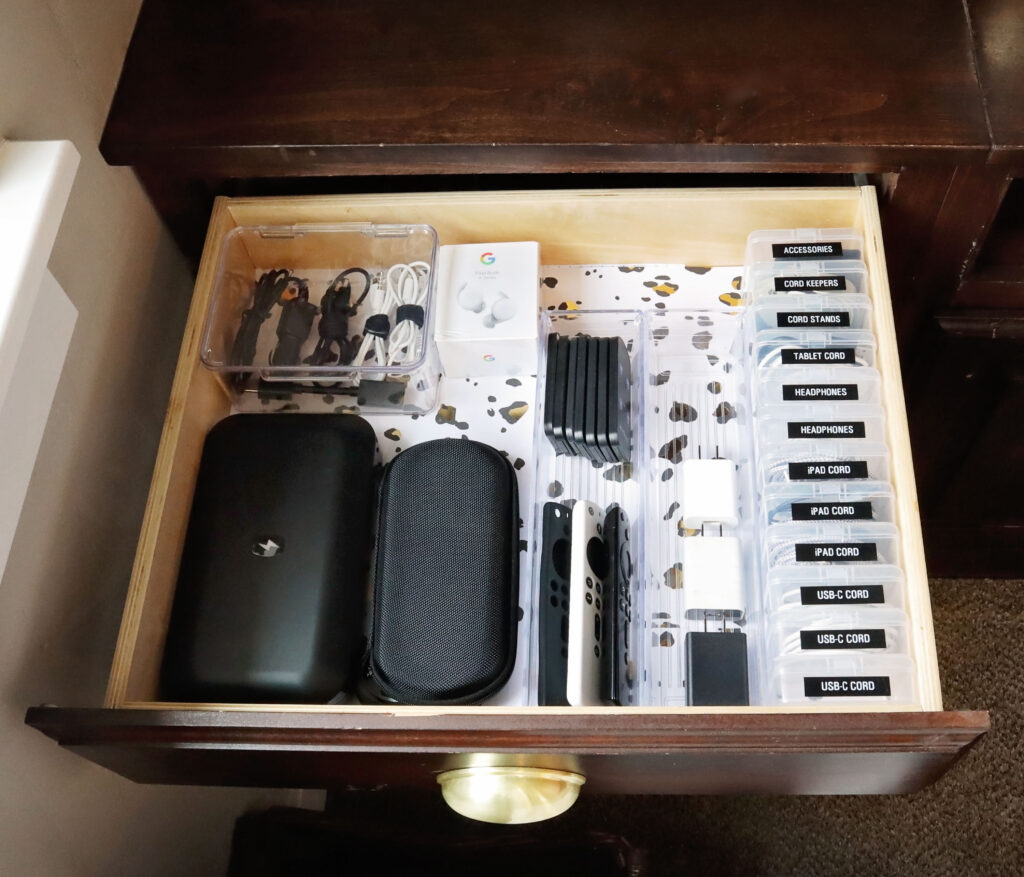
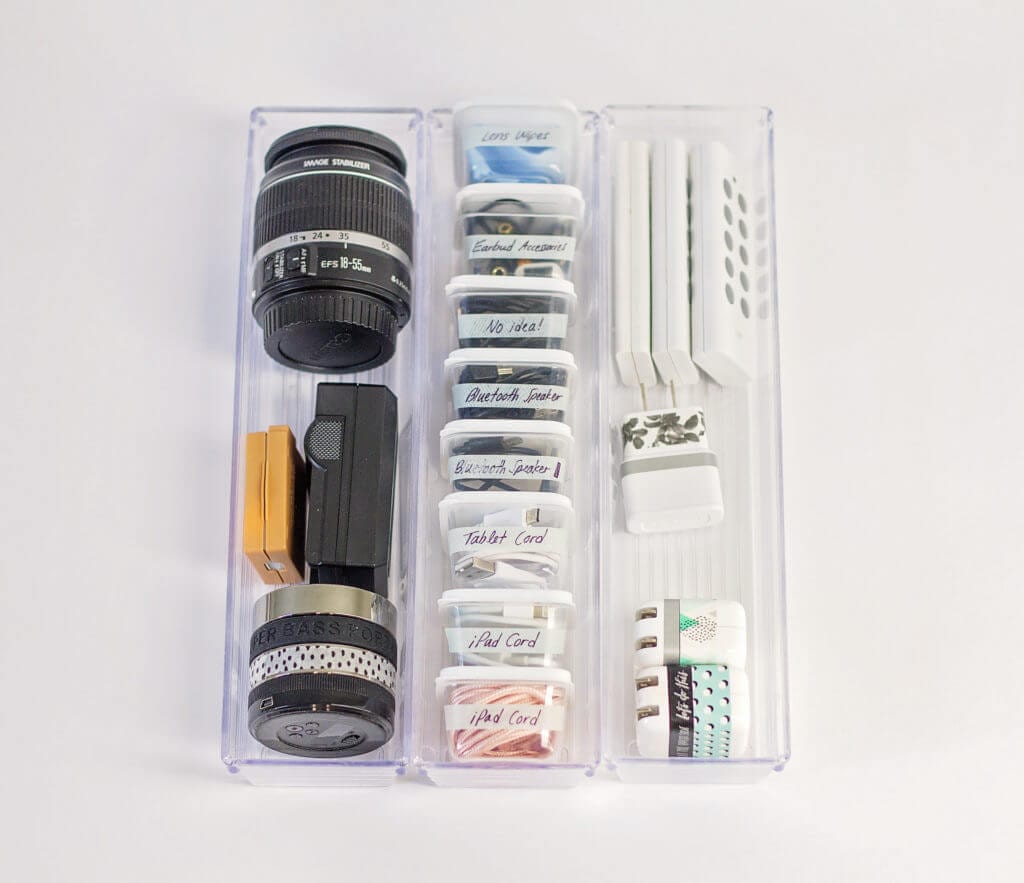
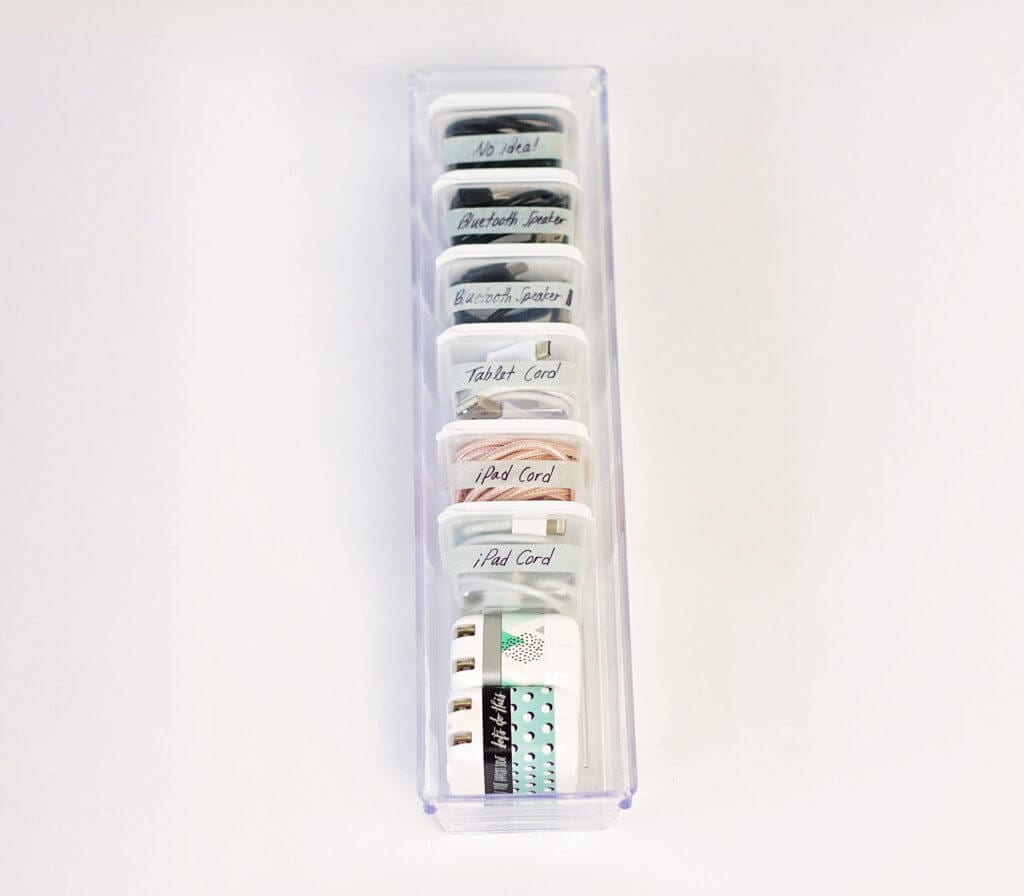
My favorite method to organize charging cords is to wrap each cord around your fingers and neatly place them in these amazing storage containers that I found at Dollar Tree! I use these containers everywhere in my house but they fit perfectly in this clear drawer organizer (that I also found at Dollar Tree) so they all stay perfectly organized!
So for only $2-$4 you can transform the drawer that holds your charging cords! P.S. (Note: Please just go pick up the supplies at Dollar Tree. If you order online, you have to order in bulk, I just provide the link for reference)
We often travel with our Bluetooth speaker (mainly because my daughter broke the headphone jack off into the iPad). Because the containers are clearly labeled, it is easy to know exactly which container to grab as we are running out the door.
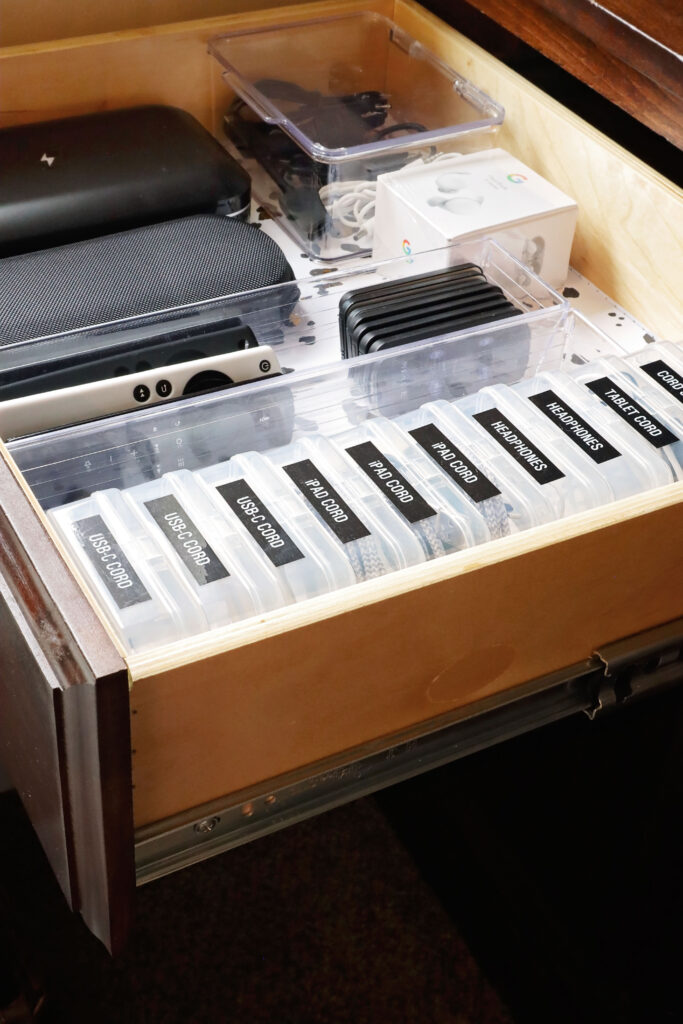
UPDATE: The method above USED to be my favorite until I found these plastic bead storage containers that I literally use all over my house. They are great because they take advantage of vertical space in your drawer. I like these ones better than the other ones because I don’t have to worry about losing the lid (it’s attached), it snaps shut, and they are also a bit bigger so I don’t have to wind my cords quite as tight as with the other ones from Dollar Tree.
TOOLS YOU’LL NEED
Color Coding your Cords and Chargers
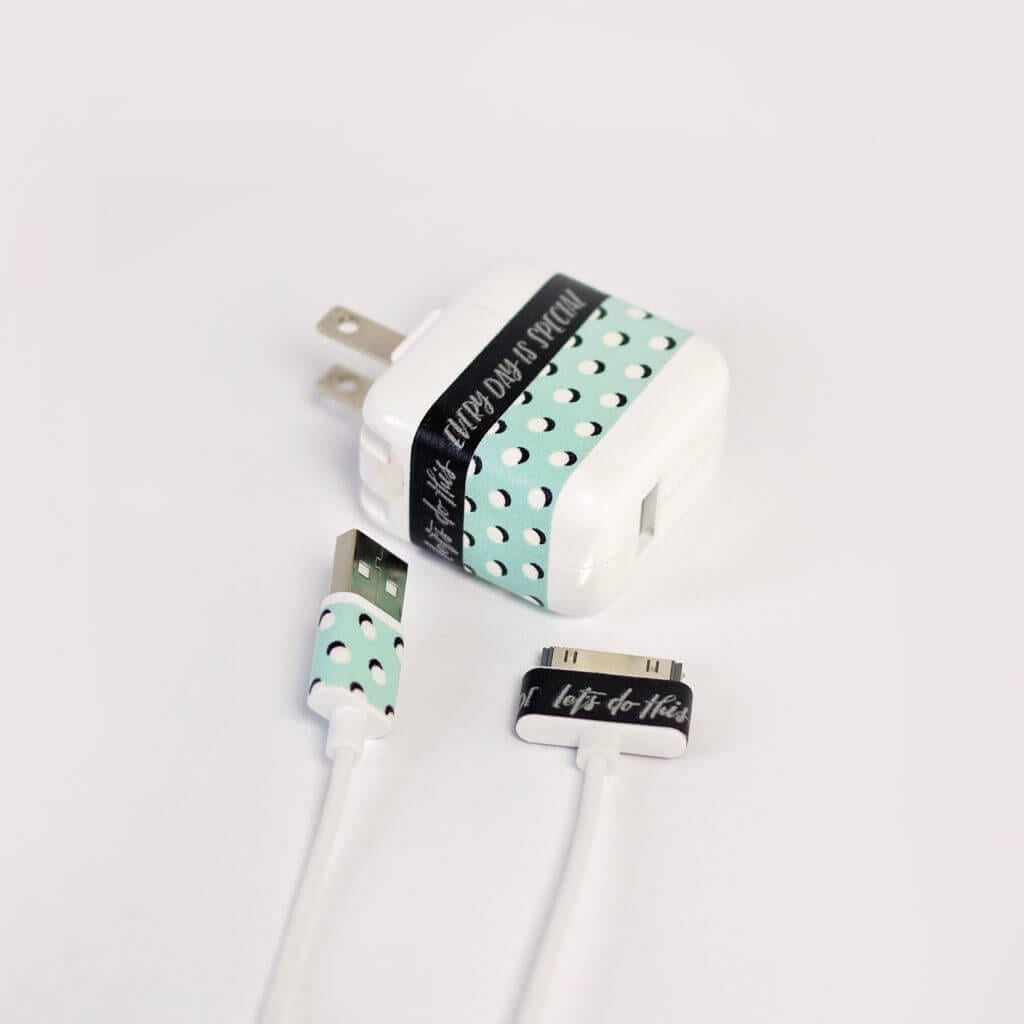
I am certainly not the first one that had the brilliant idea to put decorative Washi tape onto cords. But I wish I knew who it was so I could thank them! I personally used it just for decorative purposes and to help me remember what cord goes to what. But I think this idea is extra useful for those who have teenagers or other members of their family who all have the same charger. Color coding each person’s chargers/cords will end all disputes when someone steals the other person’s charger.
You could color-code your cords in various ways. For example:
- Each person has a particular label color (ex: Jace has all of the blue labels)
- Every device type has a particular color (ex: iPhone cords have a red label)
- Each cord type has a particular color (ex: all c-port cords have a yellow label)
- Label cords according to room (ex: the cords with the orange labels stay downstairs – this could help the endless searches for missing cords)
TOOLS YOU’LL NEED
Tie Your Charging Cords
Another great way to organize charging cords is to tie them! There are tons of products on the market used for just that. Here are some great products on Amazon that you’ll love!
- Leather Cord Wraps
- Leather Taco Cord Wraps
- Pack of 2 Leather Cord Wraps
- Stretchy Cable Ties
- Rainbow Velcro Straps
- Silicone Magnetic Straps
- Silicone Cord Wraps
- Pack of 20 Velcro Cord Wraps
- Tie AND Label at the same time!
- Leather Cord Wraps
- Leather Taco Wraps
- Pack of 2 Leather Cord Wraps
- Stretchy Cable Ties
- Rainbow Velcro Straps
- Silicone Magnetic Straps
- Silicone Cord Wraps
- Pack of 20 Velcro Cord WrapsTie AND Label at the SAME TIME!
Small Boxes to Organize Charging Cords
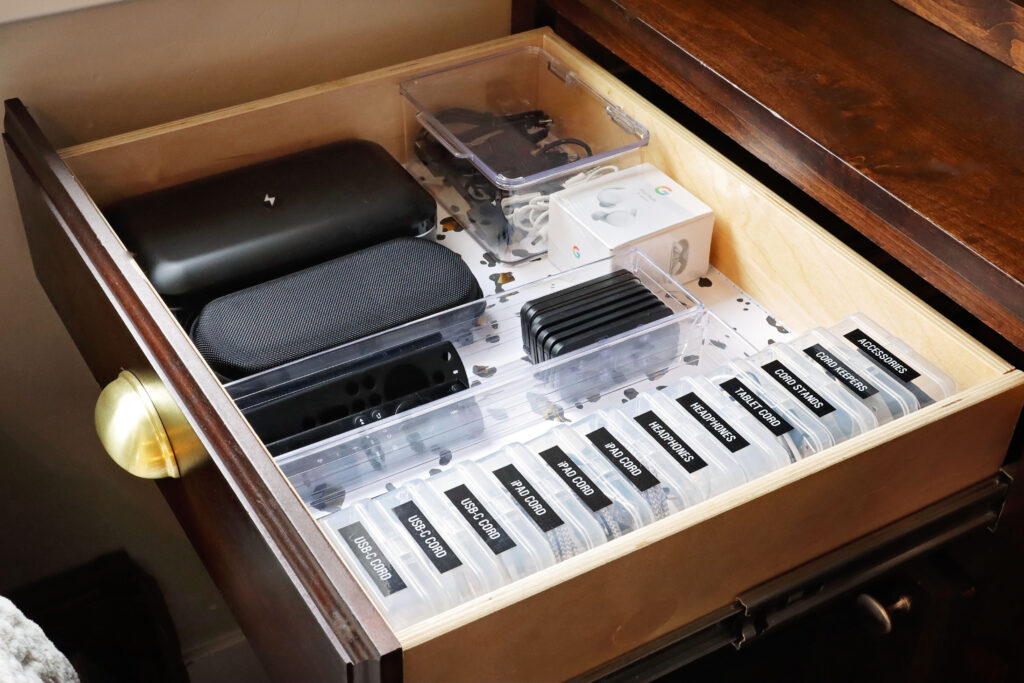
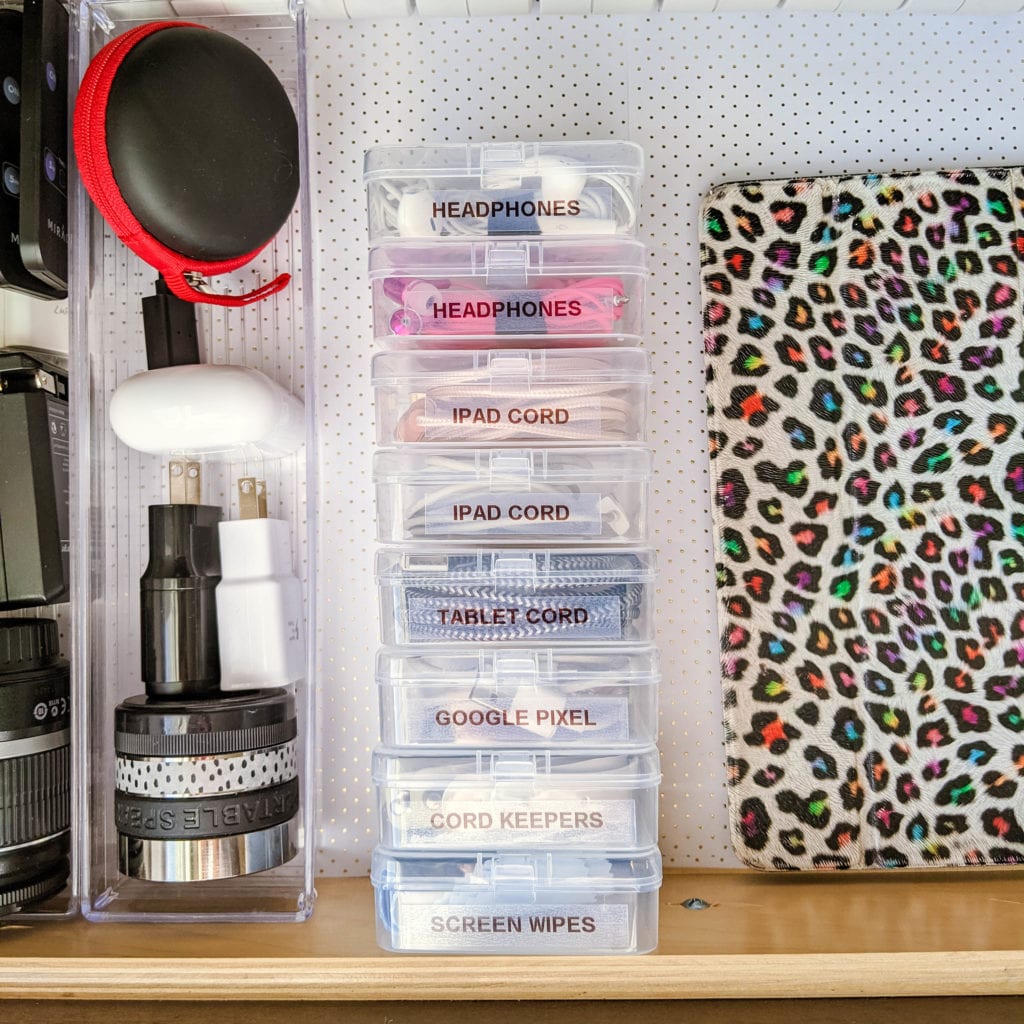
I shared this on my Instagram a while back and I absolutely LOVE this method. I found these containers on Amazon and knew that they would be a PERFECT cord organizer. They are a bit bigger than the ones I talk about above from Dollar Tree. The price is a bit more, but I am absolutely in LOVE with them! They are sturdy, stack well, and snap securely closed. I can also easily label them with my label maker to keep track of where everything is!
I stack them vertically in my draw to make use of that precious drawer ‘real estate’. The best part? It actually stays looking nice, just like this! This is the best cord organizer system that I’ve ever used.
DIY Ideas: Use Items Around the House
Sometimes we just want to find an organizing solution that doesn’t cost money. And guess what, that’s okay! There are SO many different ways that you can organize your charging cords using items that you already have around the house.
These are some ideas that I thought would work really well, but the sky’s the limit! Sometimes all it takes to find a great solution is just thinking outside the box. Maybe even consider searching around your junk drawer to see what creative ways you can use items that you already have to use as a cord organizer.
- Empty Toilet Paper Rolls
- Pipe Cleaners
- Twist Ties from a loaf of bread
- Claw Hair Clips
- Ziploc Bags
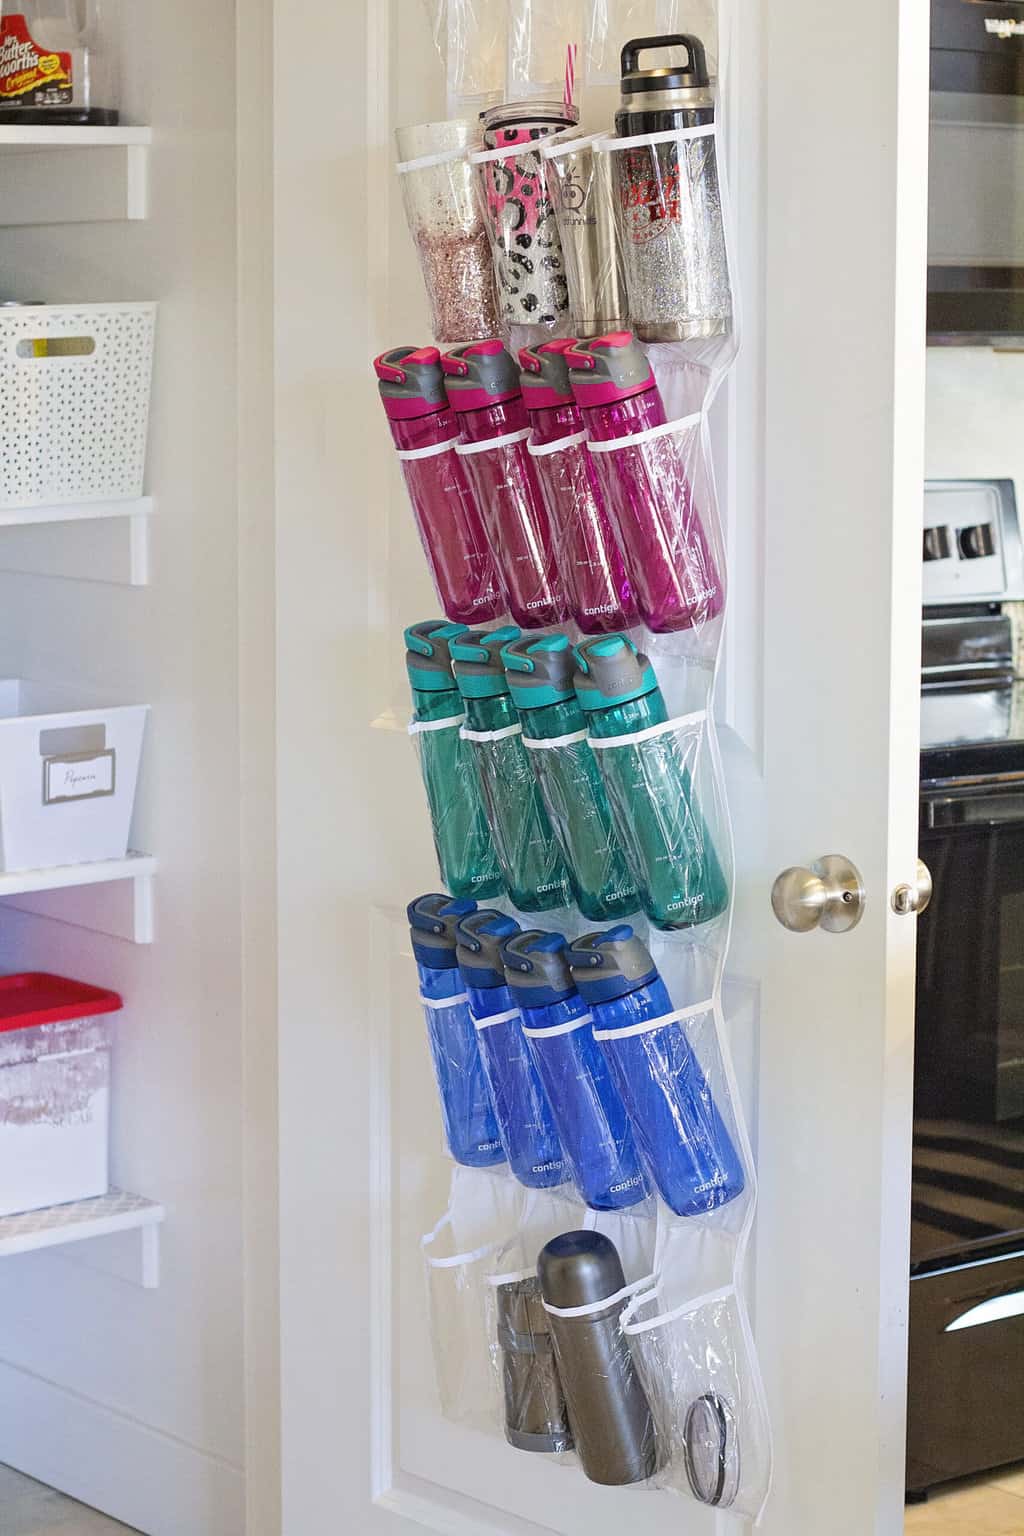
- Over the Door Shoe Organizer
- Toilet Paper Rolls
- Binder Clips
- Clothes Pins
- Altoid Containers
- Ice Breakers Mint Containers
- Old Glasses Case
Where can I store my electronic cords?
After you’ve tackled all of the cord organizers, you may be wondering where the best place is to put your cords and wires. A few great places to put your cords and wires are by the cable box, in a desk drawer, in your TV stand, or in your entertainment center. Just put it in a place where your cord organizers will be the most accessible.
All the cords you have are typically needed in the main areas of the home where you store your electronics. You may even want to store all the cables in the same drawer or cupboard as your electronic devices. TV cables, video game console cables, DVD player cables, and HDMI cables are definitely most accessible near the TV.
I hope you have enjoyed my post on how to organize all your cords. It’s such a silly topic but it can be a real struggle! Organization doesn’t always have to be about big projects. Sometimes, the small projects make just as big of an impact on our lives! I hope that I inspired you to go through your cords and weed out the ones that aren’t useful. As well as find a way to organize cords that will fit your family!
Need more ideas? Check out Amy’s post about Cord Organization!


Oh my goodness! What a great post Michelle! Wonder how I can talk the man into undertaking this task! They are mostly his cords! 😉 Thanks for all of the great ideas!
You bet Julia! I hope it helps!
Great ideas.
I currently have my cords in a photo box in individual sandwich bags which are labelled. Though this works, it’s still digging through the photo box trying to find the right sandwich bag. Kind of defeats the purpose. It did help me get rid of unused cords. Yay!
I wrap masking tape on each cord and write down what it’s for. Kind of like washi tape.
But I think I will invest in the little plastic storage boxes you have. I like that you tried different types just to see what works best.
I really enjoyed your post.
What size did you use of these amazon storage boxes?
These look awesome!!!
They have many different sizes to choose from, I’d love to get the same size as you.
Thanks
Shannon
Hey Shannon! I believe that they are about 3″ x 3″. Hope that helps!