Create Your Own Family Charging Station in Five Easy Steps
As a mom, I know the struggle of getting kids to turn in their devices at bedtime. It seems like no matter how many times we remind them, they always have an excuse to keep their phones in their rooms, which could keep them up past bedtime and make them tired for school the next day! Honestly, even as an adult, sometimes I’m on my phone too late too. That’s why I decided to create a family charging station, a designated spot for everyone in the family to place their devices at night.
In this post, I’ll be sharing with you how to make your own family charging station that is easy to use and convenient for everyone in the house.
You’ll love this post, too!
What is a family charging station?
A family charging station is a designated spot in the house for charging all the family’s electronic devices, like smartphones, tablets, and laptops. It typically consists of a multi-port charging dock, cable organizers, and spaces for each device.
Creating a family charging station is a good idea for multiple reasons. It helps manage screen time more effectively, especially during the evening hours, which promotes better sleep habits. It also helps kids get into the habit of not being on their phones too late!
Having a charging station also ensures you know where all your devices are when you wake up, which reduces the chance of misplacing them. (This is especially good if you have any tweens learning to keep track of their first smartphone or headphones.)
Additionally, having a central charging station can reduce clutter and keep your home more organized, and it ensures that everyone starts the day with a fully charged device.
Creating a Charging Station for All Your Devices
Creating a charging station for your electronic devices isn’t hard, you just need to make sure you have enough USB ports, chargers, and charging cables for the devices in your home.
Here is how you can create a charging station in five easy steps!
Tools you’ll need
These are some great suggestions for creating your own family charging station to keep you organized.
Step 1: Choose a Convenient Spot
The first step in creating a family charging station is to choose a spot that is practical for everyone to access. It could be a nightstand drawer, dresser, or shelf. The important thing is to make sure that it is easily accessible and visible to everyone.
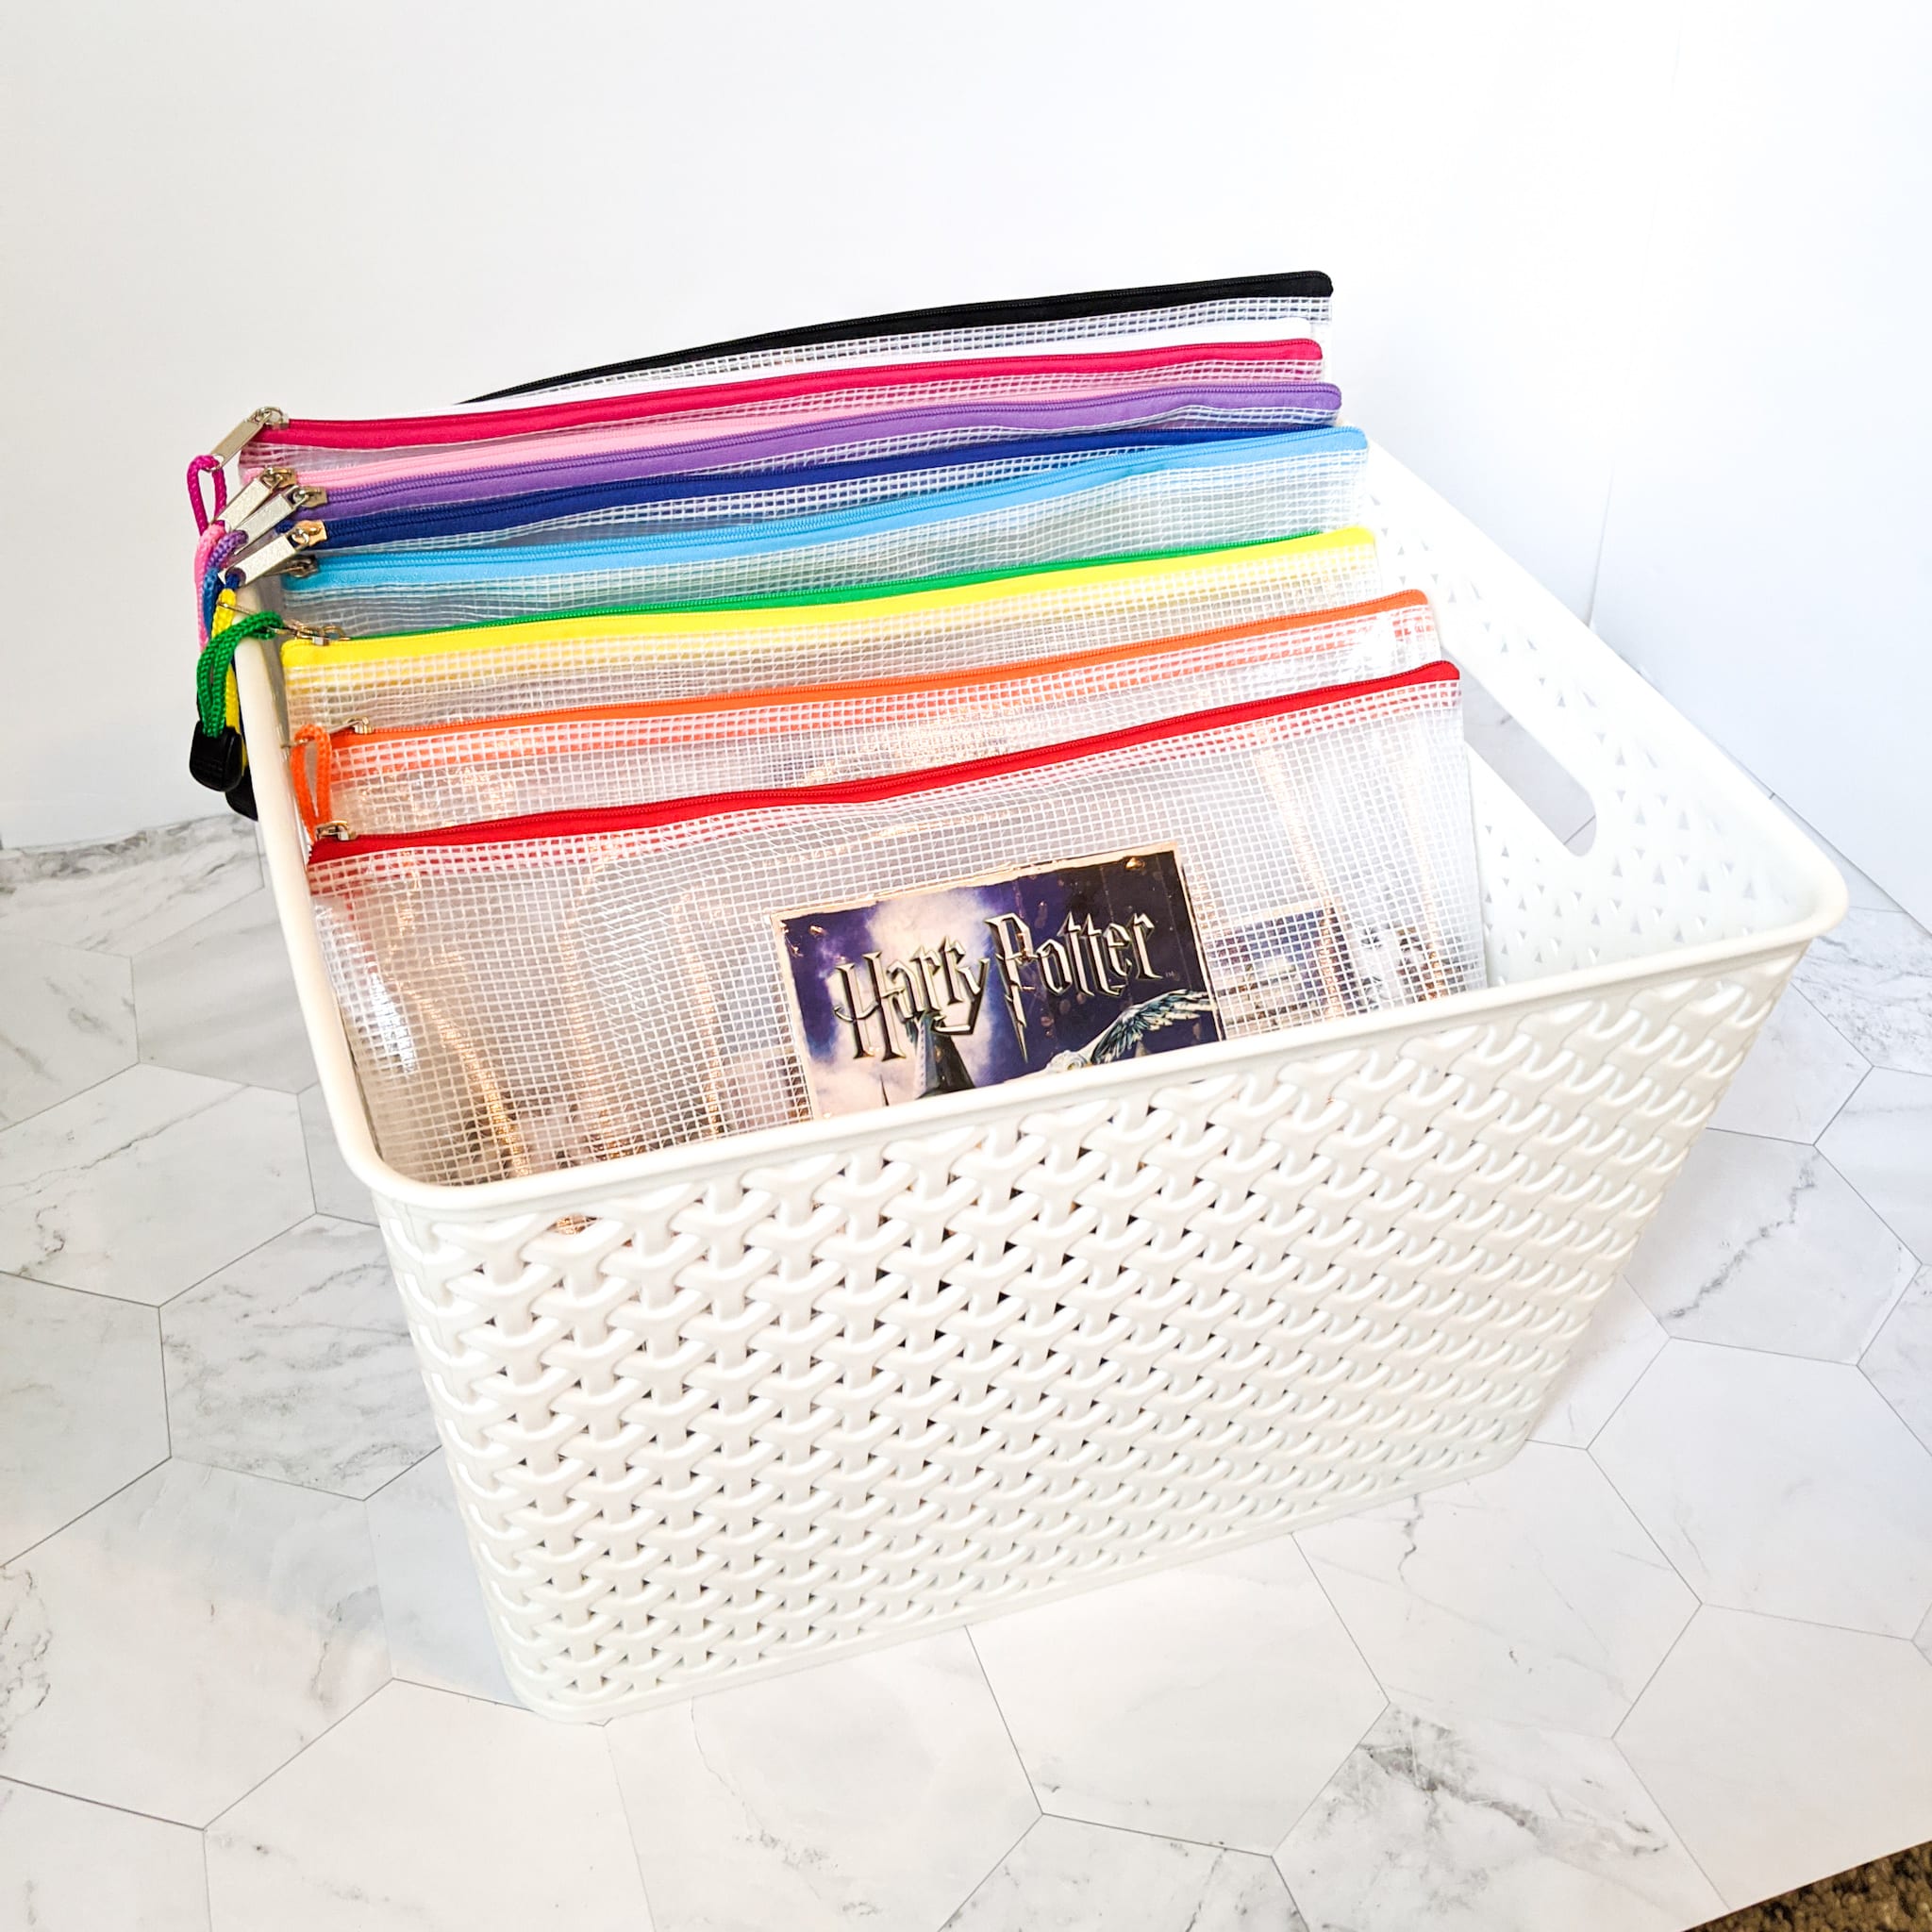
If you have larger devices like iPads, you can also place your charging station on the counter, in an office, or keep it in a basket on the counter.
The best way to create a charging station is to have enough space for all of your electronic devices in one area, but if you need to have one area for smaller items like your Apple watch, smartphones, and headphones, and place larger items like tablets and laptops elsewhere, you totally can.
As you choose a space in your home that would fit your charging station, quickly take stock of how many devices you have in your home. As you can imagine, between an iPad, iPhone, and AirPods for multiple people, we definitely have more than five devices to charge each night. That meant I needed a space for all of those electronics!
Great Options for Charging Station Spaces
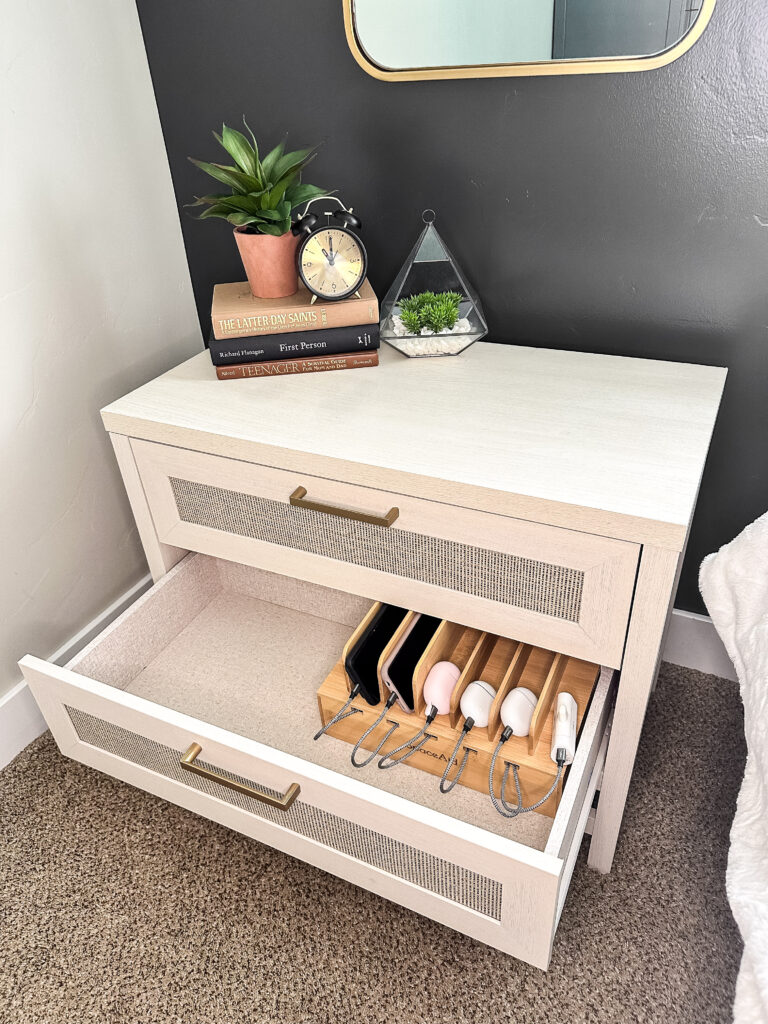
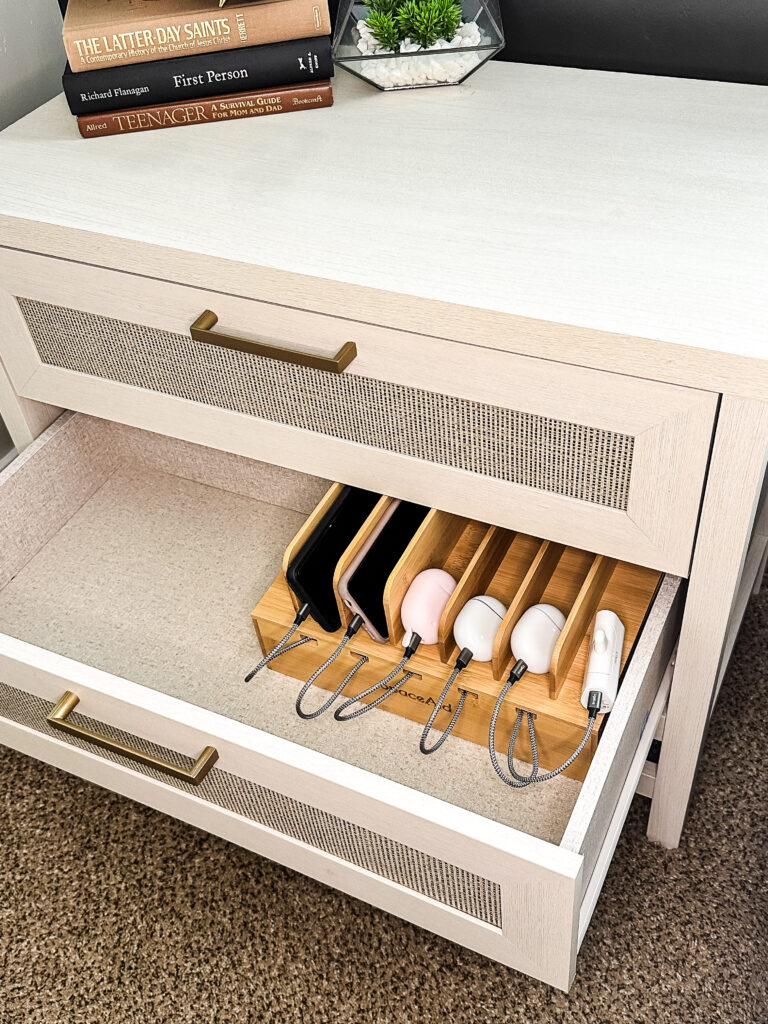
When I created my charging station, I was looking for a place to put it so it could be hidden but still in a convenient place. Luckily, I was able to fit my charging station in a drawer!
I suggest keeping your station in a communal area. You can keep the station in your room if you think your children will sneak back out for their phones at night, but if you can and you have the space for it, I think charging stations should be in an area that is convenient for everyone.
This includes:
- Kitchen Counter: A corner of the kitchen counter can serve as an excellent location for the charging station. It’s a communal area, making it easy for everyone to access their devices in the morning. Use a basket in a less-used corner to keep them within reach but out of the way.
- Living Room Side Table: Consider setting up your charging station on a side table in the living room. It’s a place where family members might spend time in the evenings, making it a good spot to charge devices overnight.
- Home Office: If you have a home office, it can be a great spot for the charging station. It can help keep the devices out of sleeping areas, reducing distractions at night.
- Hallway Console Table: A console table in a hallway can also be utilized for this purpose. It’s a space that everyone passes frequently, making it a practical spot for everyone to pick up a fully charged device on their way out in the morning.
- Mudroom or Entryway: If your home has a mudroom or an entryway, these can serve as great spots to set up a charging station. It’s the last place you are before leaving the house and the first place you enter when you return, making it a nice location for device collection and drop-off.
If these areas don’t work, you can also use a bedside table drawer. You could also put a shelf up on the wall of the mudroom or office to create more space to charge devices simultaneously.
Step 2: Get Your Family Charging Station Organized
Once you have chosen a spot for your family charging station, it’s time to get organized. You can use baskets, trays, or dividers to keep each family member’s devices organized and separated. This will help prevent mix-ups and make it easy to find each device in the morning.
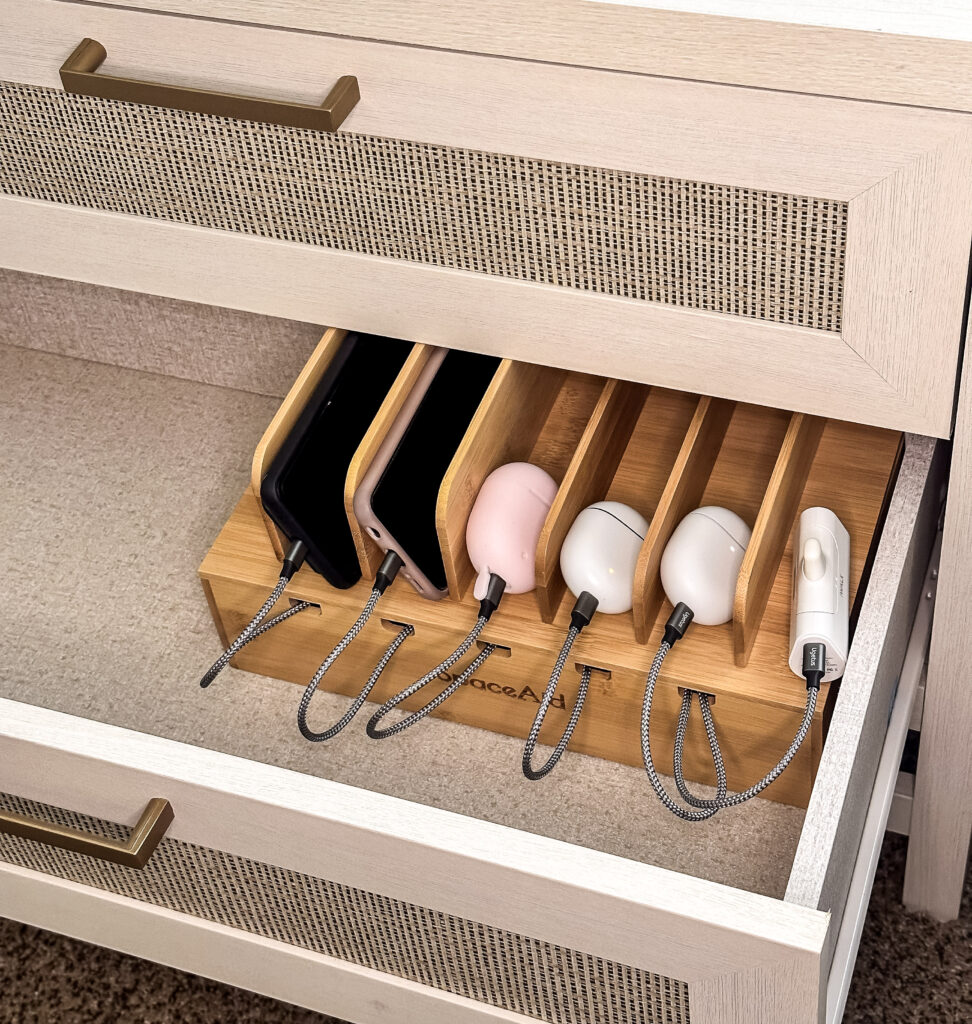
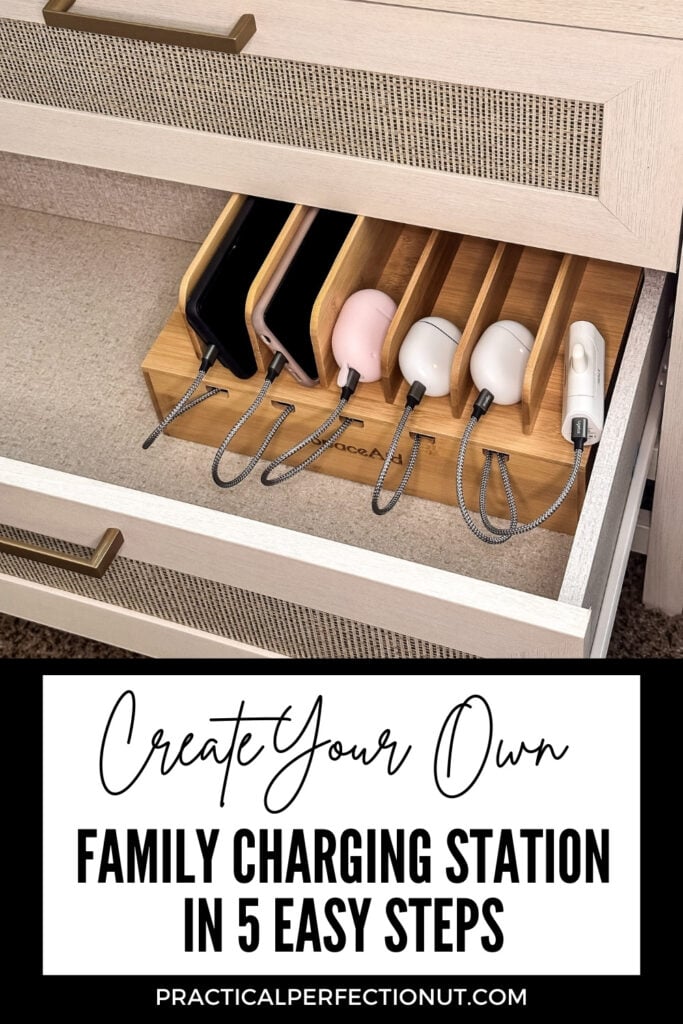
I got a wooden charging station that can easily fit a power cord. Then I was able to plug the USB cables into the USB ports in the power cord and feed each cord out of the box. This keeps the cables from getting messy and gives each phone or device its own designated area. This makes charging multiple devices a breeze!
How to Keep Your Charging Station Organized
If you don’t want to get a wooden box like what I have you could also consider several other alternatives to keep your charging station sorted.
- Letter Organizers: These are excellent tools for keeping tablets or larger phones in an upright position while they charge.
- Cable Clips: Cable clips are great for managing wires and ensuring they don’t become tangled or messy.
- Drawer Dividers: If you’re using a drawer for your charging station, dividers can be a great way to assign a spot for each device. It also helps if you have a wireless charging pad. Then you can divide a spot for your wireless charging stations and have a different spot in the same drawer for your charging cables.
- Cable Management Boxes: These boxes hide power strips and cords, keeping the charging station neat and preventing tripping hazards. Keeping cables and cords hidden from view is always a good idea!
- Charging Dock: Some docks are designed to charge multiple devices at once and often come with built-in cable management and included cables.
Remember, the key is to use an organization method that suits your family’s needs and the space available. Charging stations need to have enough space for everyone’s phones and other electronics to get plugged in. Expect it to take up a full drawer or shelf, depending on how many electronics you have.
You could also have a few extra chargers available in the drawer if anyone needs to grab a charger for a quick charge before the end of the day.
Step 3: Add a Strong Power Strip
This goes along with step 2, but as you’re setting up your chargers and ports, make sure you have a strong enough power strip to support all of those cords or wireless chargers.
Choose a power strip that has enough outlets to accommodate each family member’s device. You can also choose a power strip that has USB ports for the added convenience of not needing the other part of the charger.
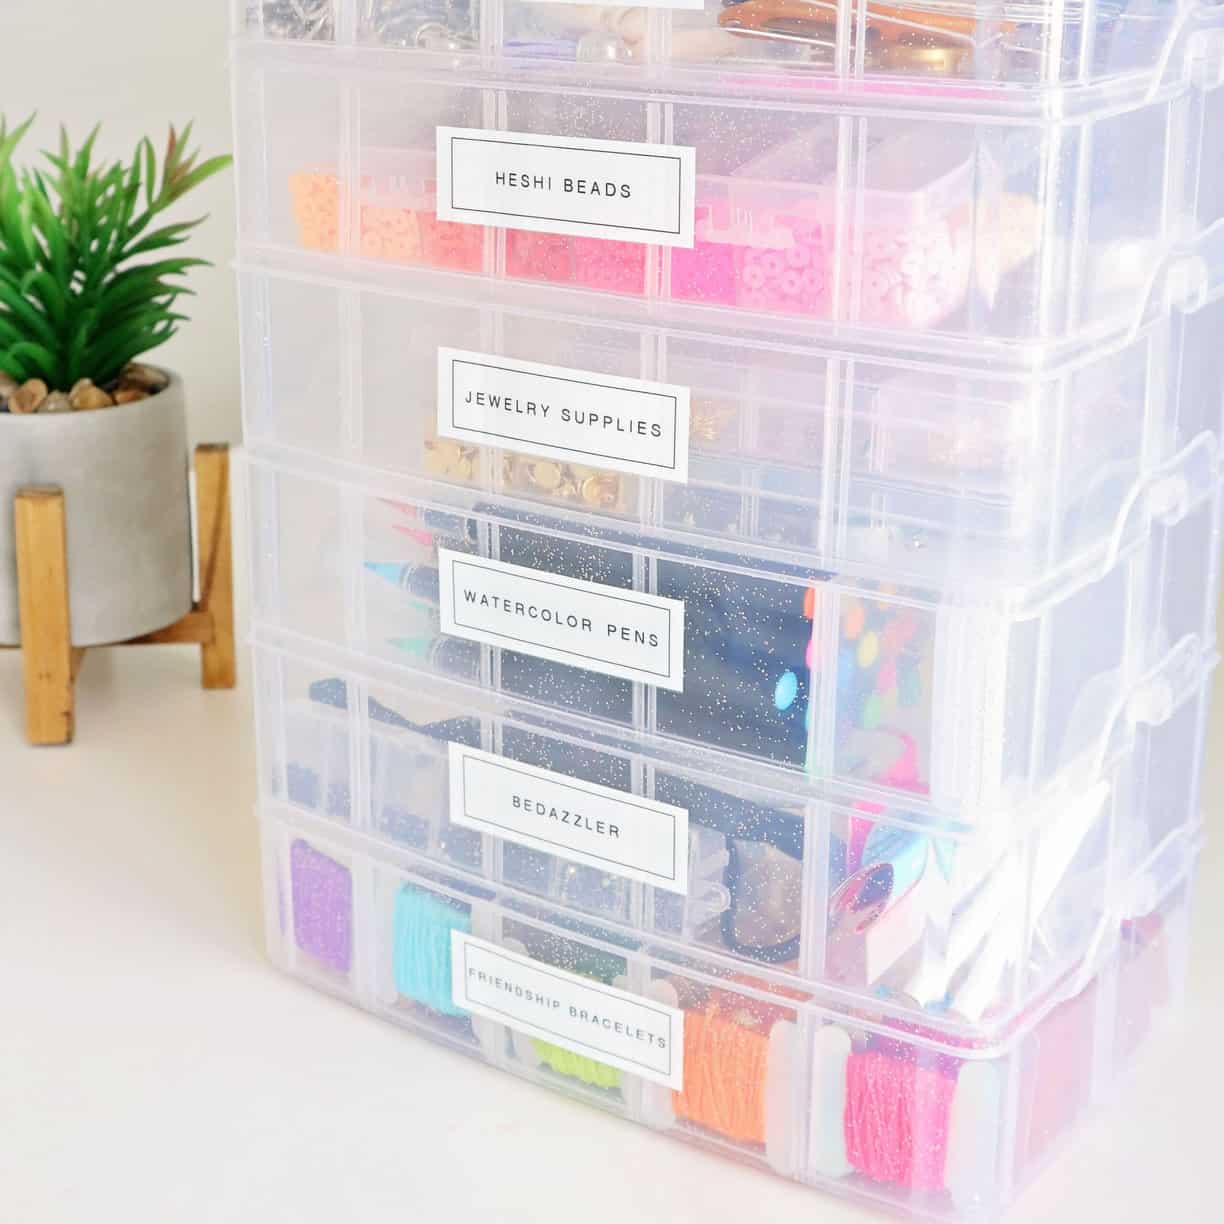
Step 4: Label Each Device
To avoid any confusion, label each device with the owner’s name. You can use a label maker, Sharpie, or even stickers to label each device. This will help everyone in the house know which device belongs to whom and avoid any mistakes.
Using a label maker to designate spaces for each family member’s devices prevents mix-ups and ensures everyone knows where to put their devices.
Sure, everyone probably knows which device is theirs, but giving each person a separate area or cubby can be fun. Then it’s like there are charging stations for everyone!
Step 5: Plug in and Charge
Finally, it’s time to plug in and charge. Plug each device into the power strip and watch as they start to charge. This is a great time for everyone in the family to unwind and prepare for bed without the distraction of their devices. In the morning, everyone can grab their fully charged devices and start their day.
Charging Stations Are a Game-Changer!
Creating a family charging station is an easy and convenient solution to the never-ending struggle of getting your kids to turn in their devices at bedtime.
By following these simple steps, you can create a spot that works for everyone. Not only will this help keep everyone organized, but it will also give you peace of mind knowing that your kids are not using their devices at night.
So go ahead and make your own family charging station, and enjoy a more organized and stress-free bedtime routine.