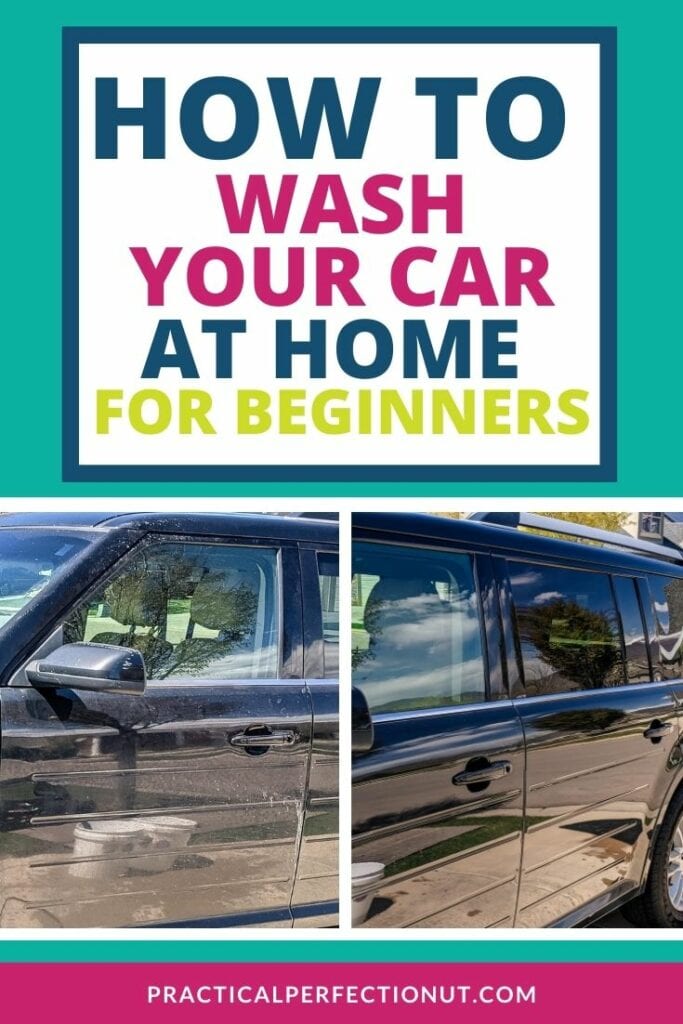
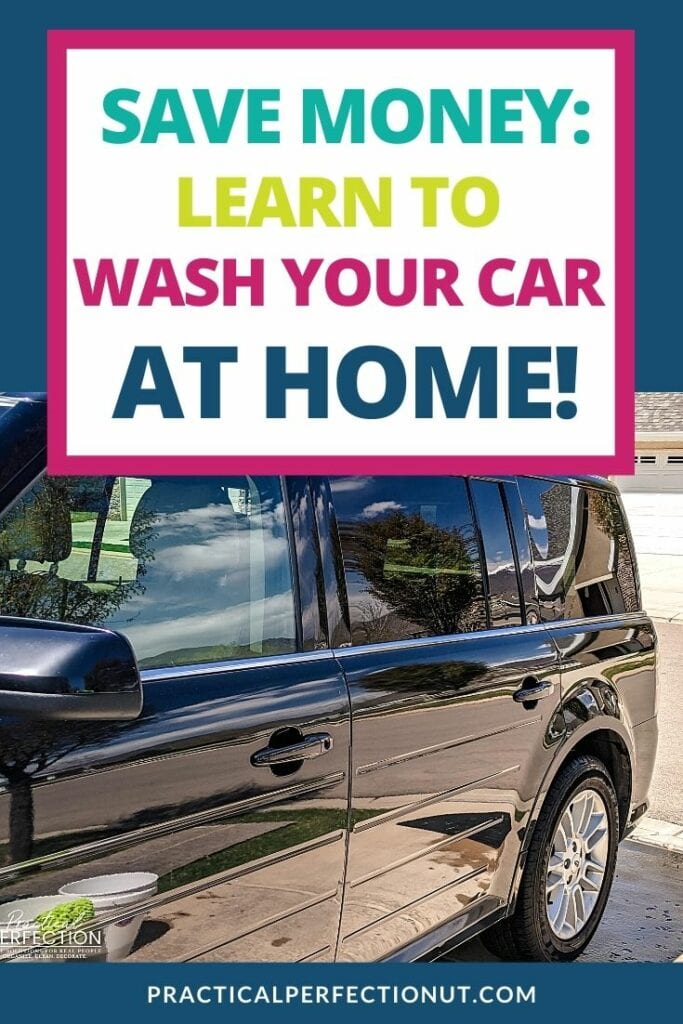
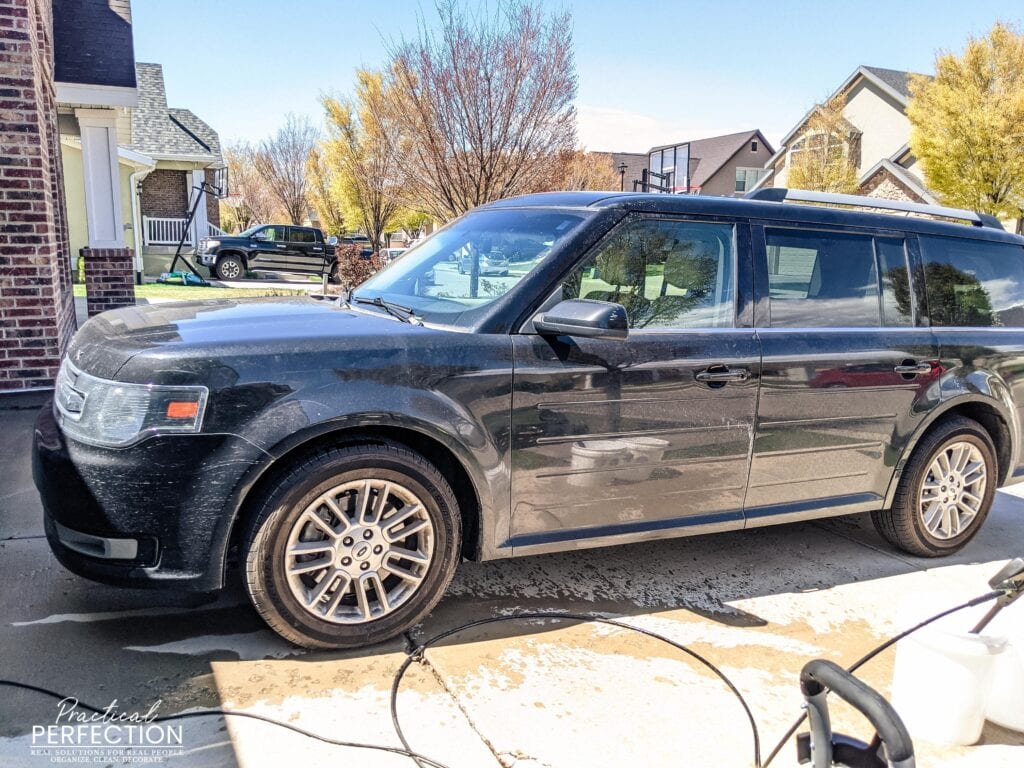
Easy Steps on How to Wash Your Car at Home For Beginners
Are you tired of paying an expensive monthly subscription to an automatic car wash that just leaves scratches all over your car? Or are you just plain tired of having a dirty car? Here are all of the best tips and tricks to teach you how to wash your car at home. It’s easier thank you think and it will save you tons of money and it will keep your ride looking new. Or bring it back to it’s former glory!
Need more ideas? Check out: Easy Step-by-Step Guide for Cleaning Your Car Interior and 9 Simple Car Organization Tips Anyone Can Do
Tips for Beginners
These are tips that I learned from my dad and brothers when I was younger and they’ve stuck with me for years! But it’s really important to make sure that your rags, sponges, or anything else that you are washing your car with stays as dirt-free as possible. The more dirt that is caked into your sponge, the more potential chance you have of putting scratches into your paint. Car paint isn’t as durable as one would hope, so it’s really important to make sure that this is something that you are always conscious about when you are washing your car at home.
Clean Top to Bottom
One of the first tips about cleaning your car exterior for beginners is to clean your car from top to bottom. The reason for this is because typically, the dirtiest parts of our car are at the bottom. Mud, brake dust, and dirt and debris gather mostly at the bottom of our cars. So starting at the top will really help you to keep your rags and sponges cleaner.
What to do if You Drop your Sponge or Mitt
This tip goes along the same lines as Cody living but if you accidentally drop a sponge or a rag on the ground make sure to rinse it out completely with completely clean water. Or if you can spare one, just get a new rag or sponge. This will go a long way with helping you to keep your paint scratch free.
Clean Tires and Rims Last
Because your tires are one of the dirtiest things about your car, make sure to leave those for last. There are some cleaners that are extremely helpful that will just melt dirt and brake dust away. It’ll require much less scrubbing and cleaning than you would think necessary if you otherwise did not have it.
Wash Your Car on a Cloudy Day or in the Shade
Washing your car at home on a sunny day can make your job extra difficult! Because on a hot day the water dries very quickly, it can very easily leave watermarks on your car. It’s really important to keep your car wet at all times until you are all the way done washing and ready to dry your car off.
If you wash your car at home on a hot sunny day, it makes it much harder to have a streak-free, clean finish at the end of your car wash. So it’s very helpful if you can wash your car on a cloudy day. Sometimes it’s just not possible to save our car washing for a cloudy day so if you have to wash your car exterior on a sunny day, then make sure to work fast. Continuously go back and keep all parts of your car wet so that the water doesn’t have a chance to dry and leave water spots.
Supplies needed to Wash Your Car at Home:
- Microfiber mitt
- Microfiber drying towels or a Chamois Drying Towel
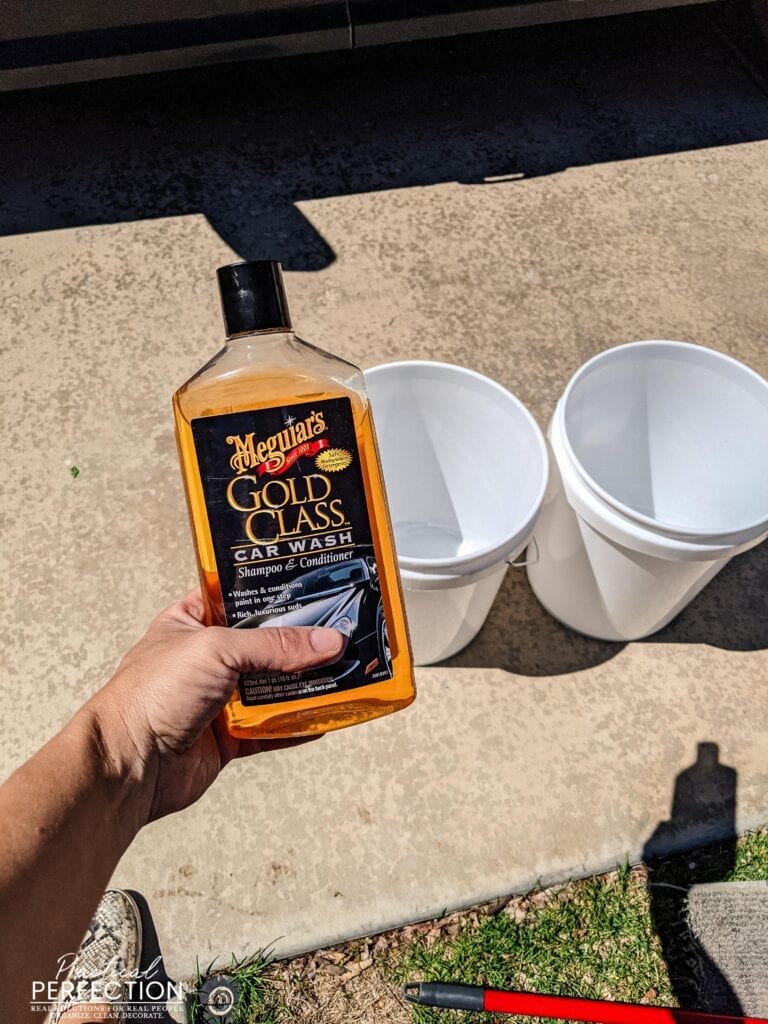
- Car washing soap (do not use dish soap, this dries out your paint)
- Two buckets (you can also buy them for just a few dollars at Walmart or a local hardware store)
- Dirt separator for the bottom of one bucket
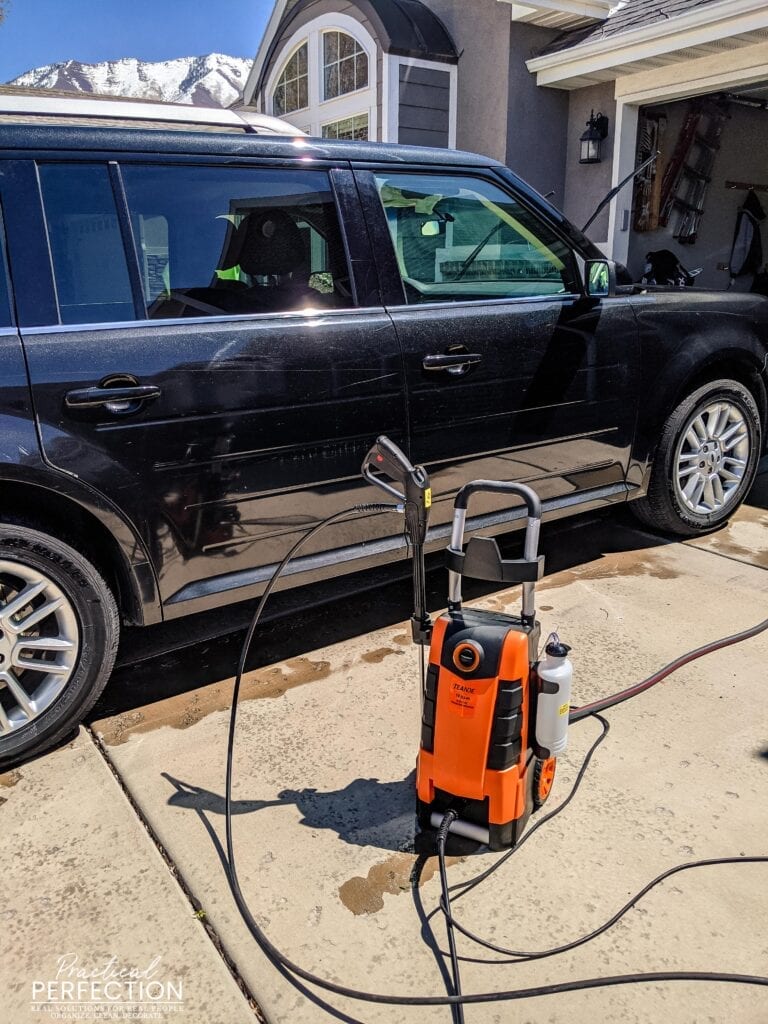
- Pressure washer (much better than a hose and nozzle and takes a lot of the work out cleaning your car at home)
- Hose
- Hose Nozzle
- Leaf Blower (optional, but it makes drying the car easier)
- Tire Cleaner
- Chemical Guys Tire Shine
- Foam Tire Shine Applicator
Step by Step Guide How to Wash Your Car at Home
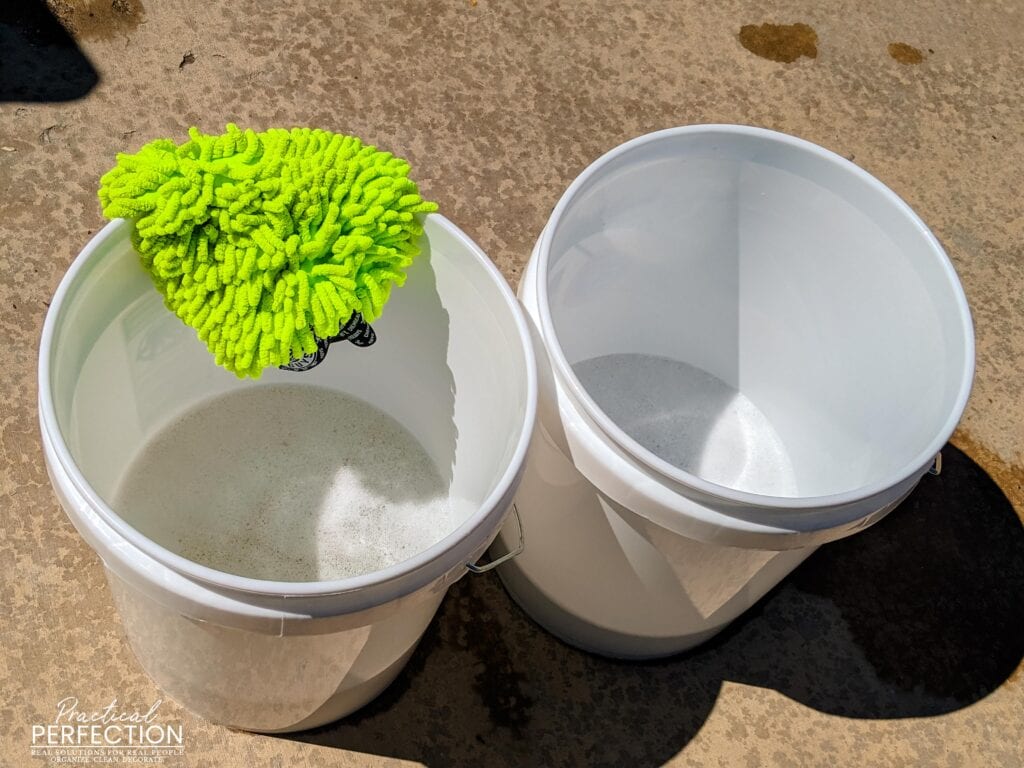
Step 1: Get your Buckets Ready
Pour some soap and water into the first bucket. Use your pressure washer (or hose) to get a nice lather going. This is your soap bucket. Fill up the second bucket with clean water but don’t put soap in it – this is your rinsing bucket. Place the dirt separator at the bottom of the second bucket. This will help dirt settle to the bottom of your bucket (and stay there) as you rinse your microfiber mitt after washing your car.
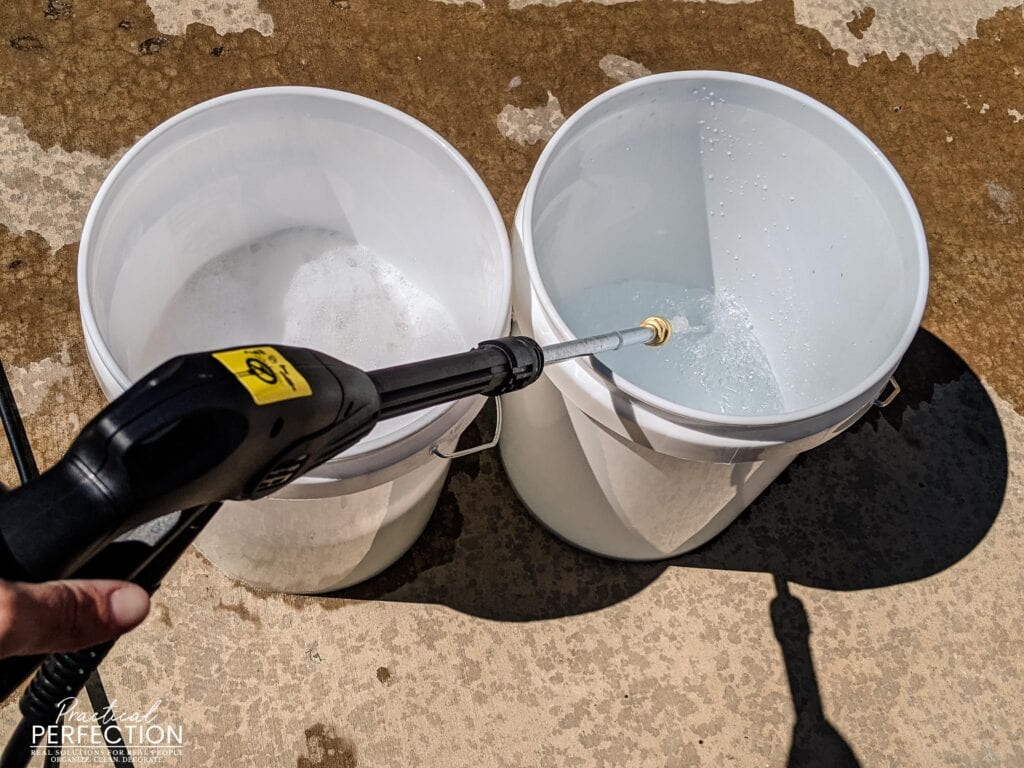
Because it’s easy to accidentally scratch your car with a dirty mitt, it’s important to use a two bucket wash system. One bucket contains the clean soap pre-water while the other bucket contains the soapy water. Did your mint into the soapy water, wash the car, then rinse it in the book at the containers soap. This will help keep your mitt clean.
Step 2: Preliminary Wash
Start by pressure washing the large dirt off the car. If you don’t have a pressure washer, use a hose with a nozzle. This is an important step because this will help get a large portion of the dirt off so that you won’t scratch your car when you are trying to wash it with the mitt.
Step 3: Add Some Bubbles
Some people like to spray with foaming pre-soak all over the whole car. Doing this can allow the foam to get a headstart and to start breaking down some of the dirt and debris. Just make sure that the soap does not dry onto the car.
Some pressure washers like mine, have a bottle connected to the pressure washer that is made specifically for car wash soap. If you connect the correct pressure washer nozzle to the end of the pressure washer gun, this will help you to get a nice foaming pre-soak we talked about. If you’re interested, you can visit the Teande Pressure Washer Facebook page and they do frequent giveaways for a free pressure washer! You can also use the code L39Q7DLL to get 5% off your purchase! I’m super happy with mine!
Step 4: Wash Your Car with Your Mitt
Get your mitt wet/soapy. Start scrubbing the car with the mitt starting with the entire roof of the car then move to the windshield, hood, sides, then back of the car; all while frequently rinsing your mitt in the “dirty” bucket, and dipping it in the clean to get more soap before you wash again.
The goal is to clean the cleanest parts of the car first so you don’t drag dirt all over the rest of the car, which scratches it. Only wash about 3/4 down around the entire car then rinse it all off. Now continue washing the last lower 1/4 of the car because this will have the most dirt flung up from the tires.
Step 5: Keep Your Car Wet
It’s important to remember to keep your car wet throughout the entire process of washing it. If you are working on the passenger side, then make sure to occasionally spray the driver side down so that it doesn’t dry and create water spots.
Step 6: Dry Your Car
To dry the car, blow a good amount of water off with a leaf blower. If you don’t have one, just use a microfiber towel. The blower just saves you time and helps you to not have to wring out the towel a bunch.
If you don’t have a leaf blower, use the two-towel method. Wipe most of the water off with the first towel, then follow the exact same spot with a dry towel.
If you only use one towel, it will leave mini streaks that will show in the sunlight… making your washing efforts a waste. Again, work your way from the roof down. The whole reason you work from the roof down is so gravity can help spread the water all over your car. This also helps drag the water down and off your car.
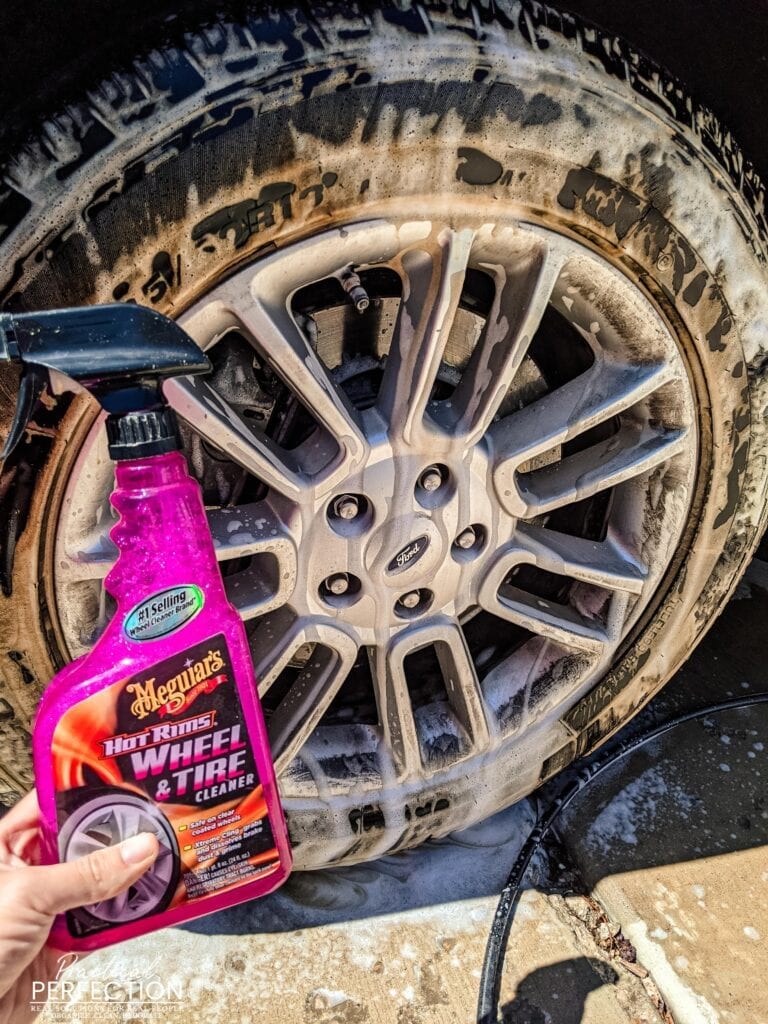
Step 7: Wash the Tires and Rims
After you’ve washed and dried all the paint, then you can move to the wheels. Because the wheels on rims are so much dirtier, it’s really helpful if you have a second mitt that you don’t mind getting ruined. Always designate this as the mitt that cleans your rims and your tires.
Spraying them first with a cleaner that’s meant for tires will really help it move quickly. It just melts the dirt and brake dust off of the tires! After the cleaner has had a chance to sit on the rims and tires for awhile, rinse it with water.
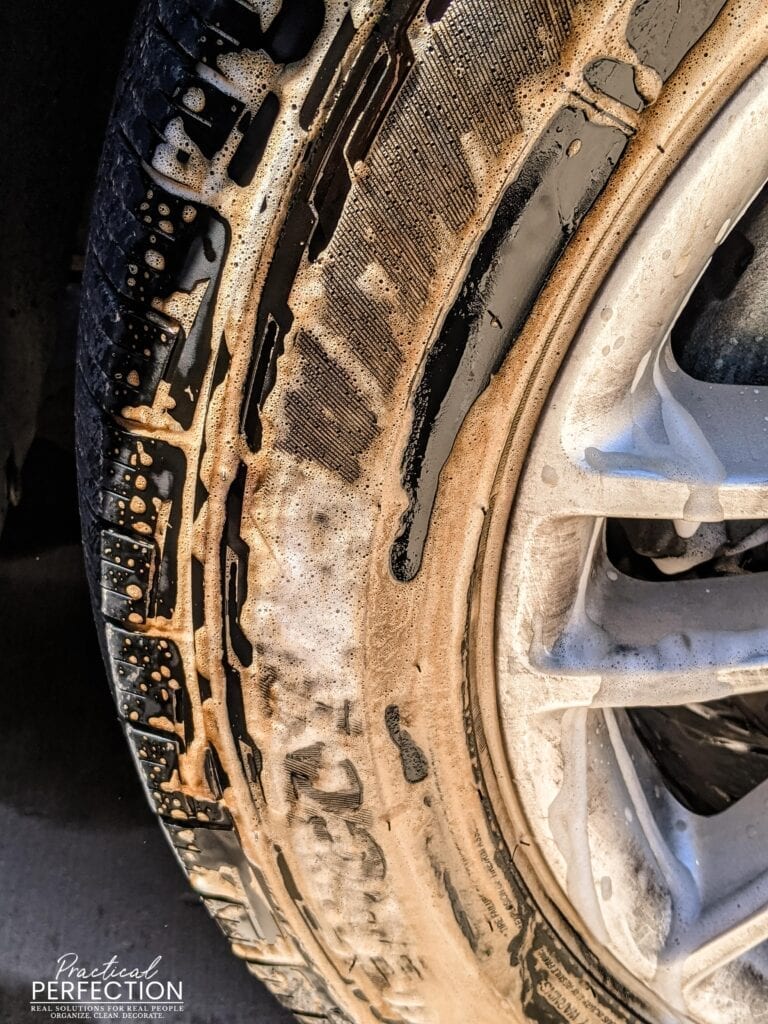
Wipe the wheels with soapy water, dry with a microfiber towel, and apply some tire shine. Most tire shine brands will fling onto the side of your car when you drive, so always use Chemical Guys Tire Shine and be sure to let it dry. Always apply tire shine to a dry tire. If there are any water spots on the sidewalls of the tires, the tire shine will not work like it’s supposed to.
Step 8: Using a Clay Bar and Lubber
You may be asking, “what is a clay bar?”. A clay bar is a piece of moldable clay (and must be used with the accompanying lubricant) that removes embedded contaminants that get stuck in the paint over time. You may not realize that your paint has this but there is a stark contrast between paint that has been treated and paint that hasn’t.
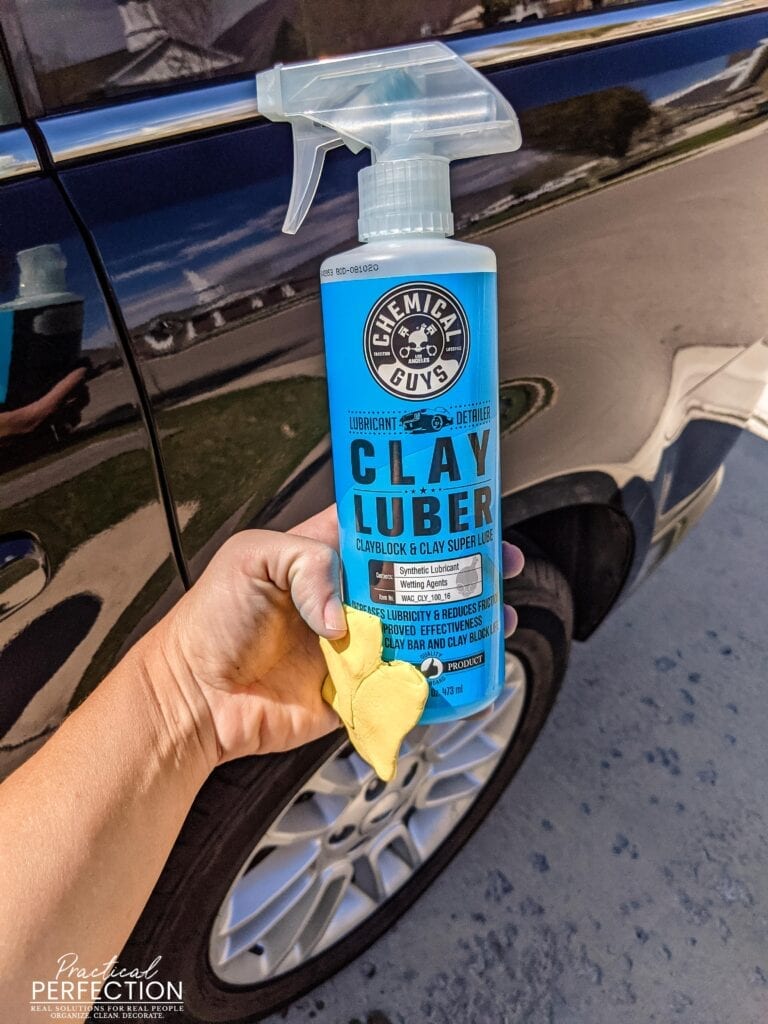
If you run your fingers across the paint of your freshly cleaned car and they don’t glide easily and smoothly, it may be time to use a clay bar and lubricant! My car was in desperate need of this and I could hardly believe the difference.
Spray a 2’x2′ area on your car with lubricant and gently rub the paint with the clay bar. Make sure the clay bar is kept moist throughout the process or it may scratch the paint on your car. After you feel like your paint has its gloss-like finish back, wipe it with a clean microfiber cloth. Work your way around the entire car. If you’d like to see a video example of how to do this, check out this video.
Step 9: Wax Your Car
After you’ve washed your car and used a clay bar to remove embedded contaminants, you can proceed to wax your car to give it a nice shine! My car hadn’t been waxed in years so it was in desperate need! I thought the paint on my car couldn’t get any smoother after using the clay bar but I was dead wrong! With each additional step the paint just got better and better.
To wax your car, put the wax onto a waxing sponge or very soft cloth. Work the wax into the paint in circular motions. Typically when waxing you would let the wax ‘dry’ until it turns a cloudy type color. But refer to your individual waxing product to be sure.
After the wax is dry, use a clean microfiber cloth to gently rub off the wax to reveal a beautifully glossy shine. Be careful not to use a dirty sponge or rag because it can grind scratches into your paint.
I hope you’ve enjoyed this step by step guide to cleaning your car at home! Its definitely a lot of work but there’s a lot of satisfaction that comes with washing your car at home and it’s definitely better than taking it through an automatic car wash that scratches your car.